White Wallpaper in Winter: Tips to Covering your Ceiling
God never gives you more than you can handle, they say.
We weren’t looking to wallpaper our ceiling. I mean, who would? But as fate would have it, wallpapering the ceiling was perhaps the classiest choice we could have made for Elsie.
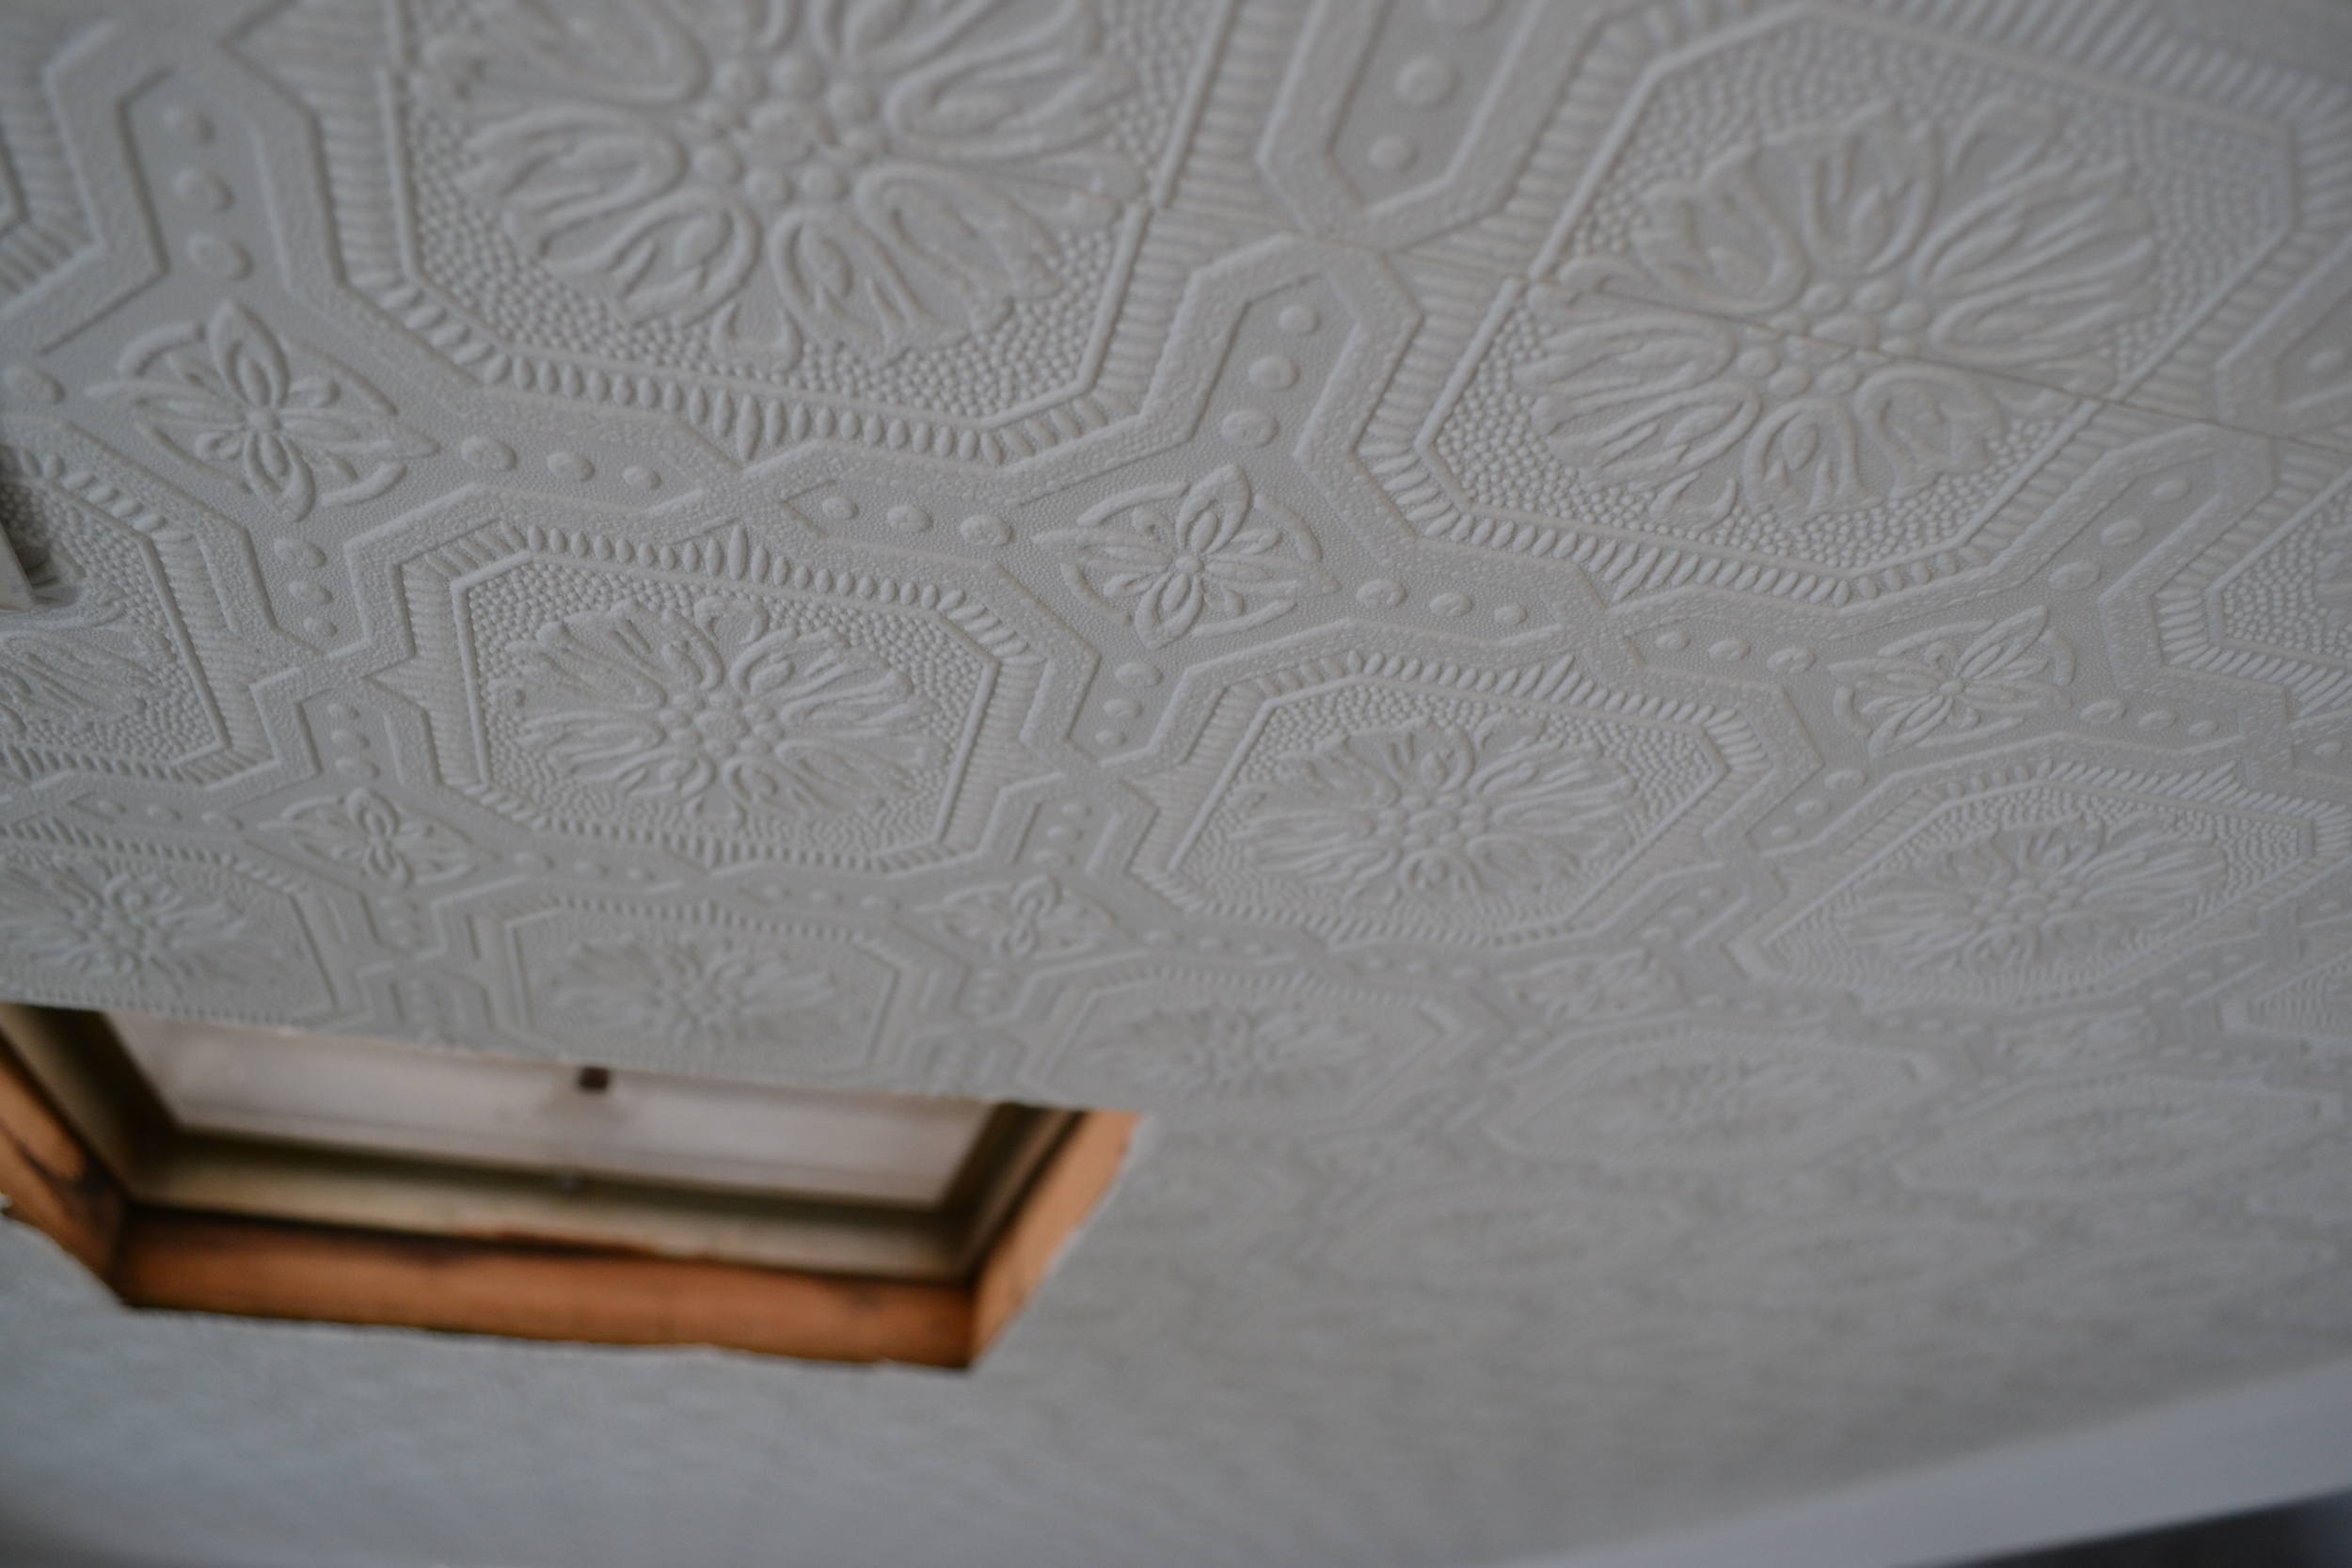
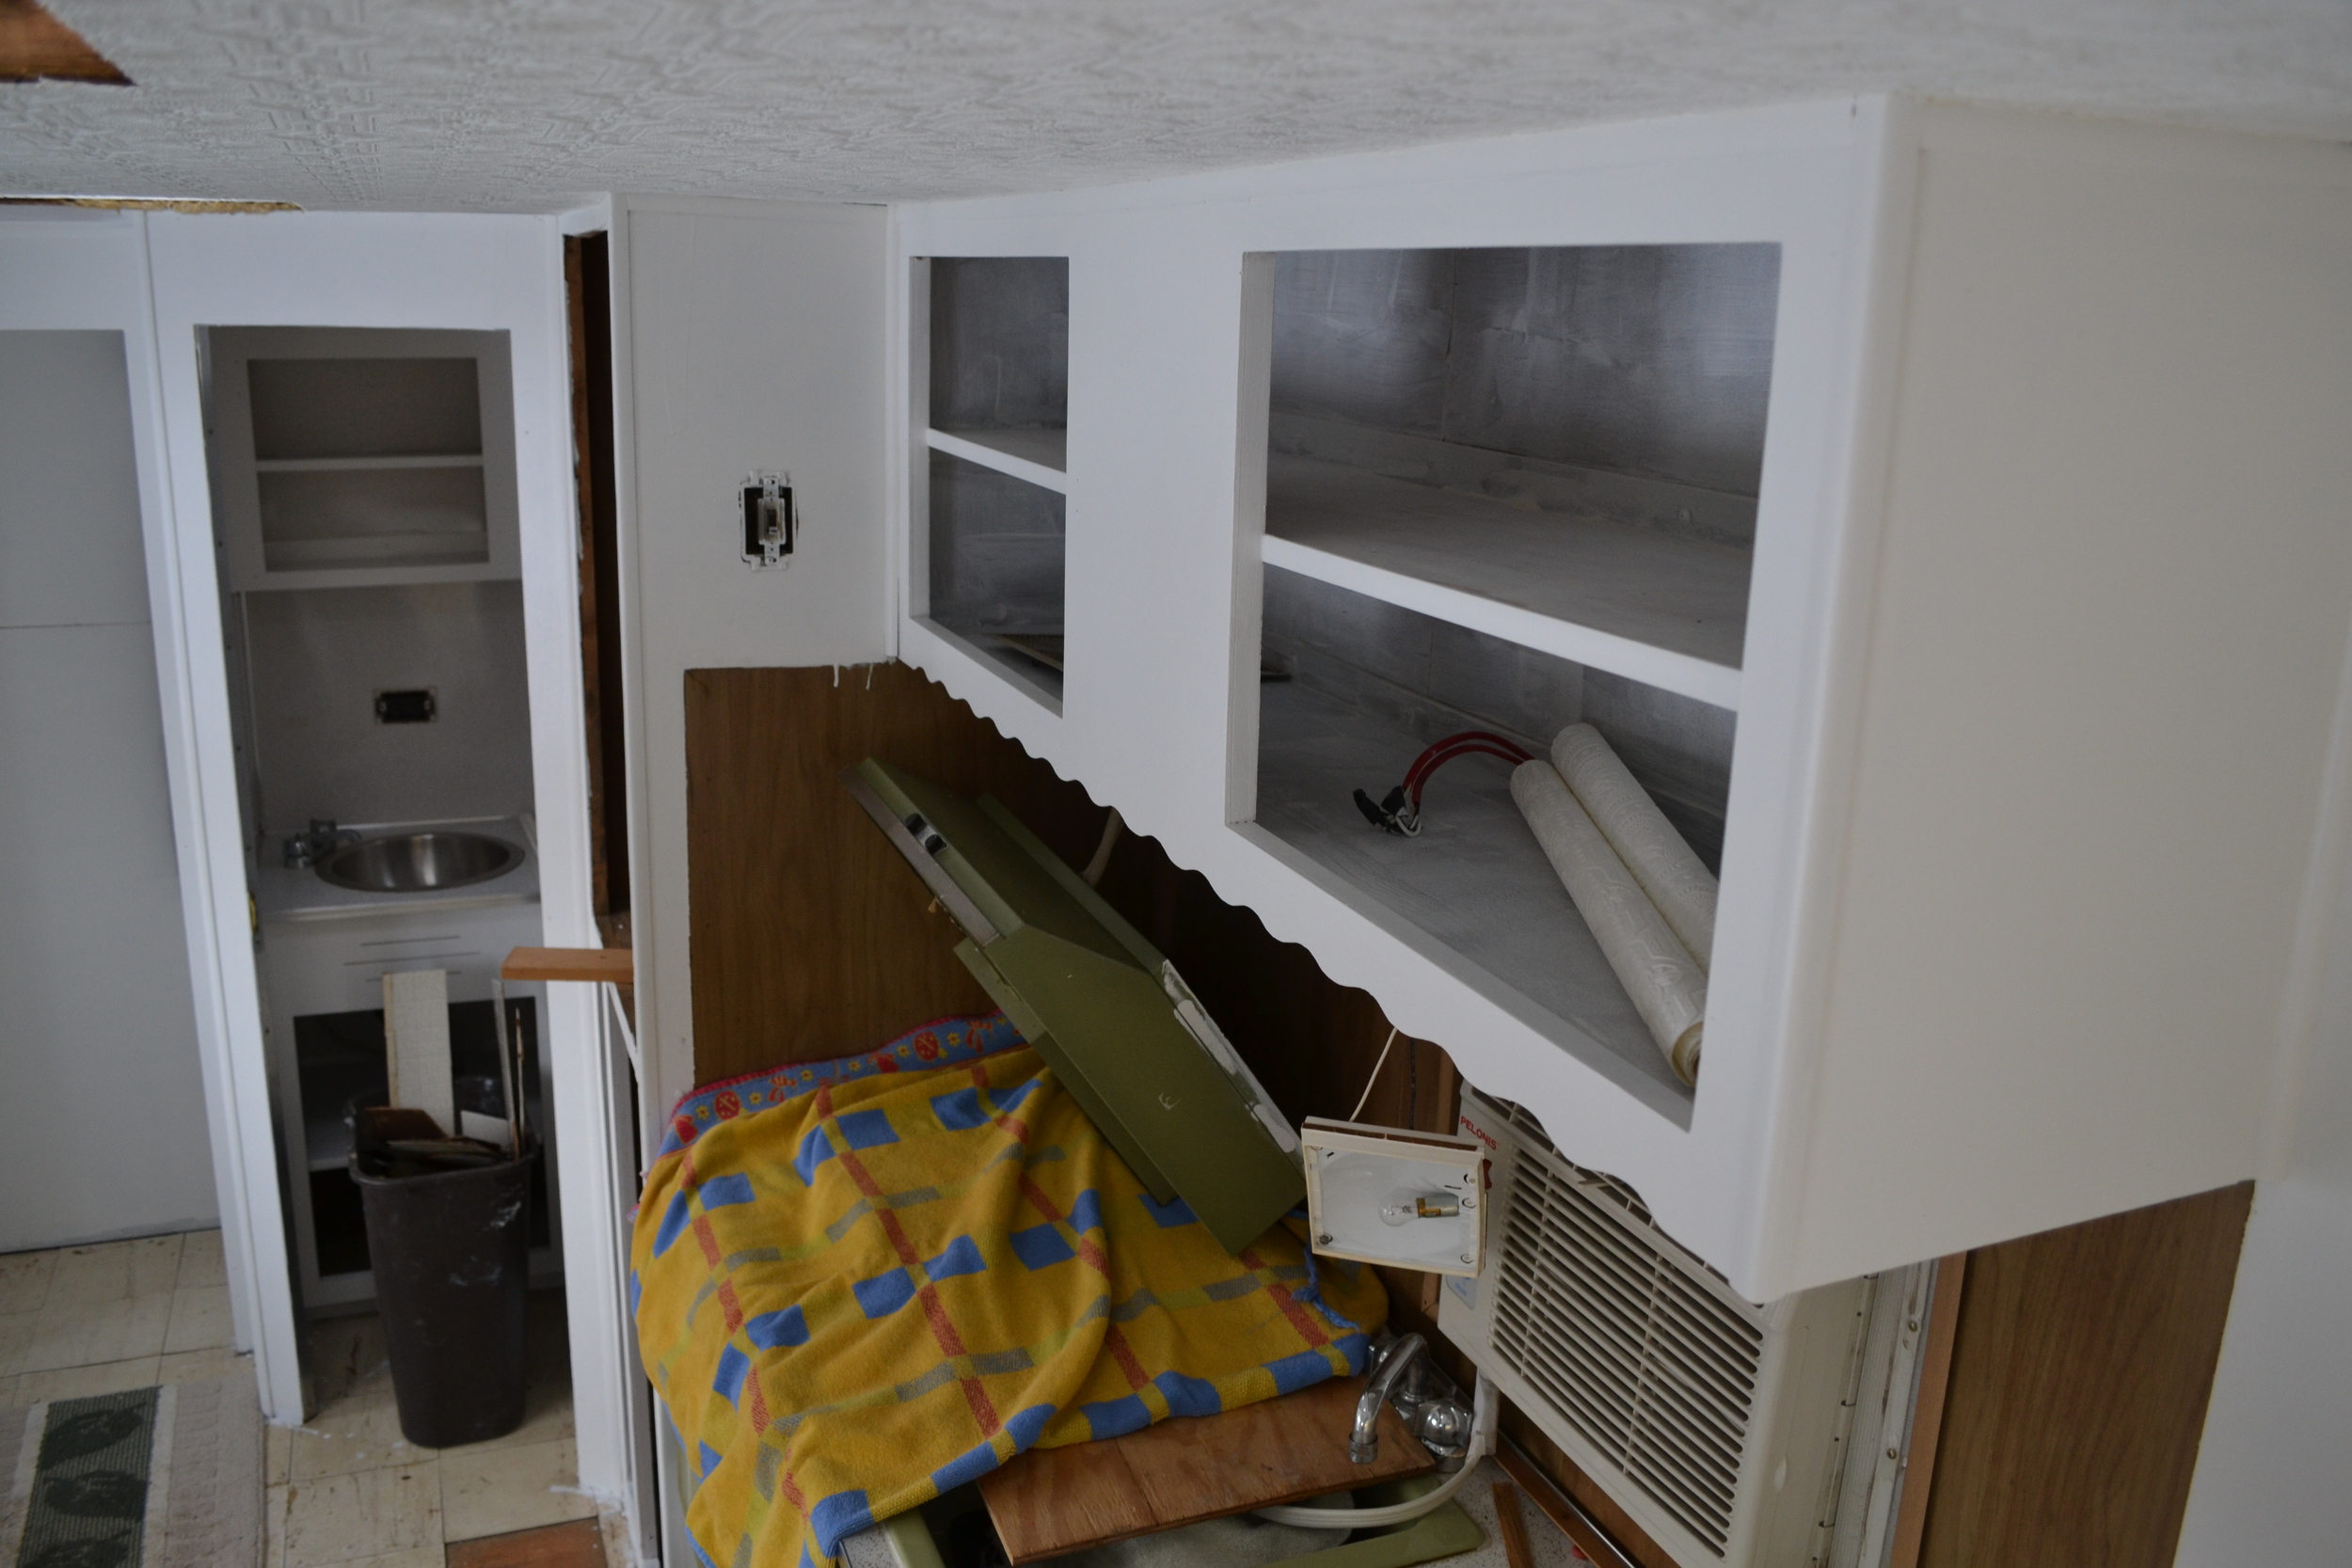
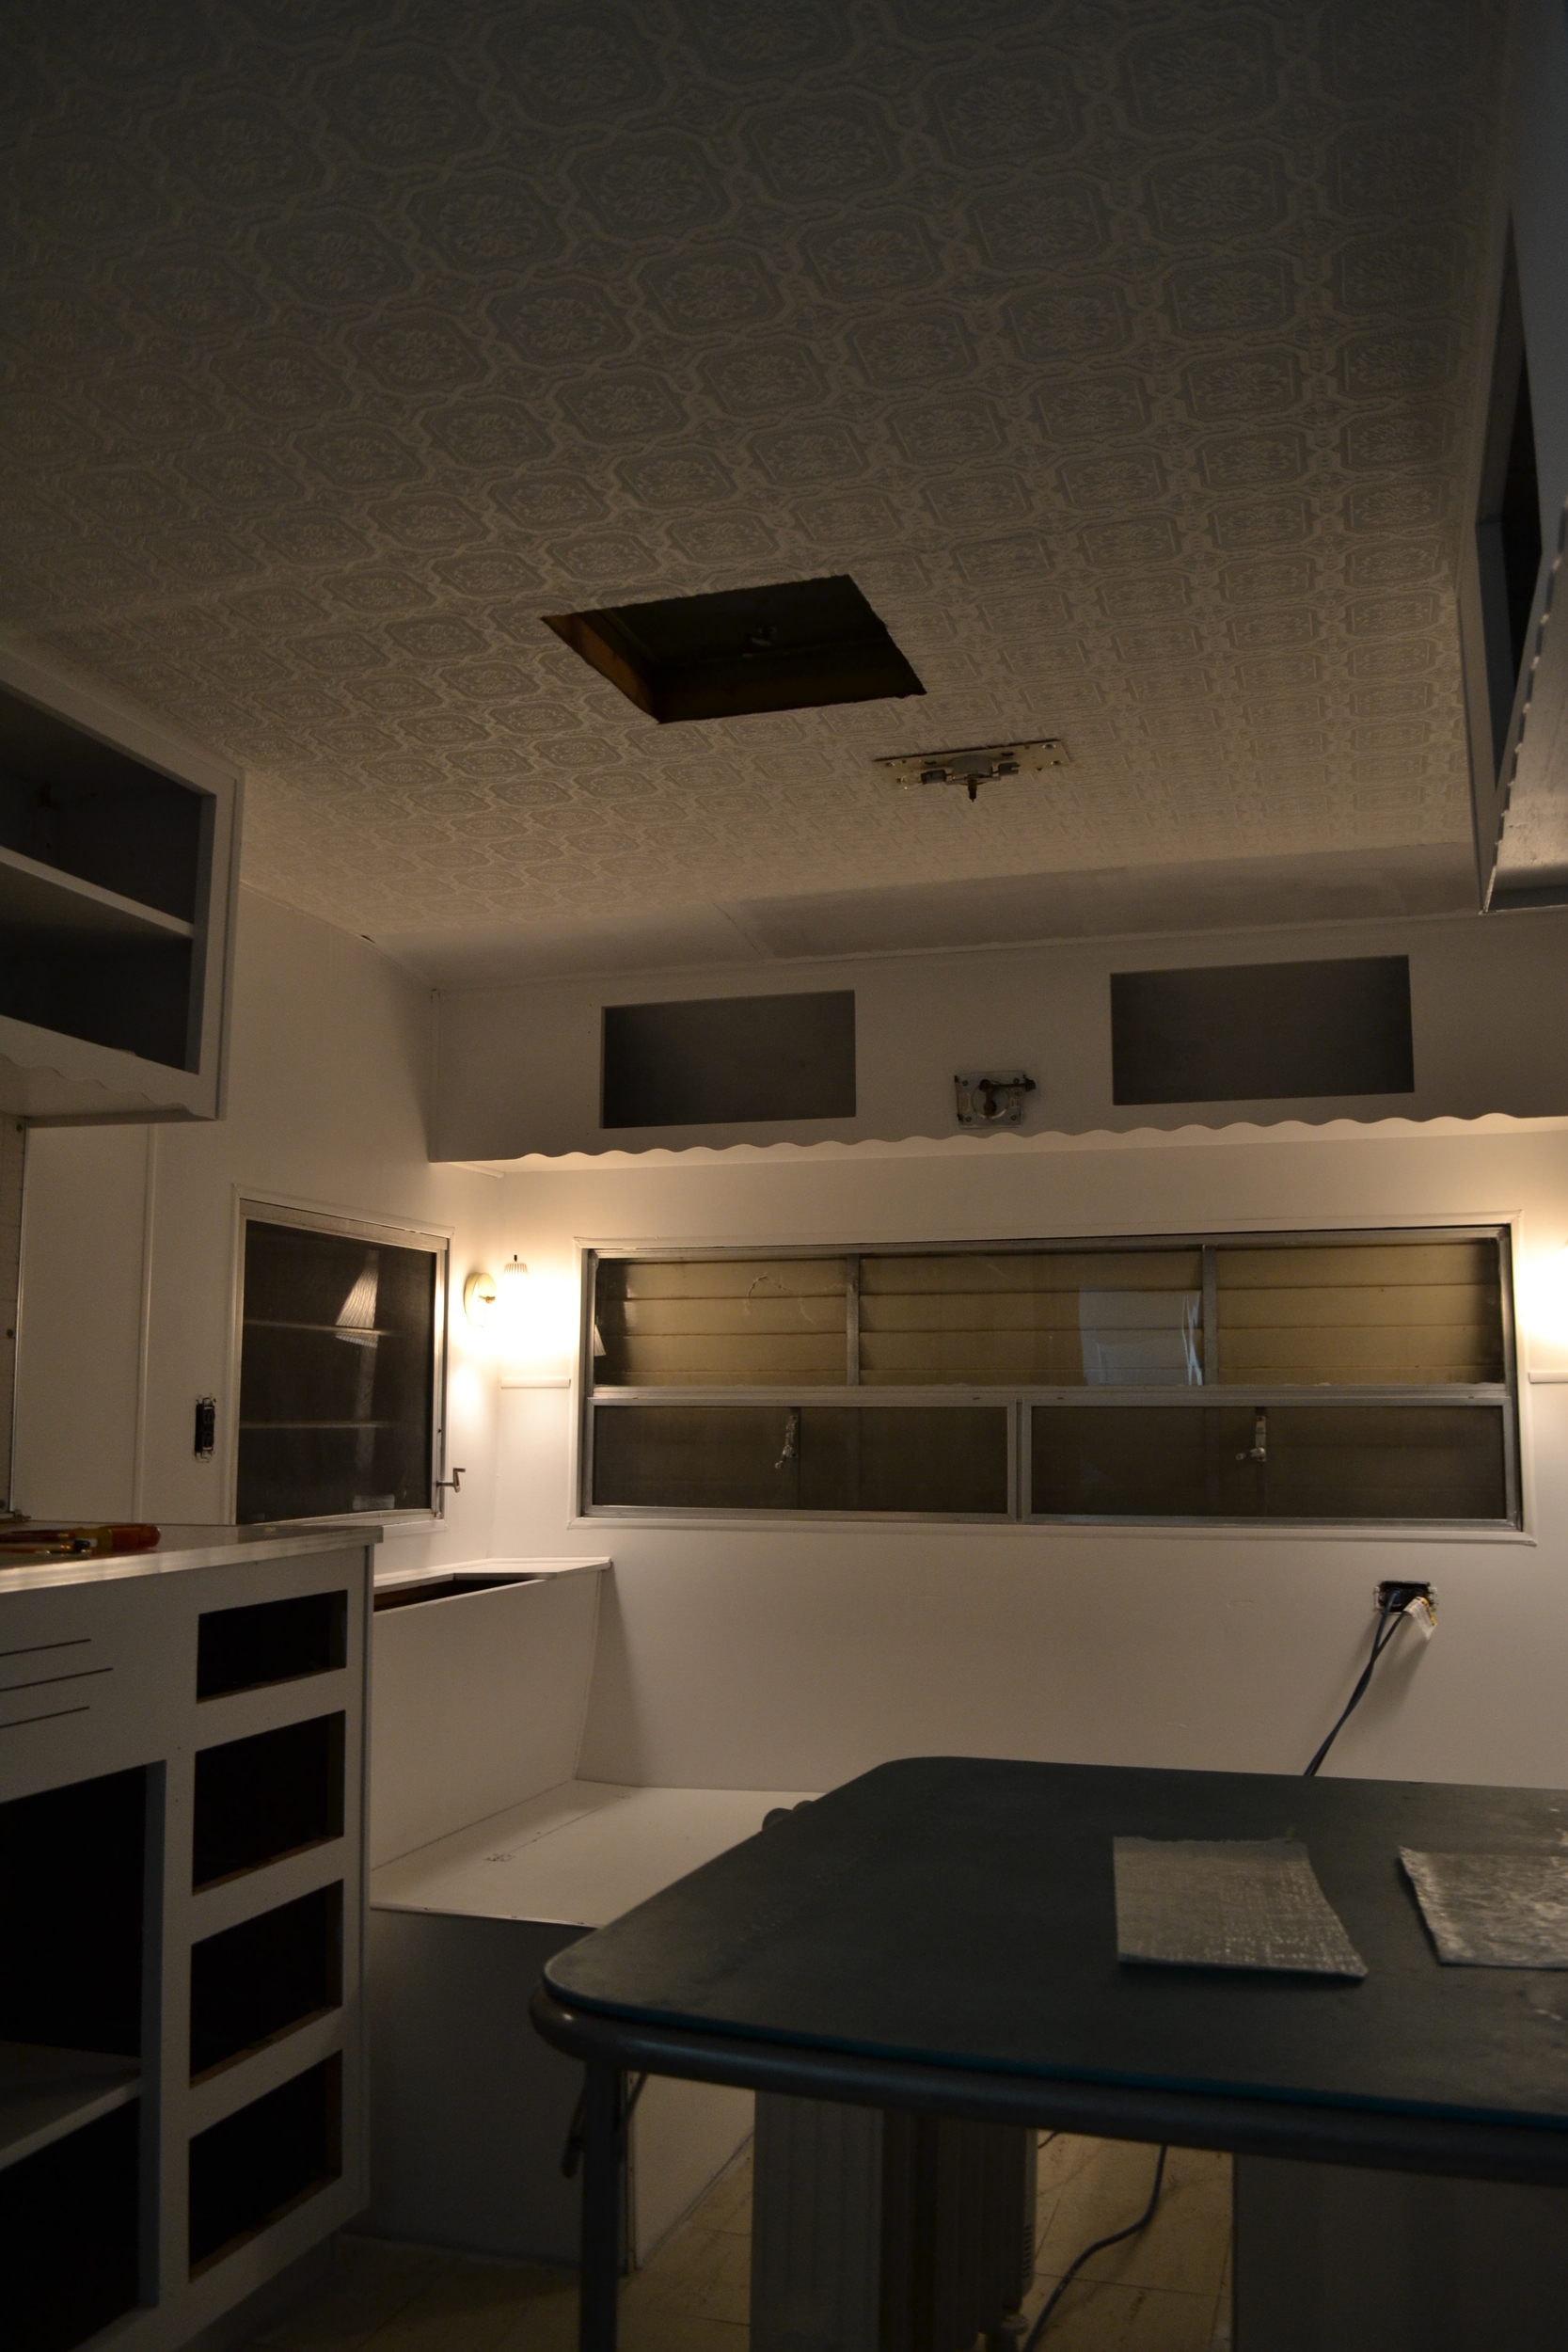
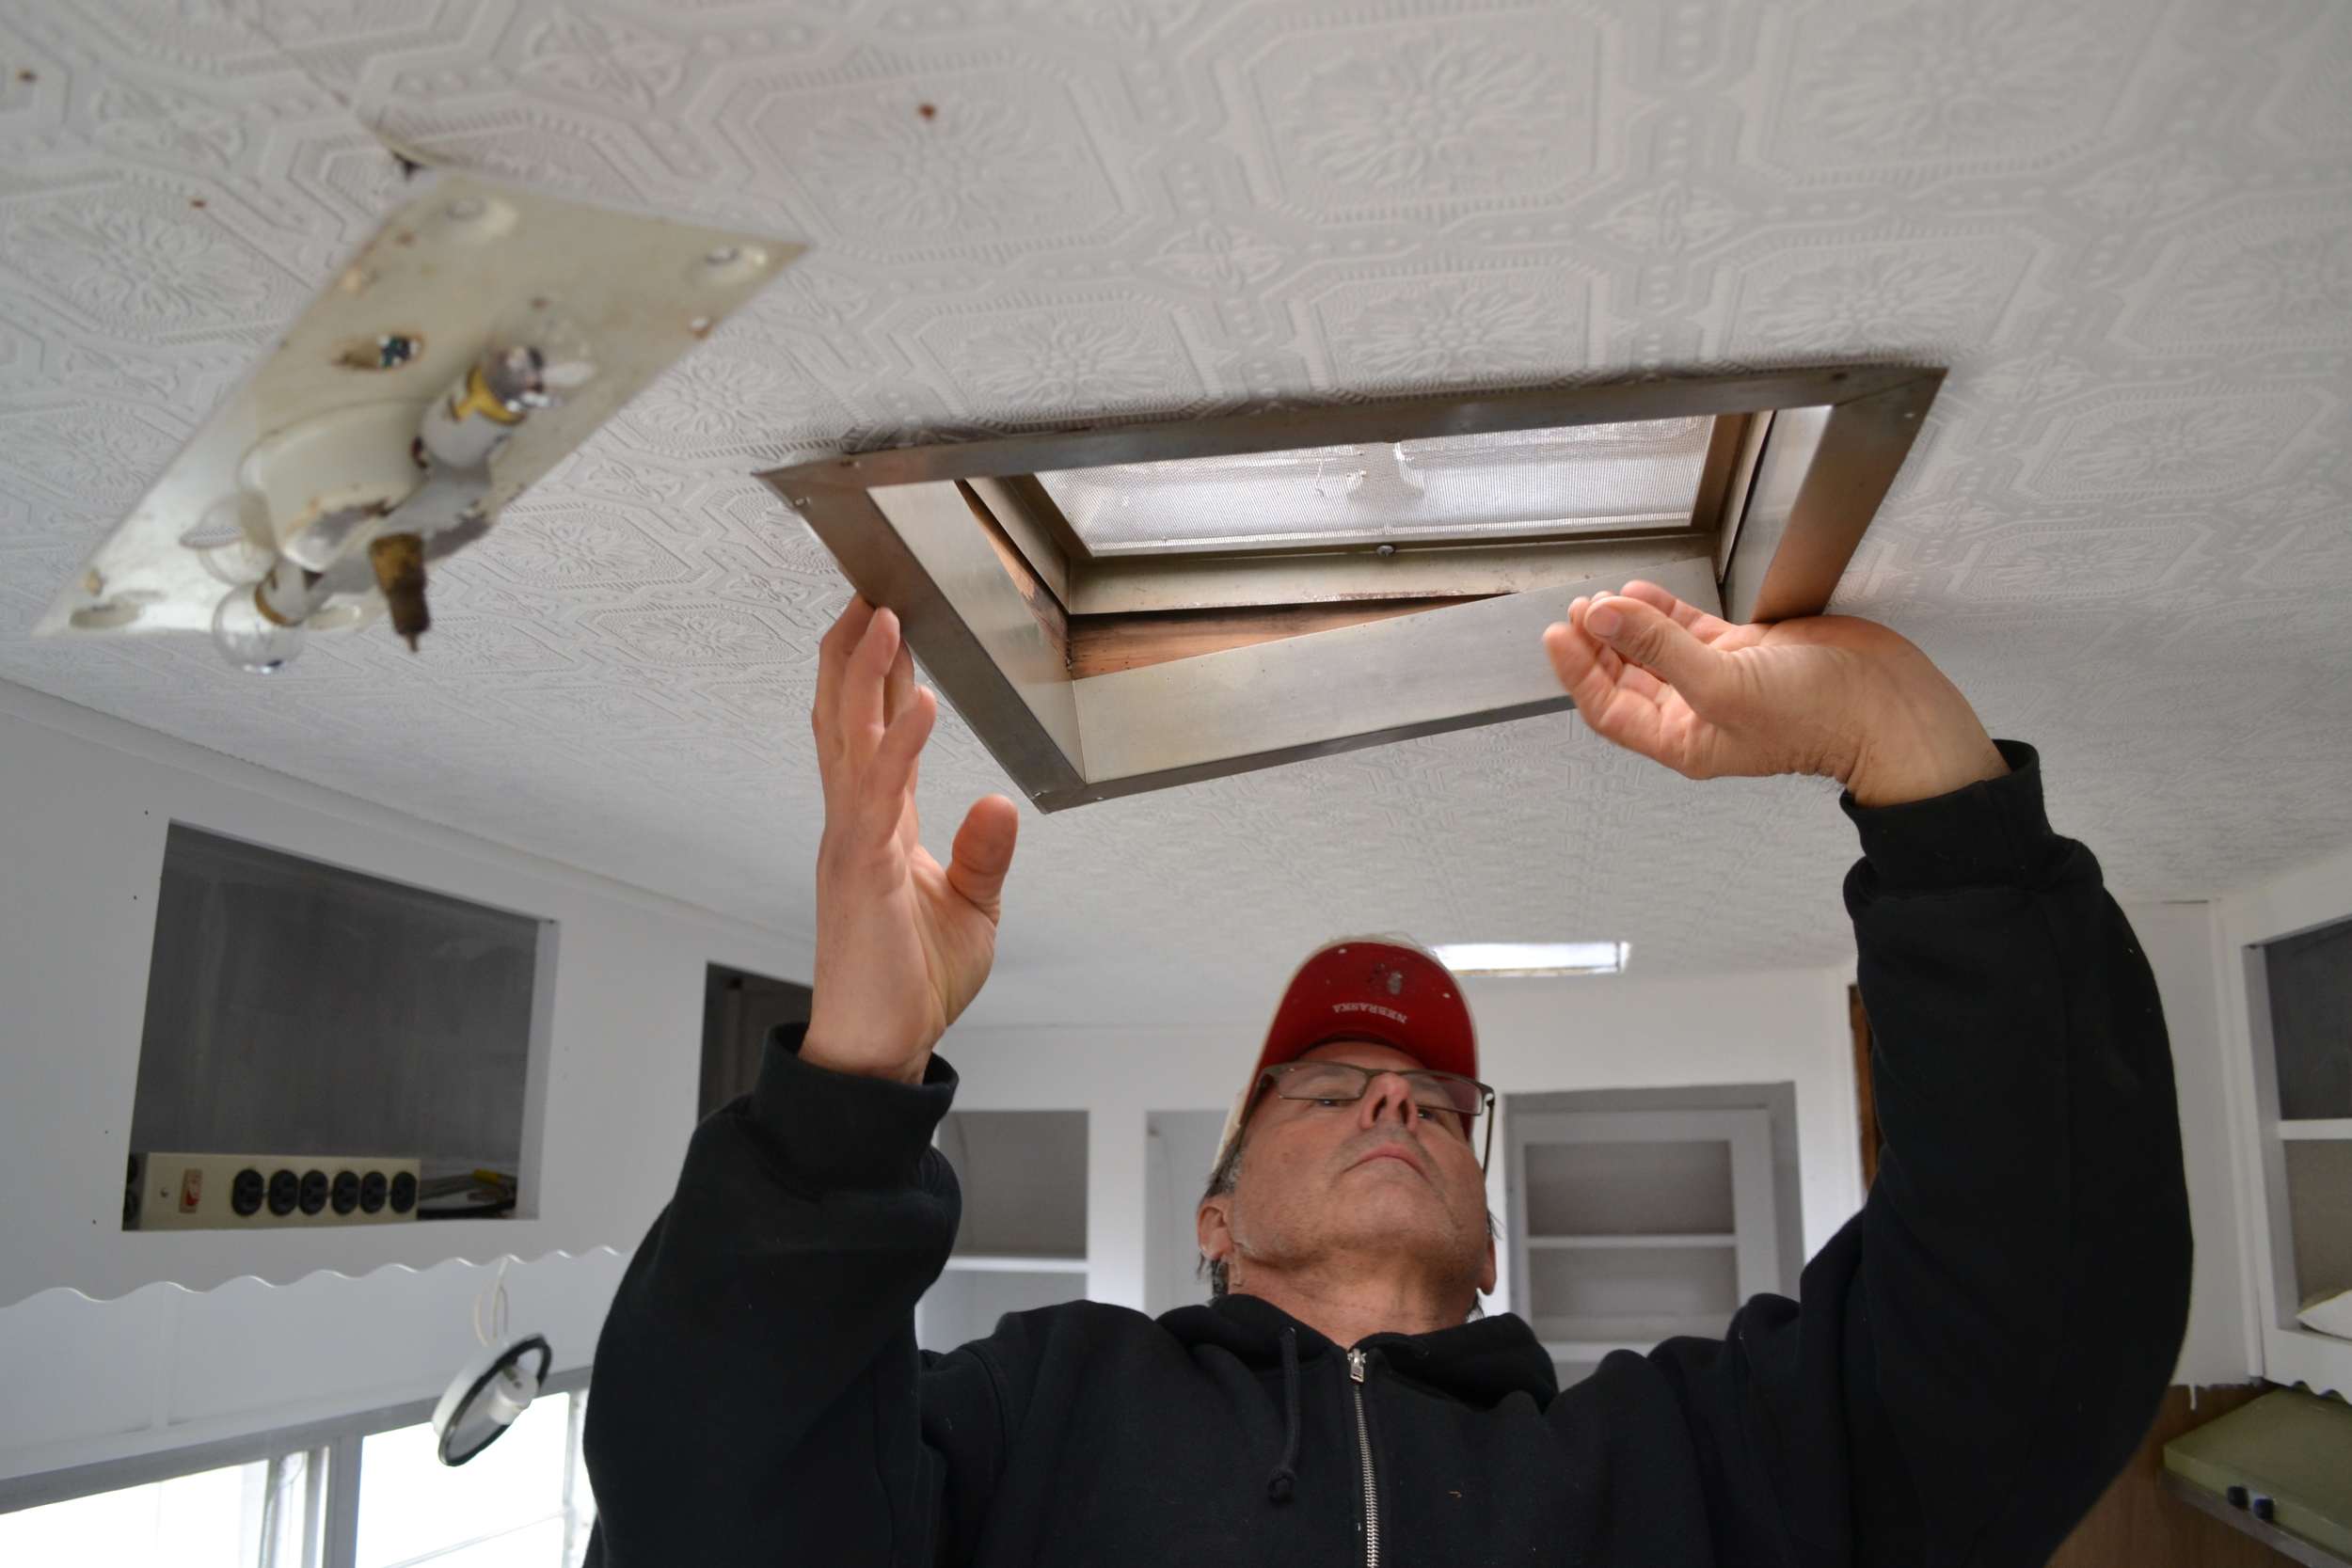
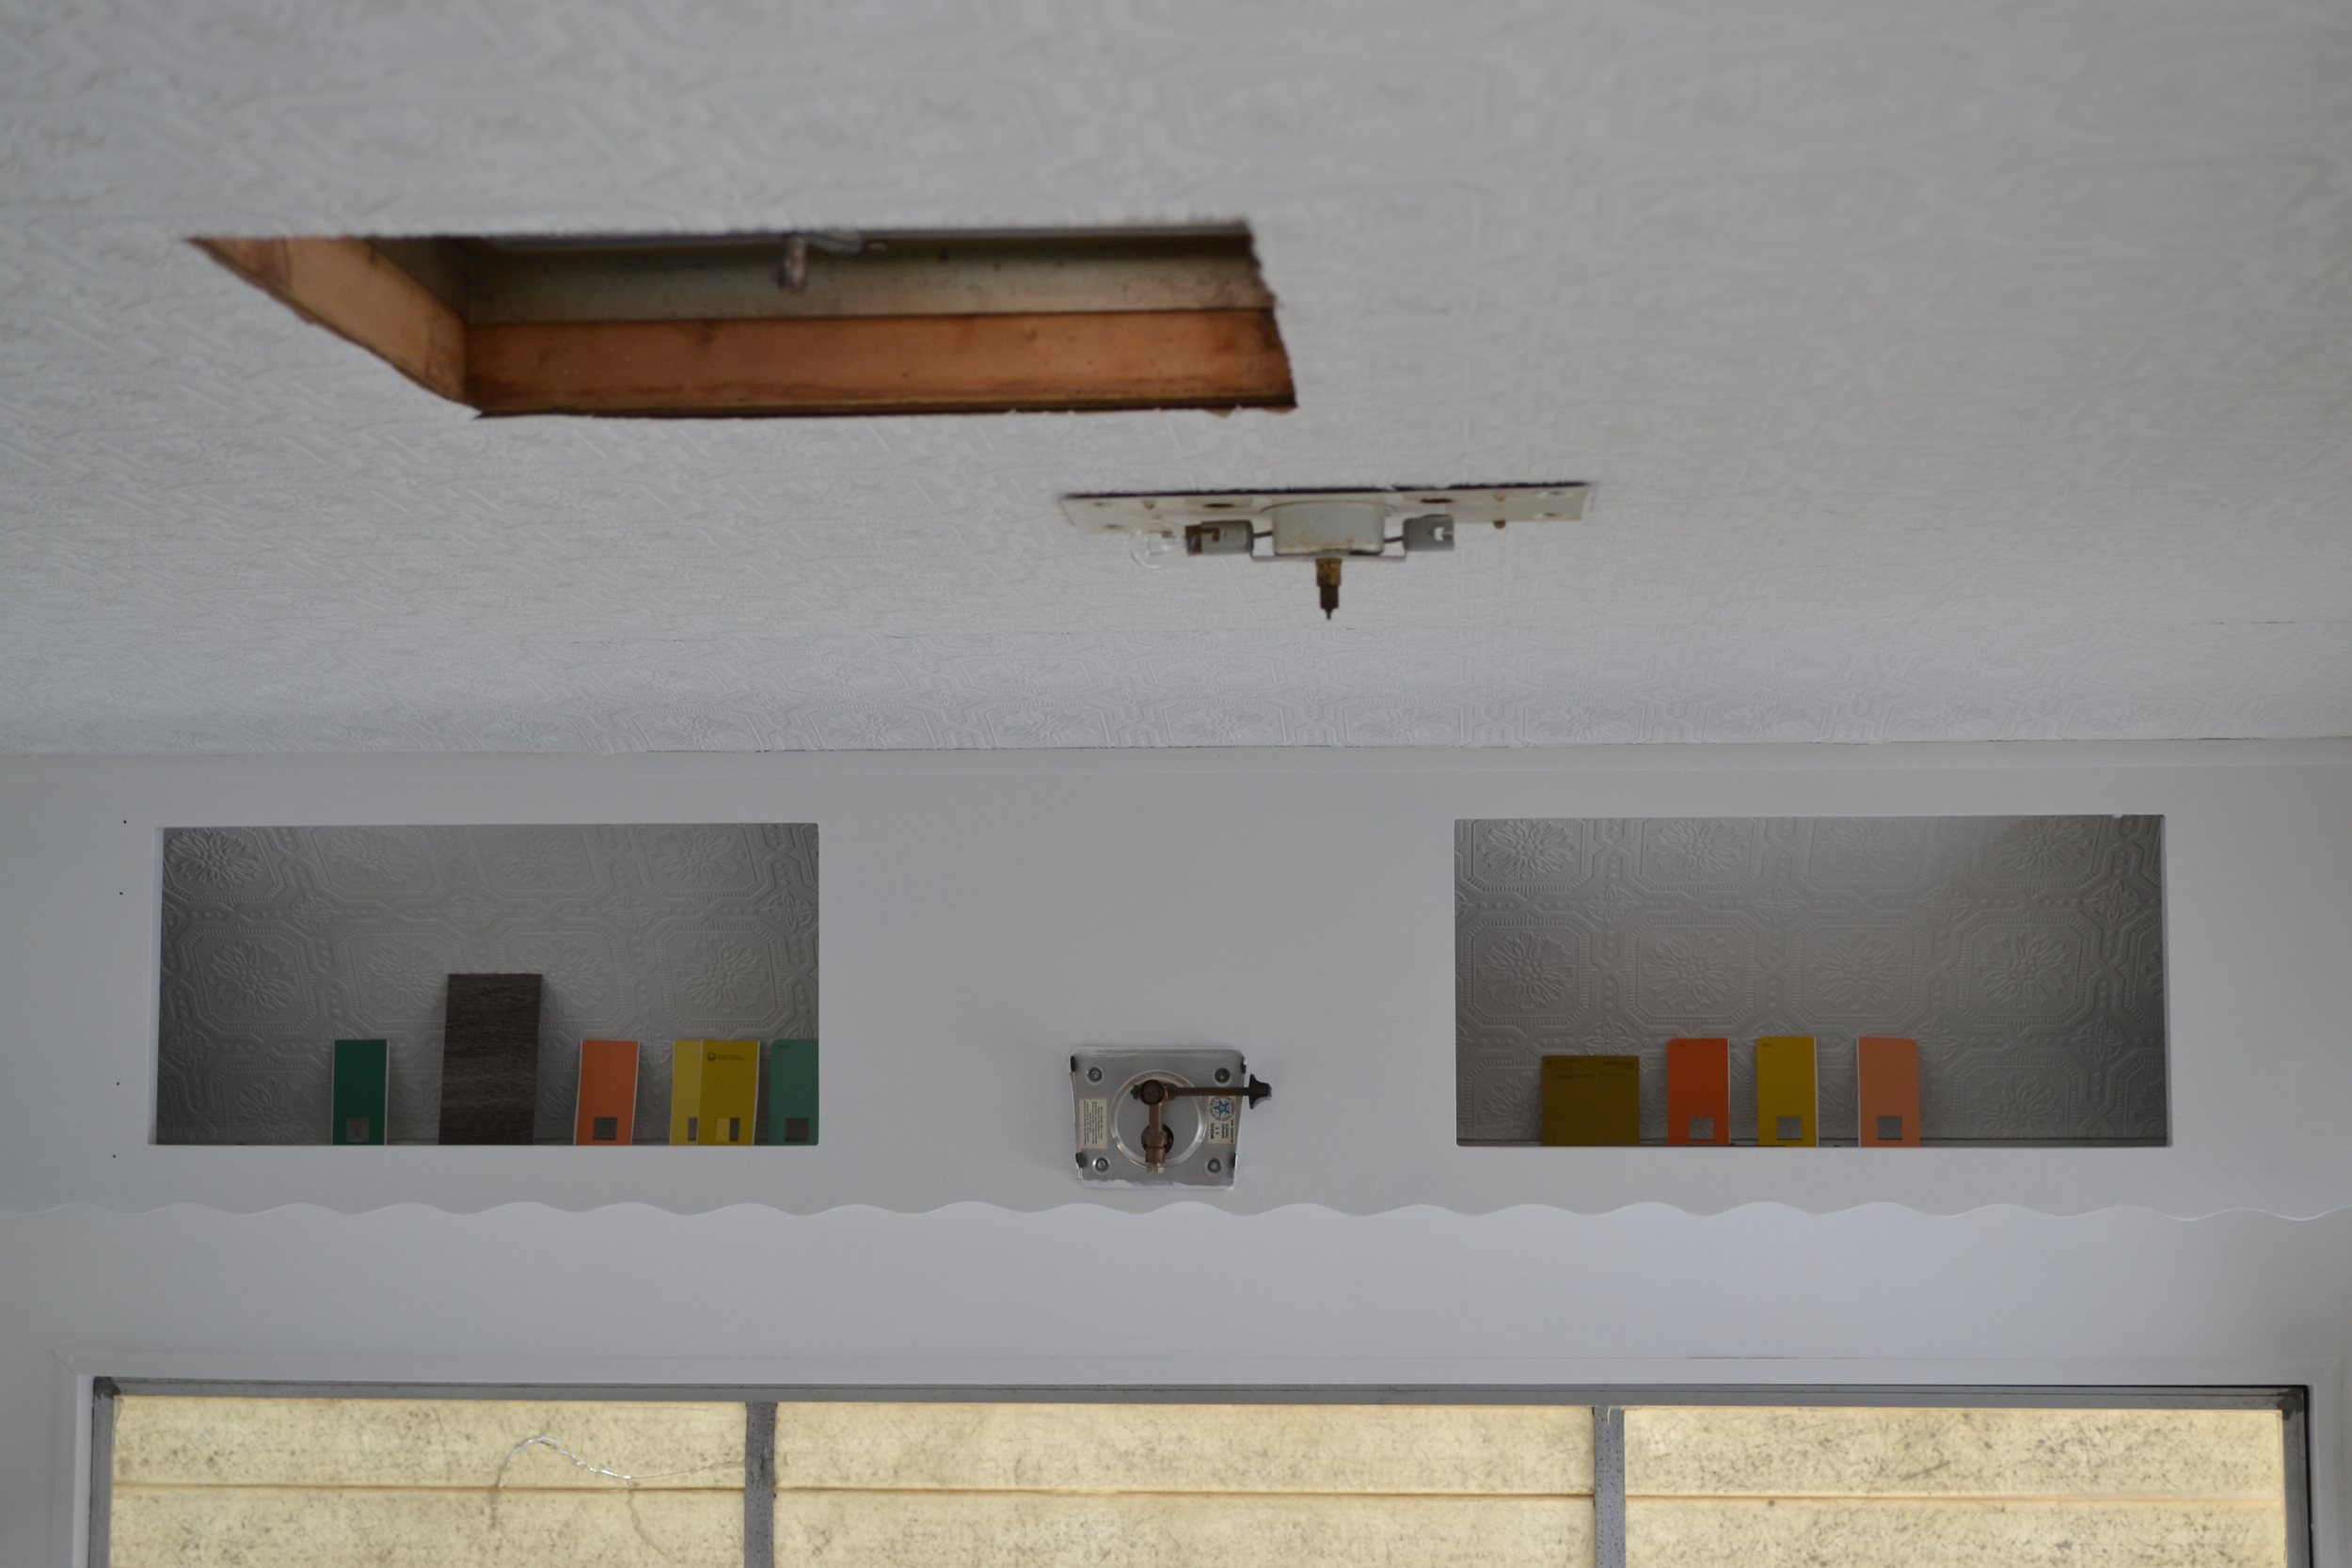
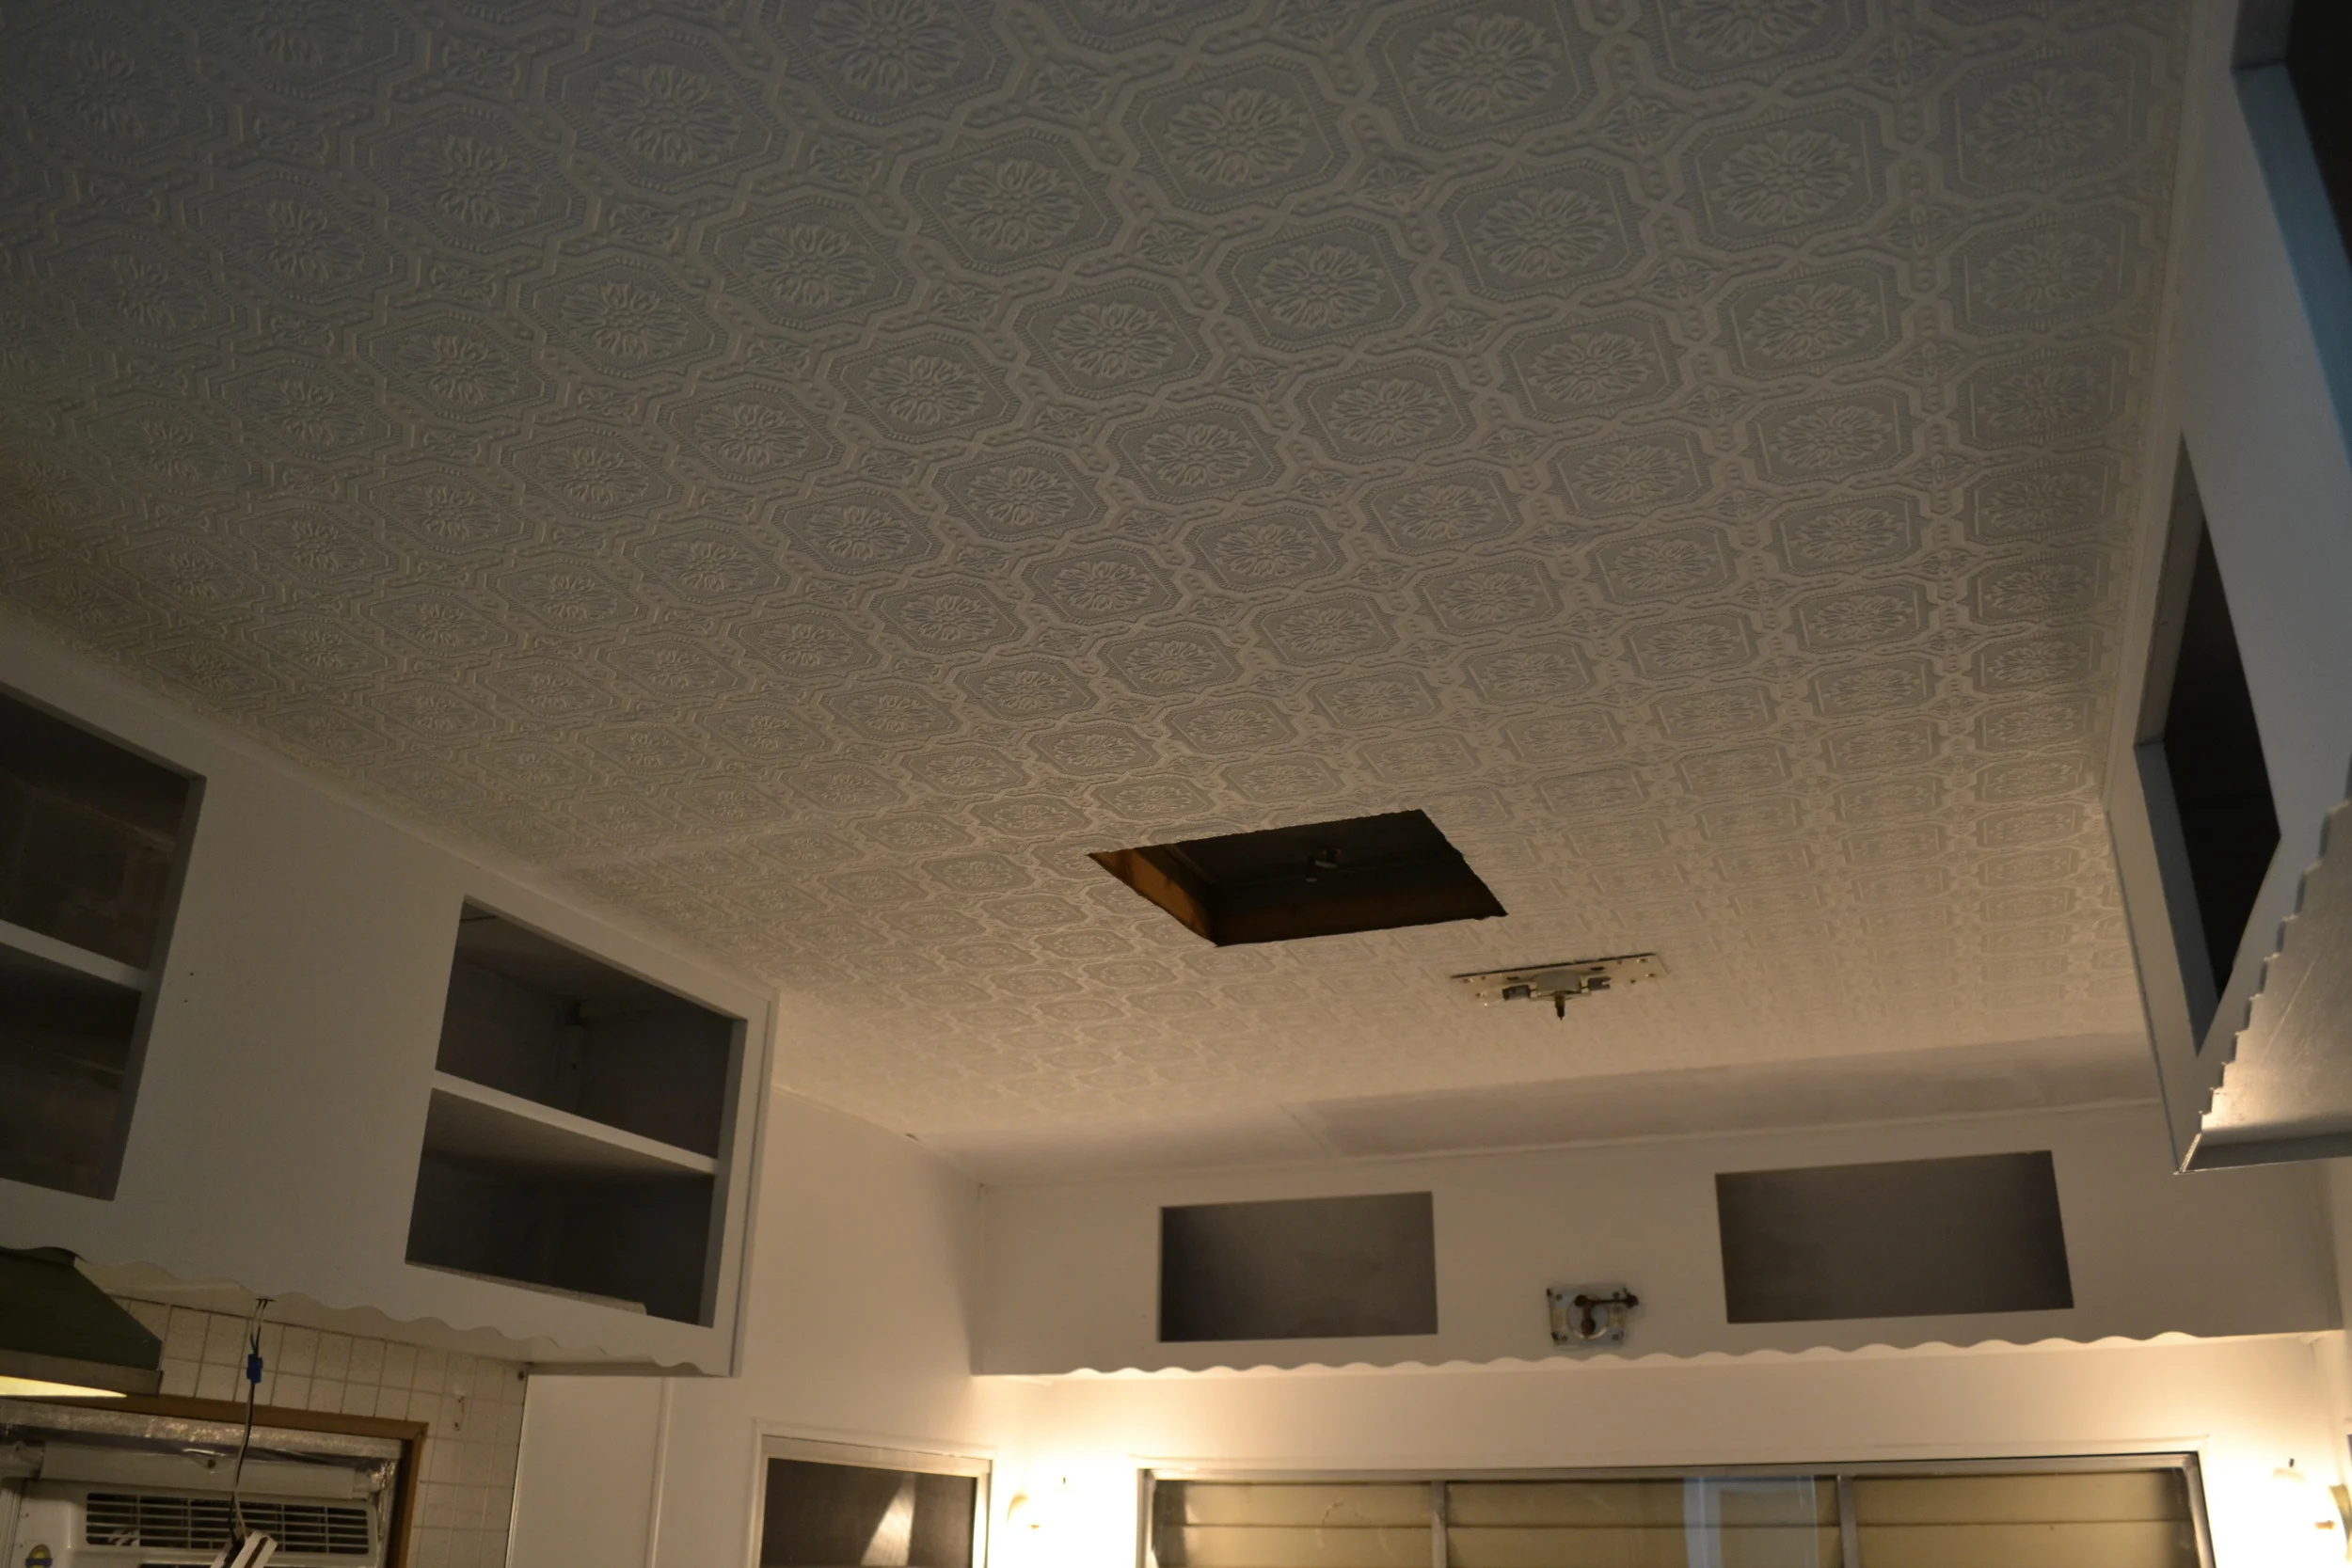
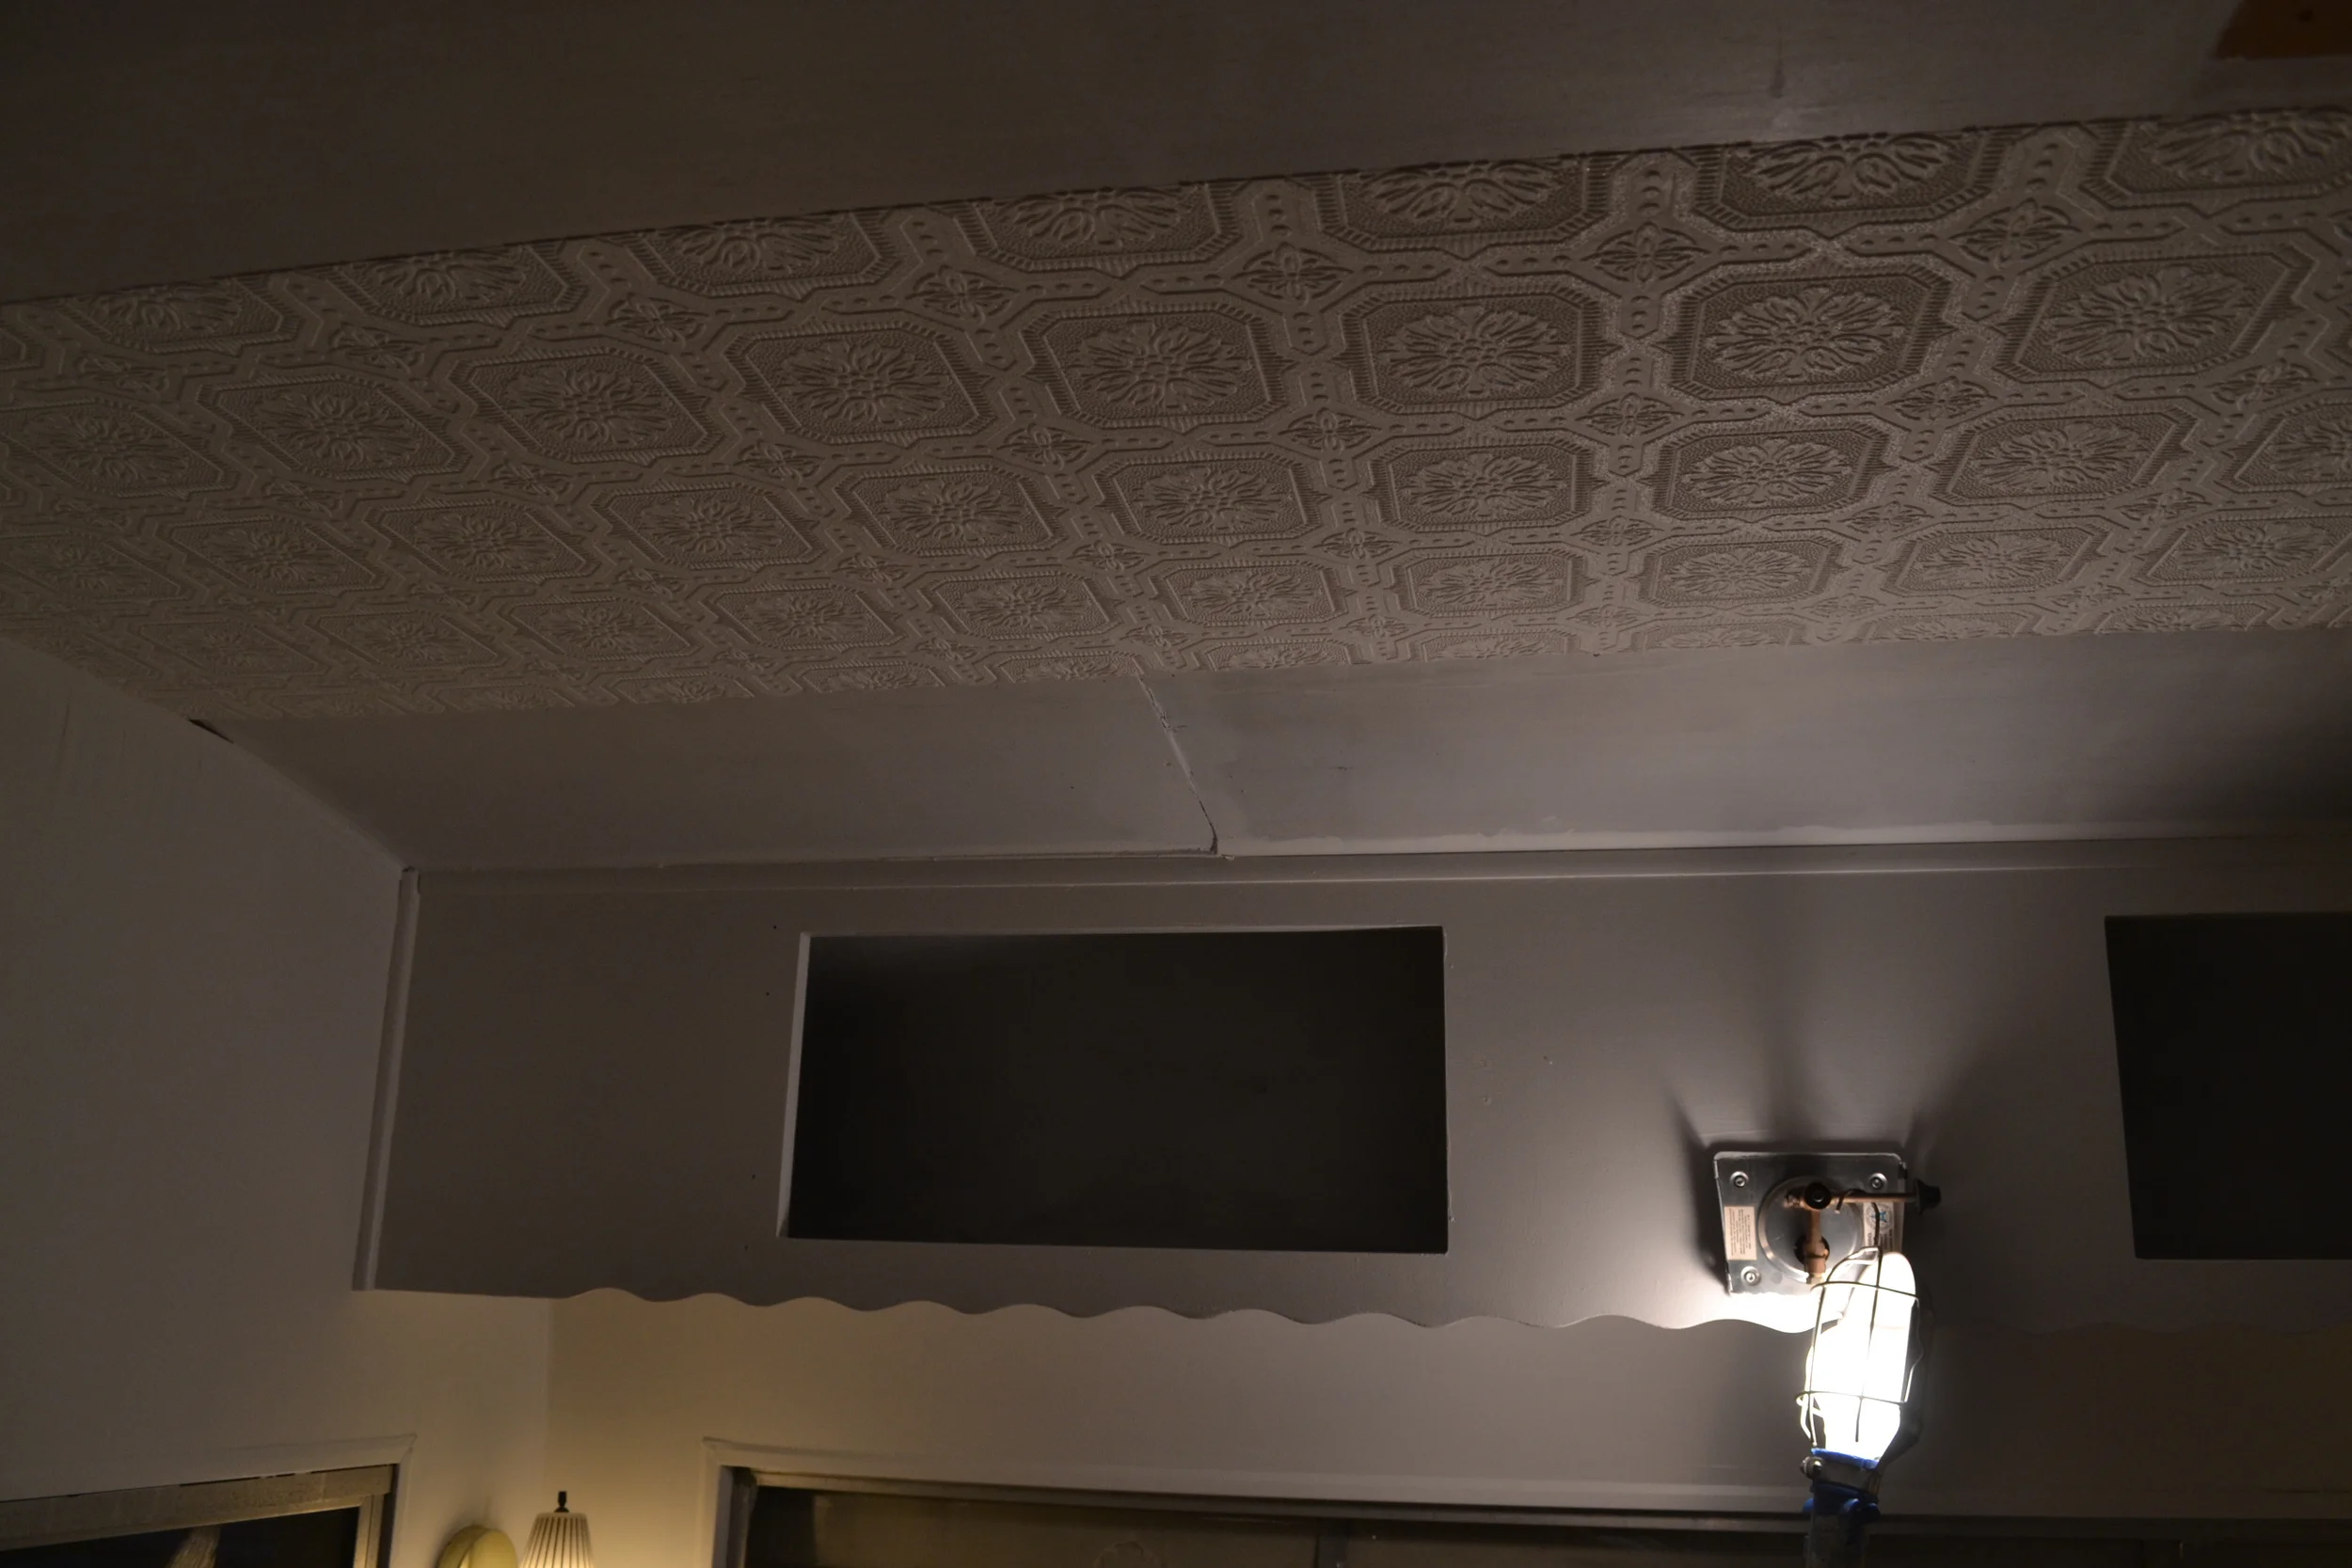
Elsie’s ceiling was a Frankenstein patchwork of bolts and seams and glue stitches once Jerry and Carson were done with it. We had a lot of ideas about how to cover the scars at first. Tin tiles, pennies, wood, paint. Then one winter day in Lowe’s (yes, that Lowe’s) I stumbled upon a white, texturized wallpaper and I was sold.
The wallpaper was relatively inexpensive at $20/roll. It had a sort of an old-timey feel, and it was thick enough to cover Frankenstein -- err Elsie’s -- face without adding a lot of bulk. We bought two rolls. And then two more rolls two weeks later. And then a few more that following month because we actually don’t know how to calculate square footage and we’re bad at guessing (Note: I once guessed a 747 airplane weighed just 600+ lbs in a game of Wits and Wagers). In total we spent $100 on our wallpaper ceiling and still to this day we’ll catch Jerry looking at it, a smirk on his face, happy that we’d finally made a decision on our own that turned out okay.
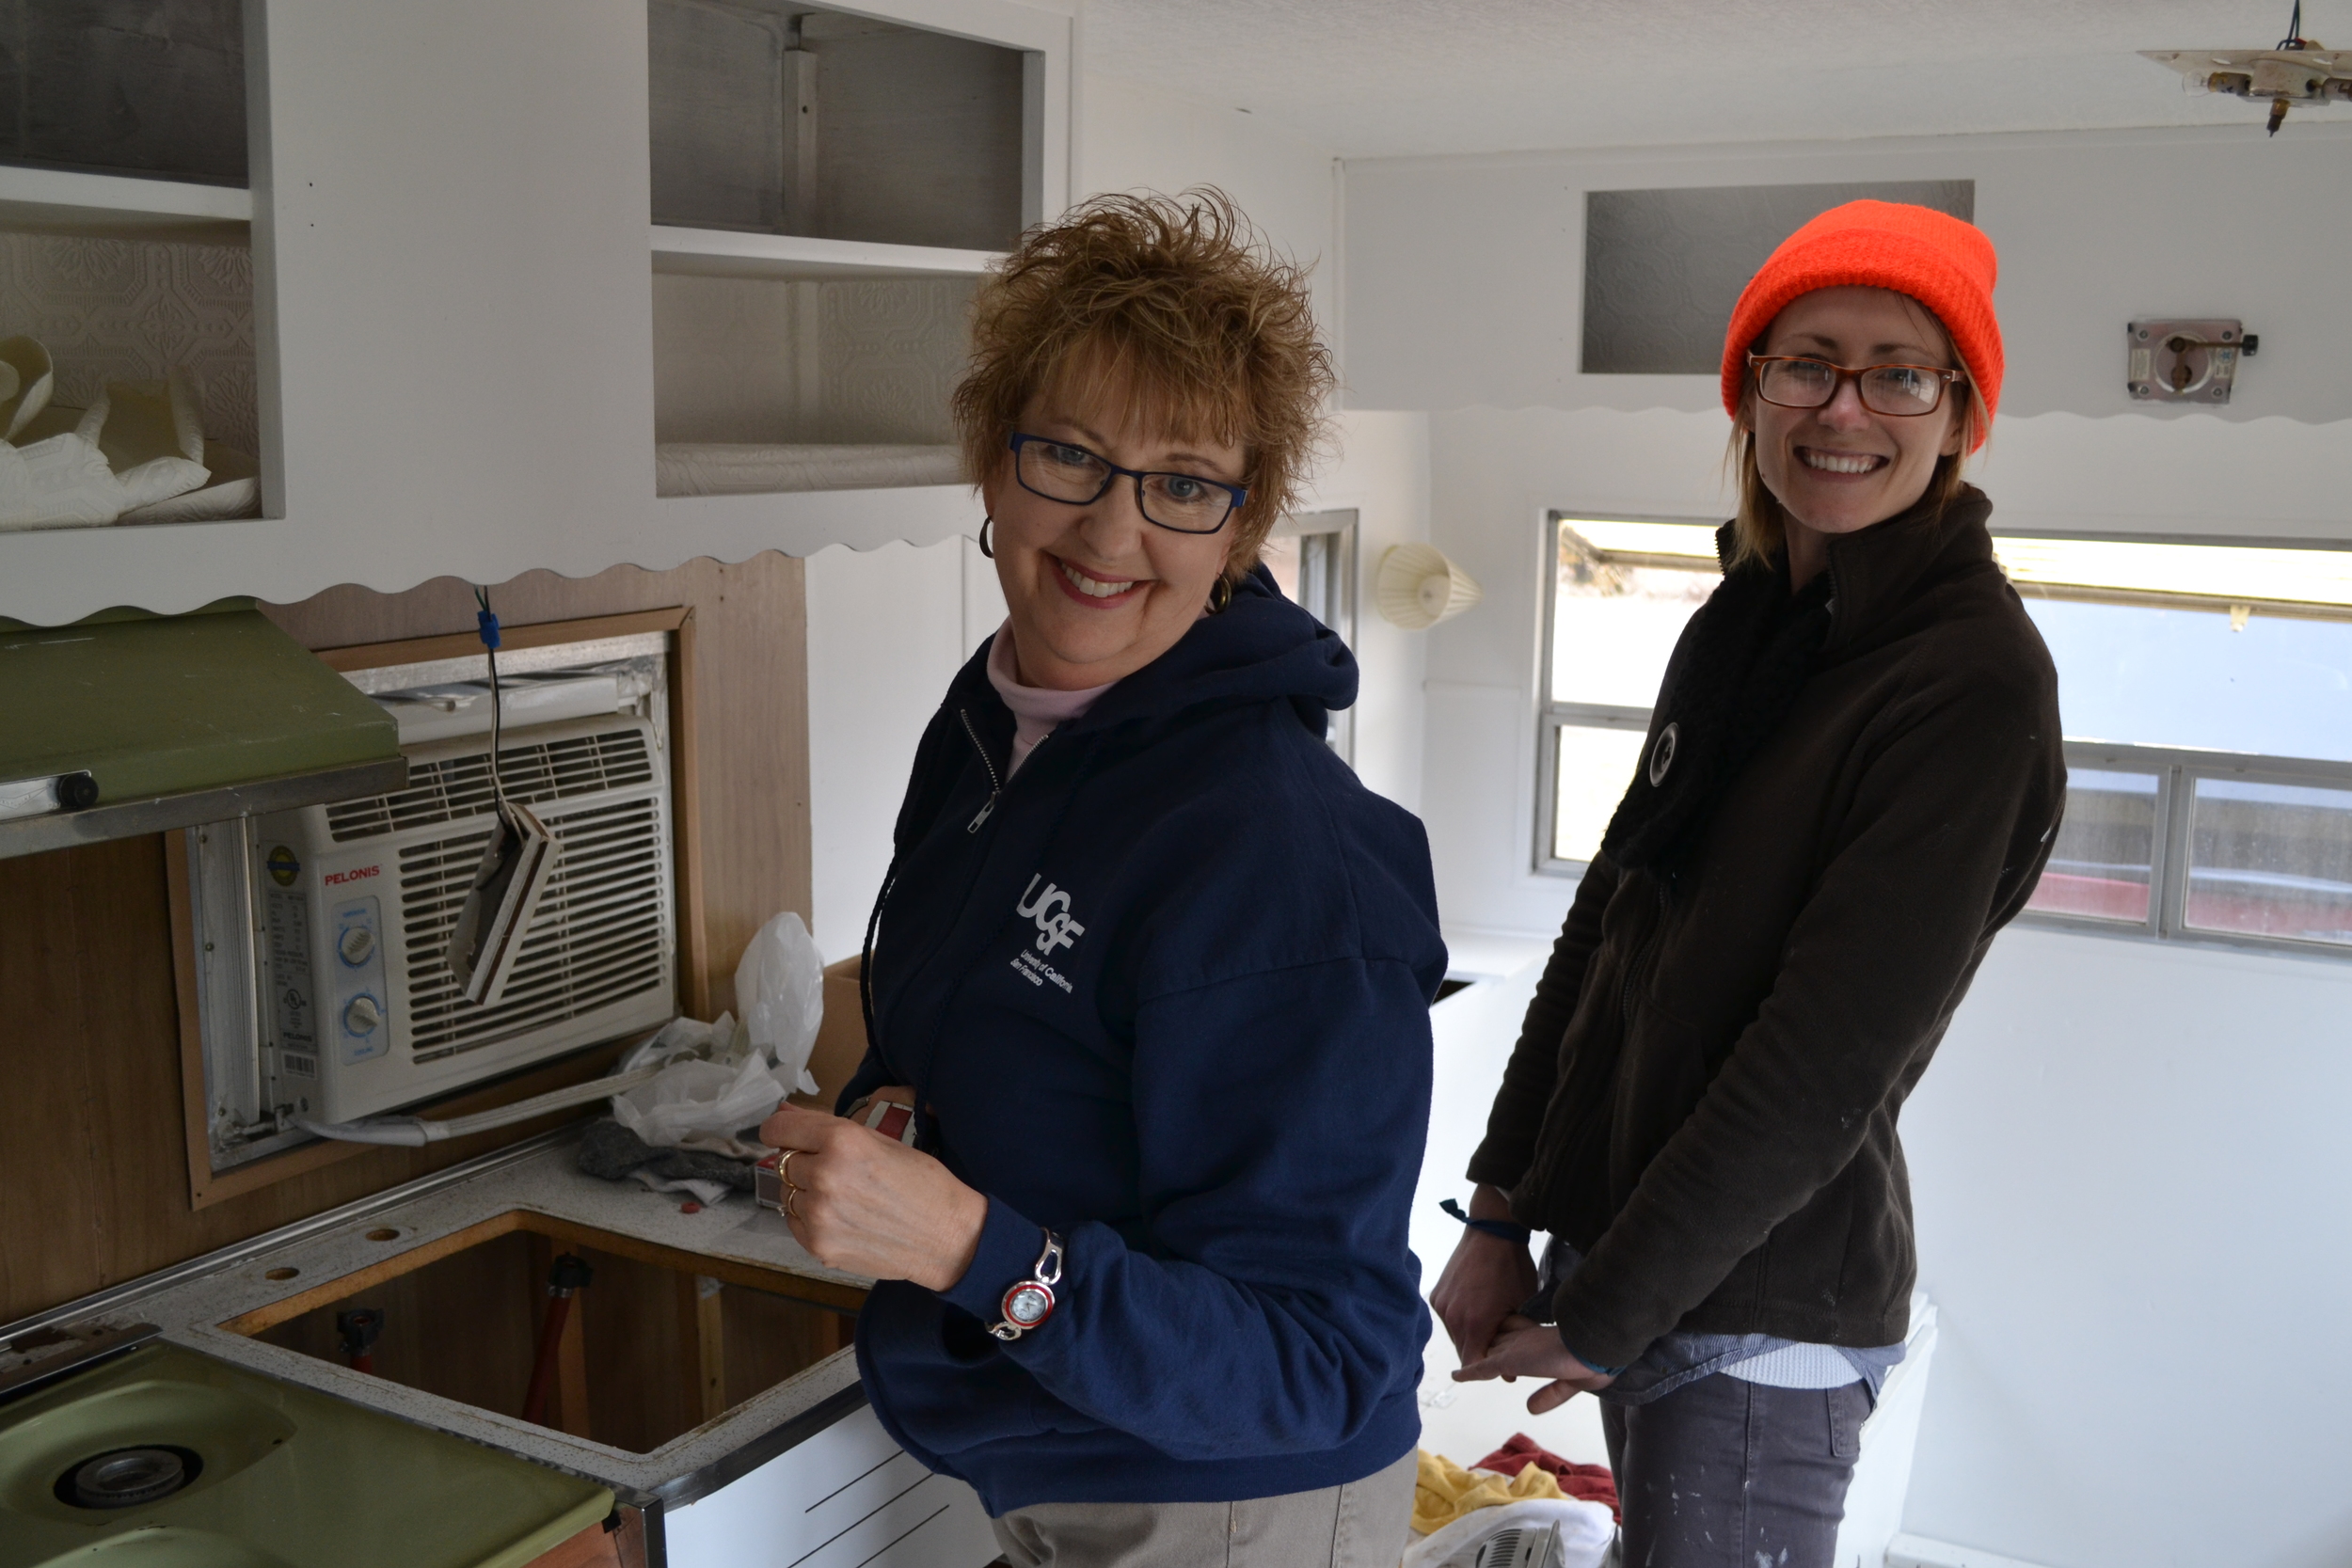
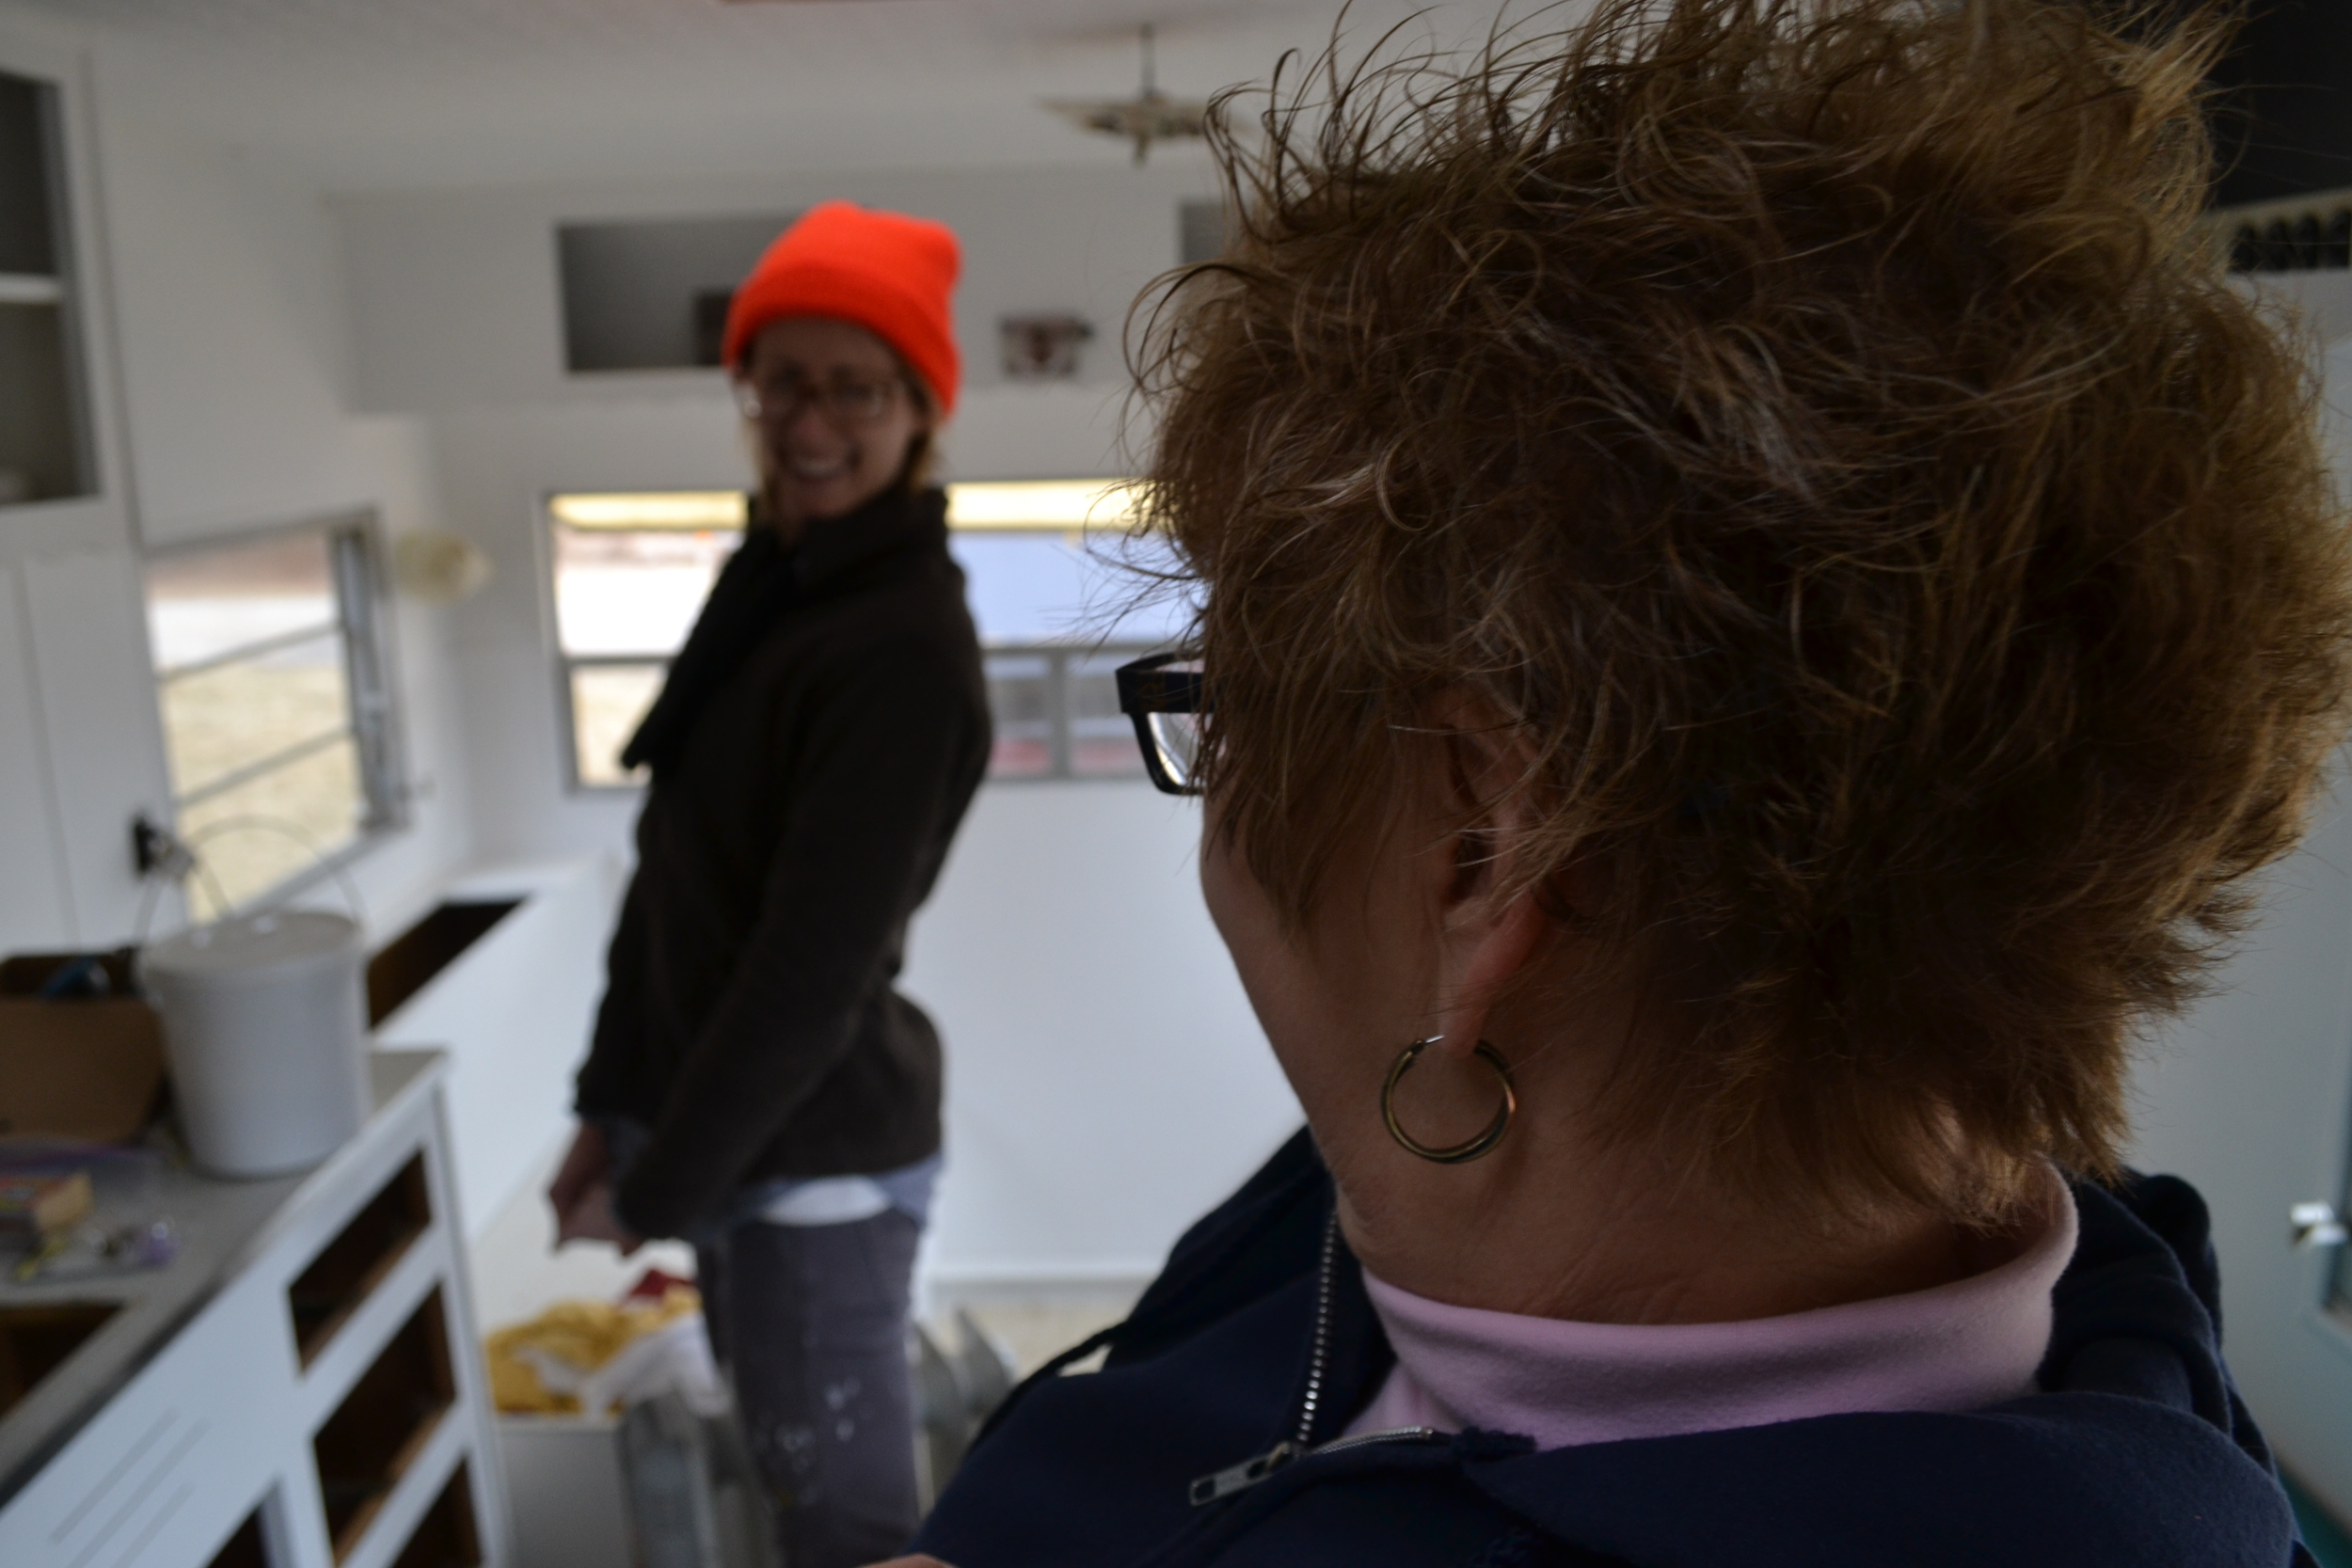
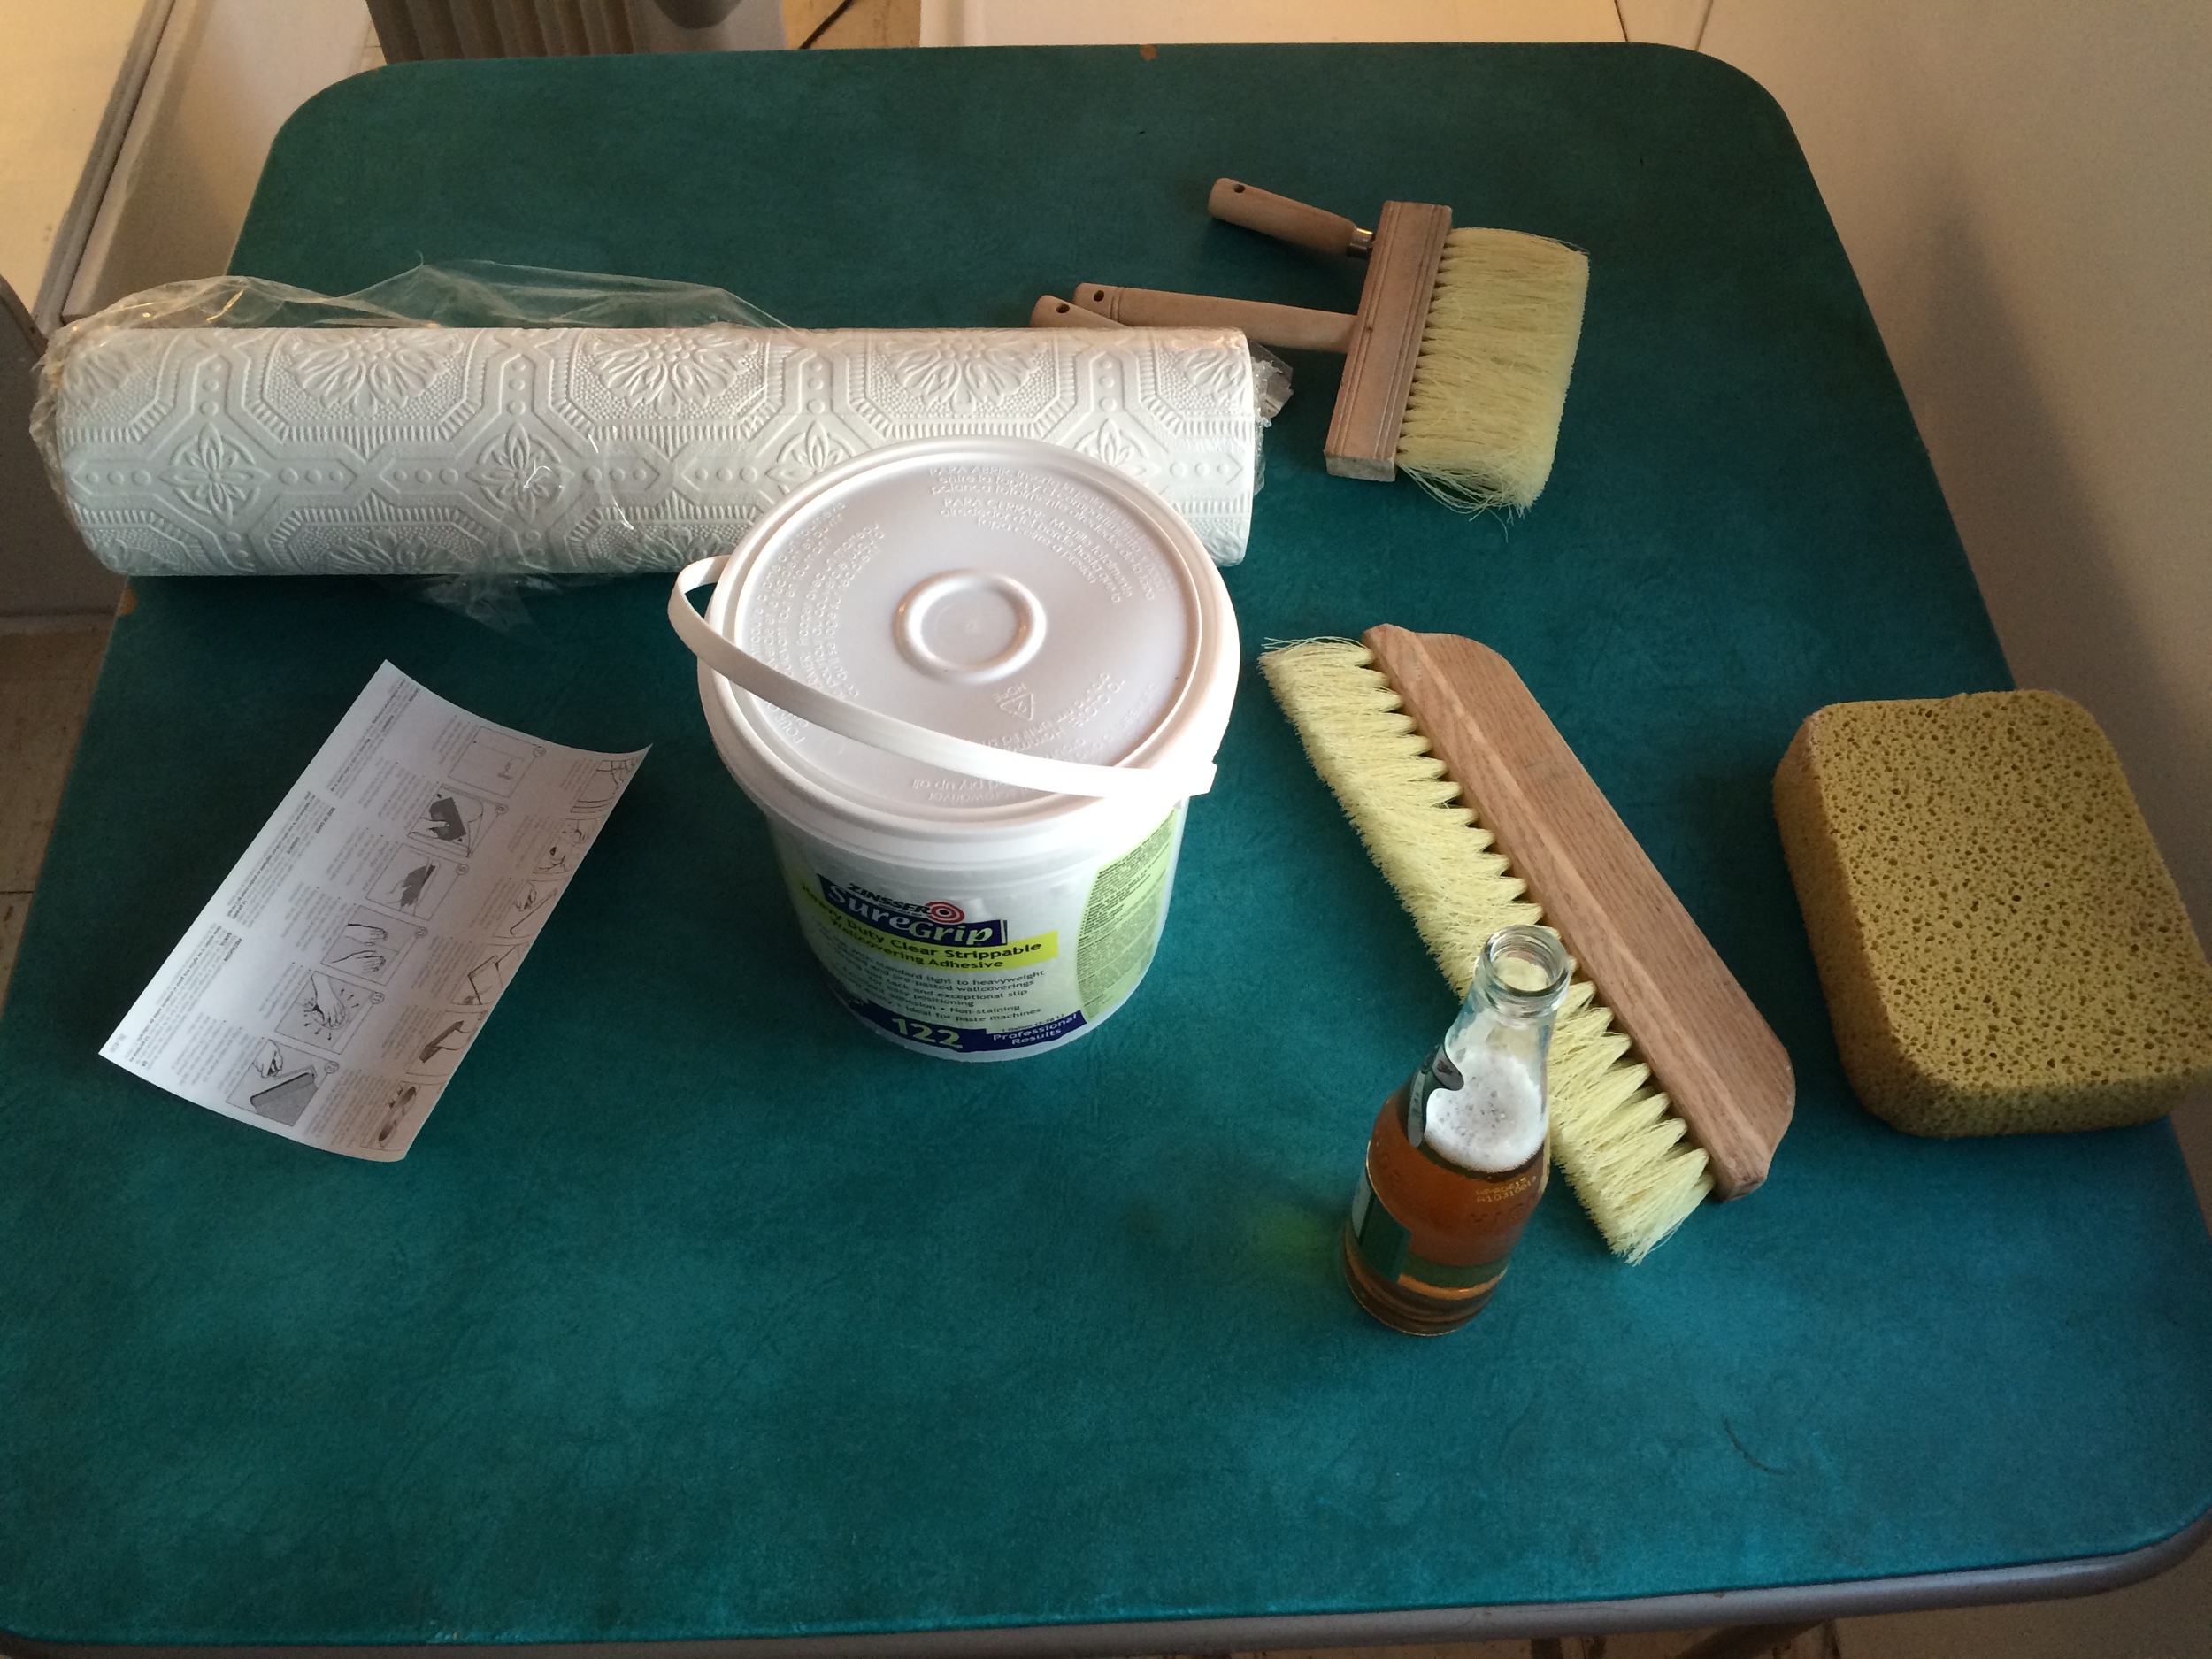
Mary, it turns out, is a dark wizard of wallpaper (see Marc Maron, our travel podcast companion). She did this crazy checkerboard room in the basement of her Broken Bow ranch home, and a plethora of other patterns around the house. She even had a plastic storage bin labeled “wallpaper stuff” with paste and brushes already in it.

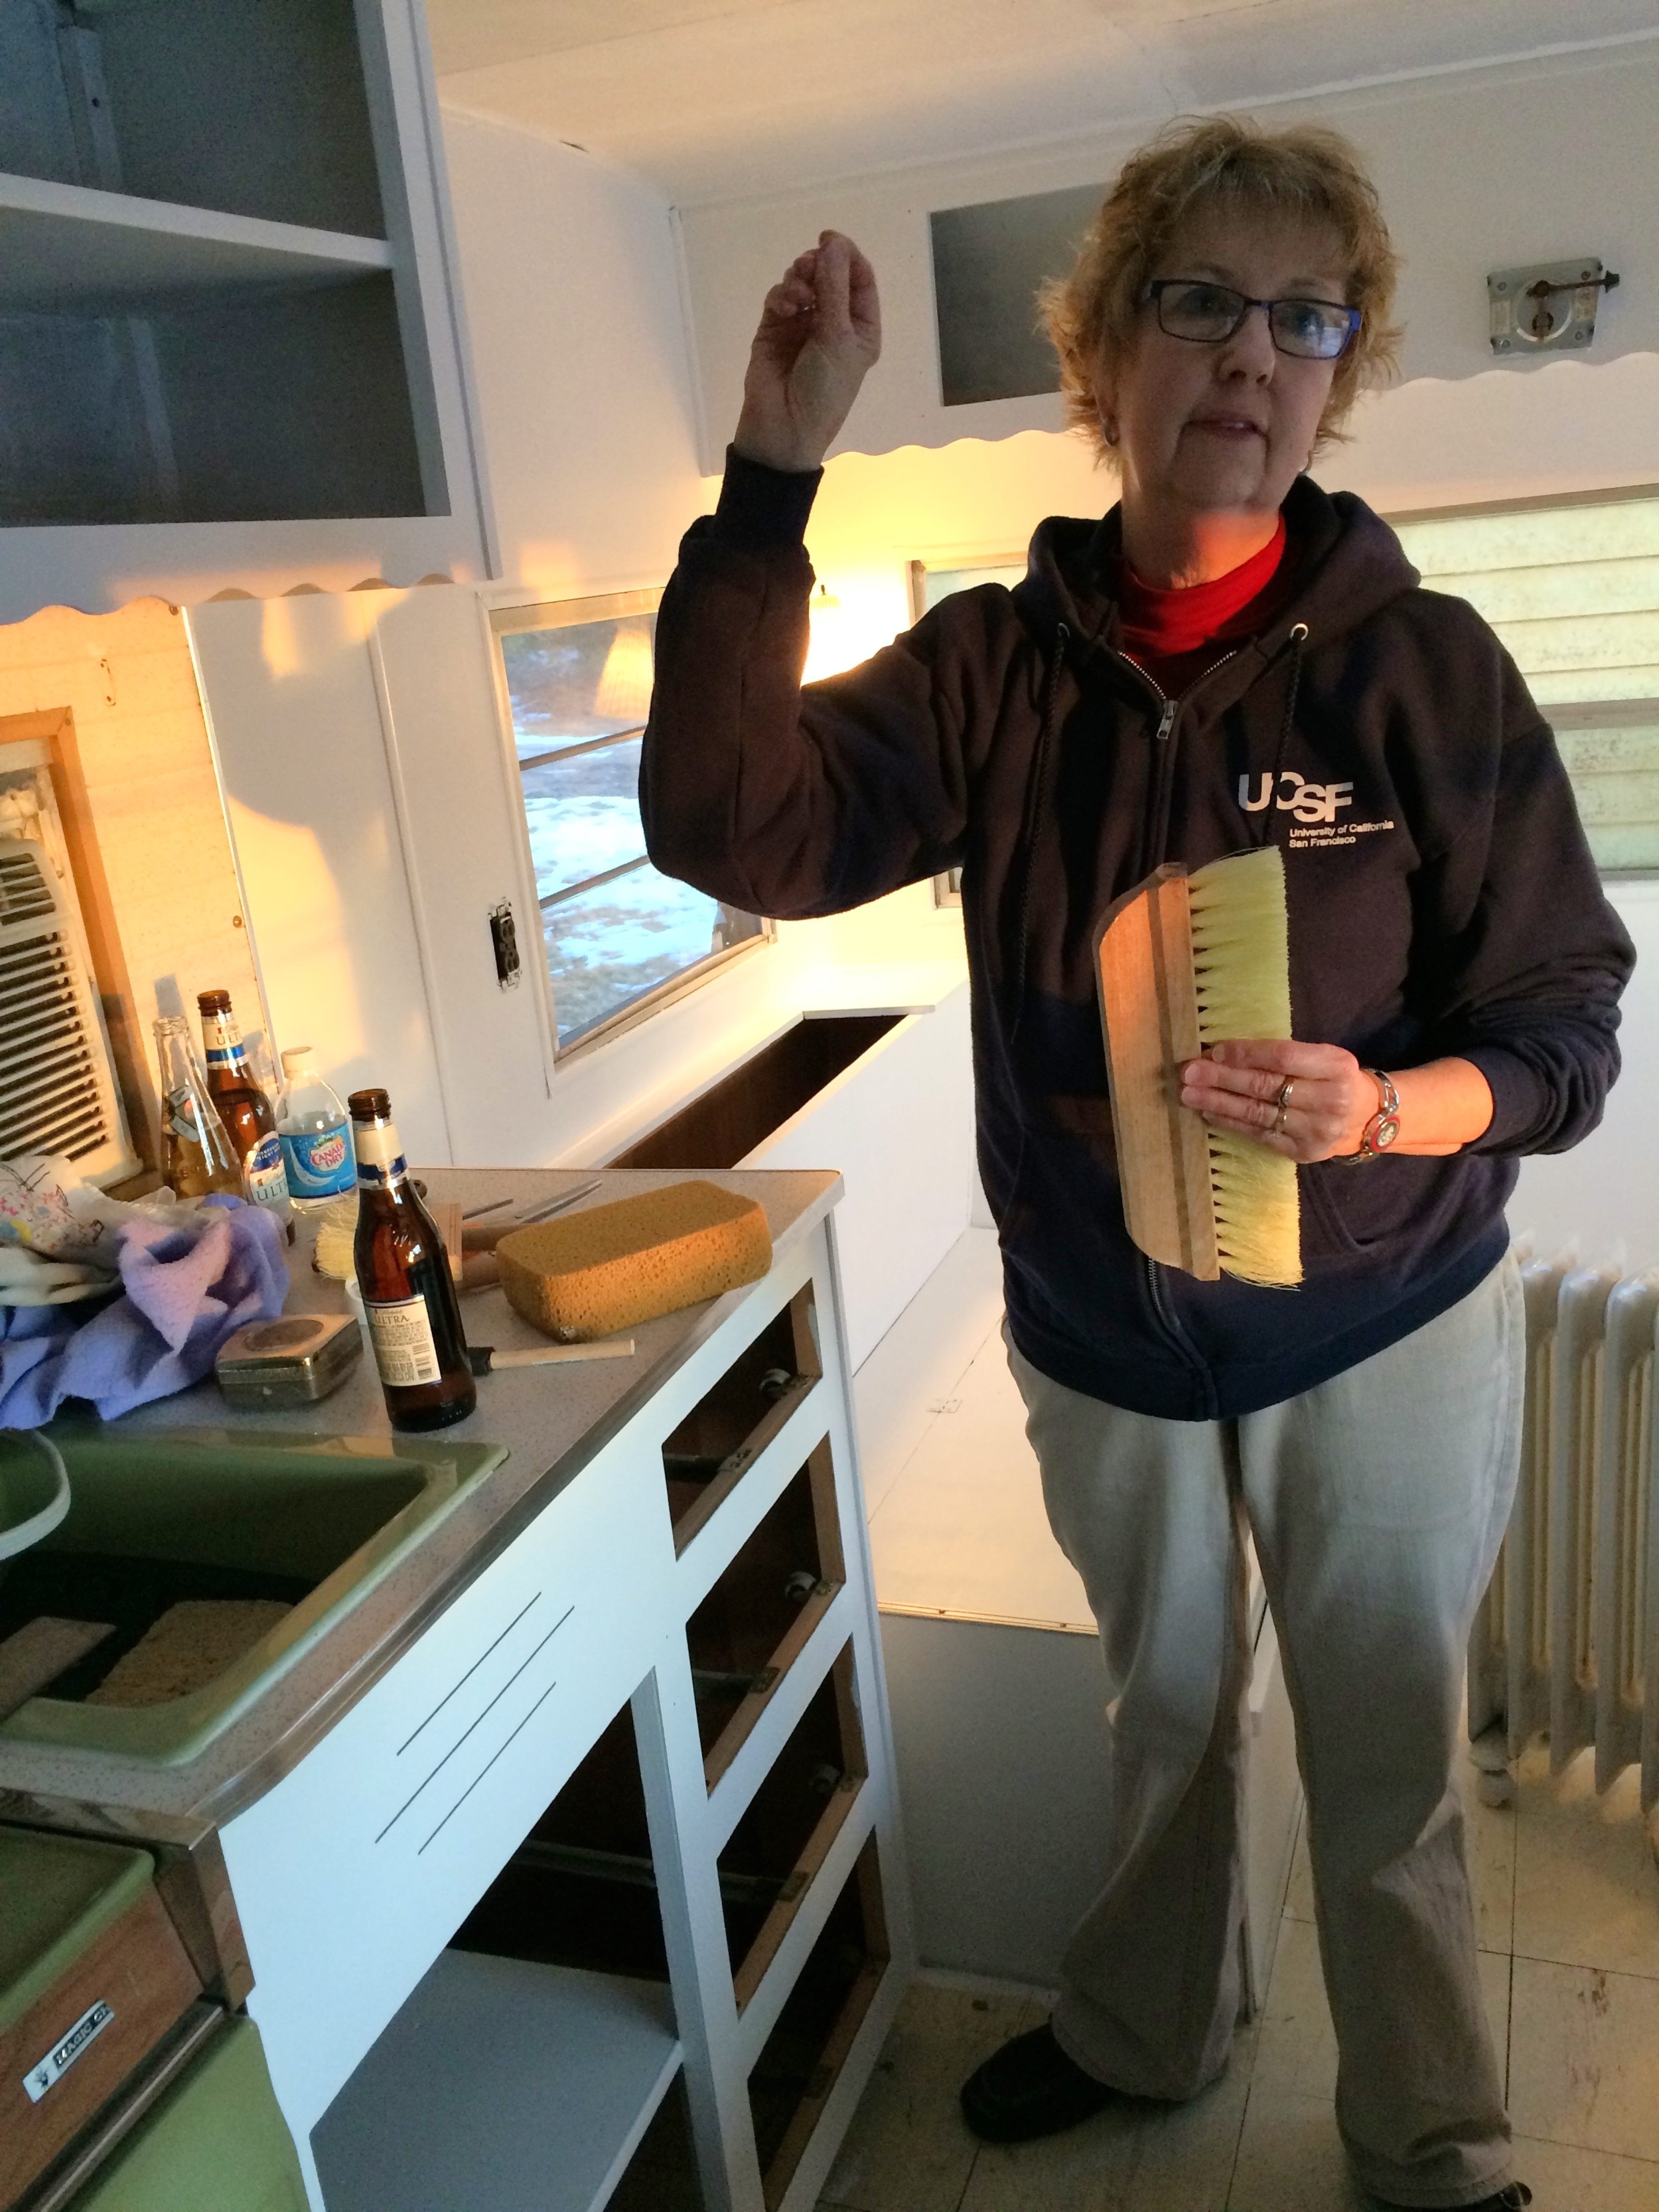
Mary had 5 rules to wallpapering:
1. Start with a nice easy strip. We chose to follow a joint along our ceiling and work horizontally, not vertically. If we’d wallpapered from front to back and not side to side, we would have had longer strips to work with but less control.
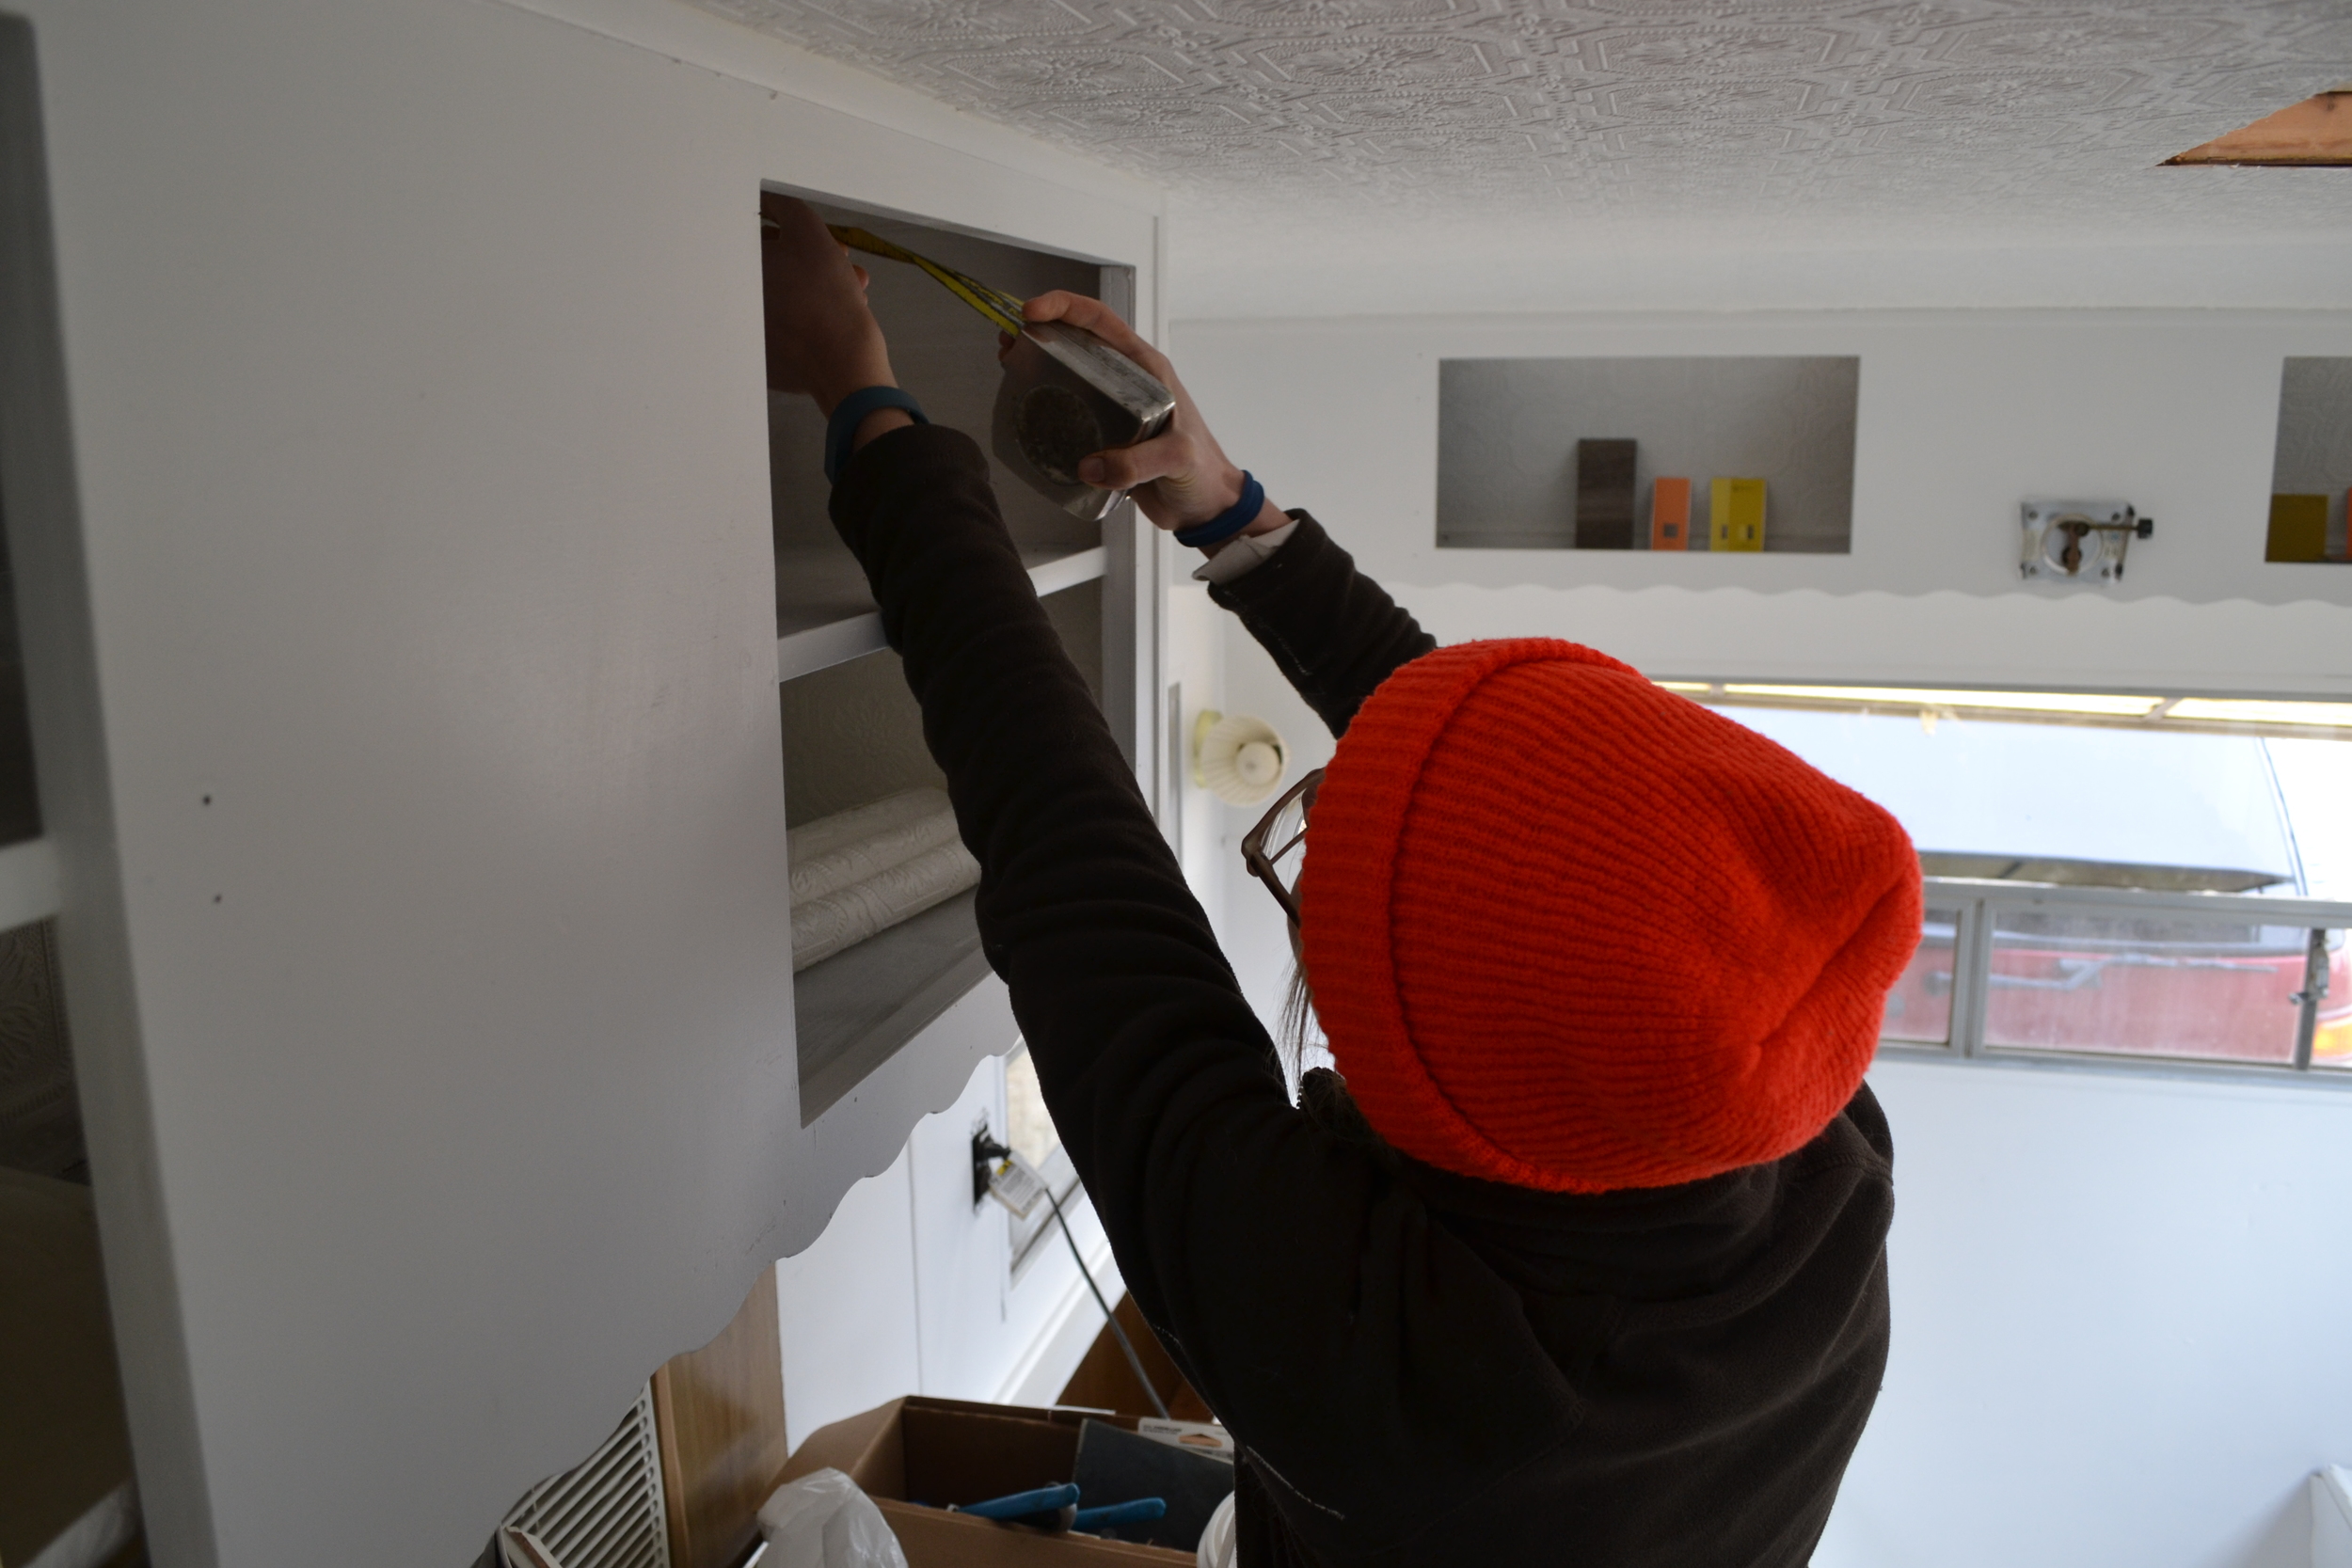
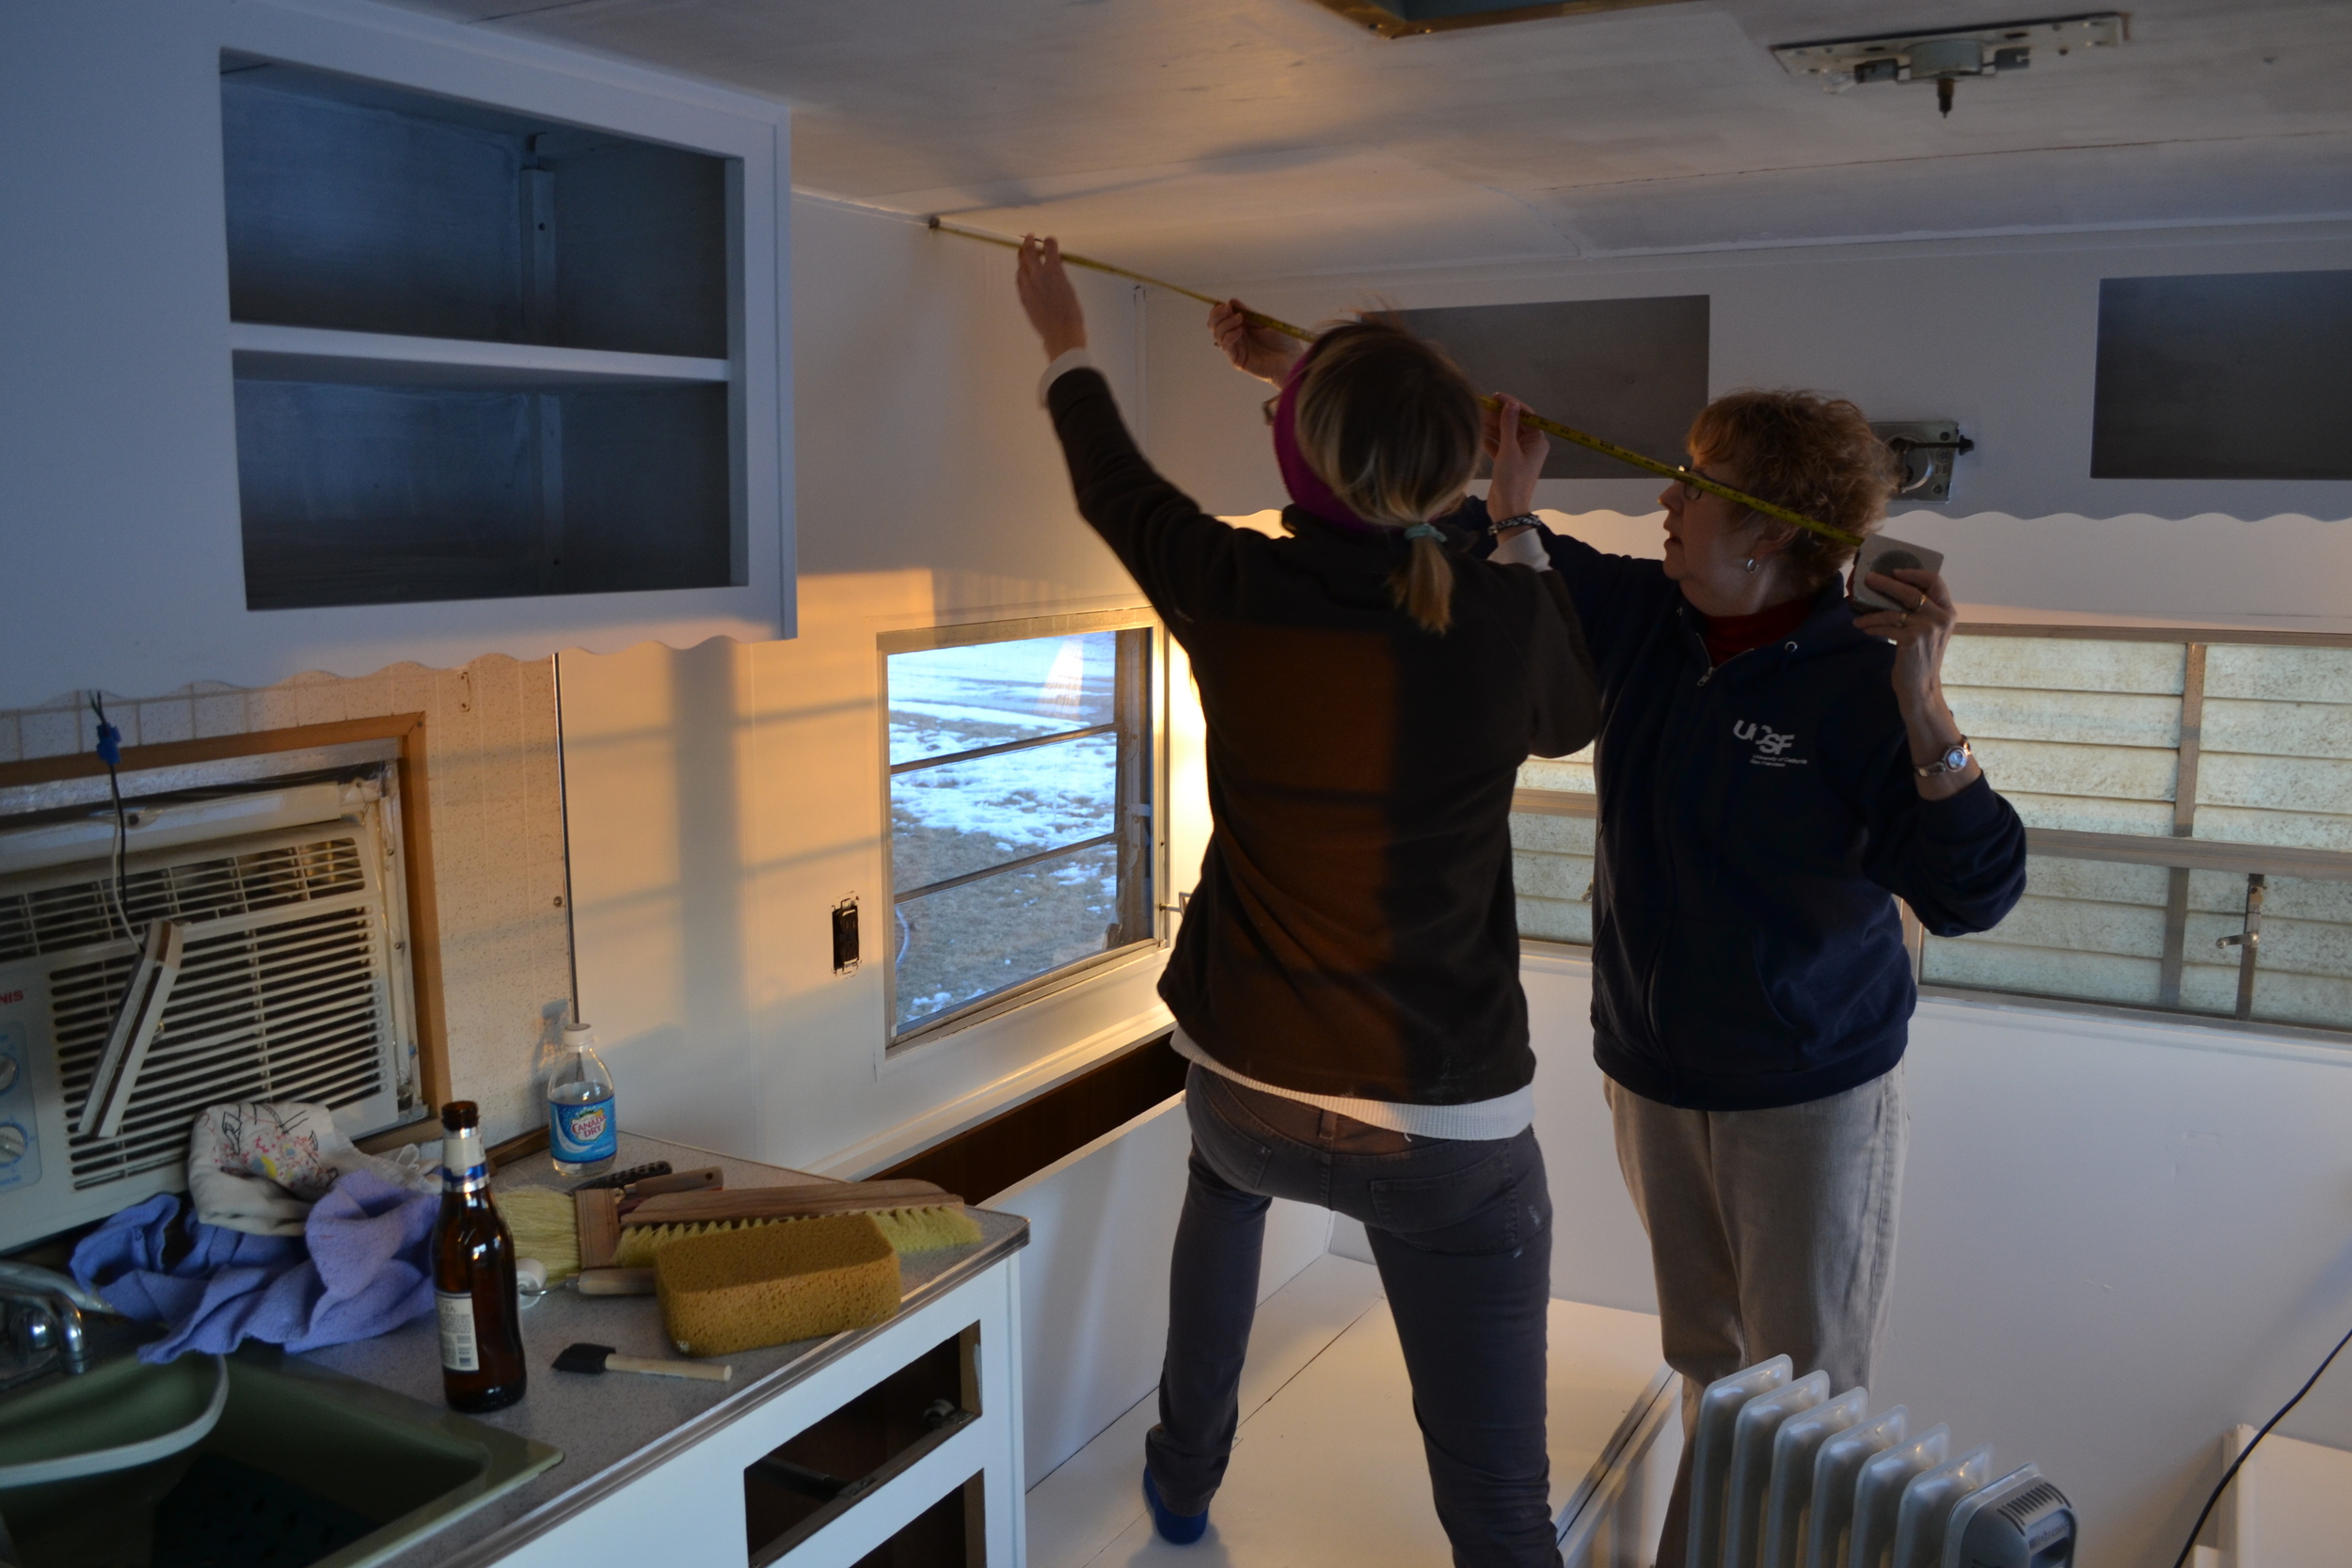
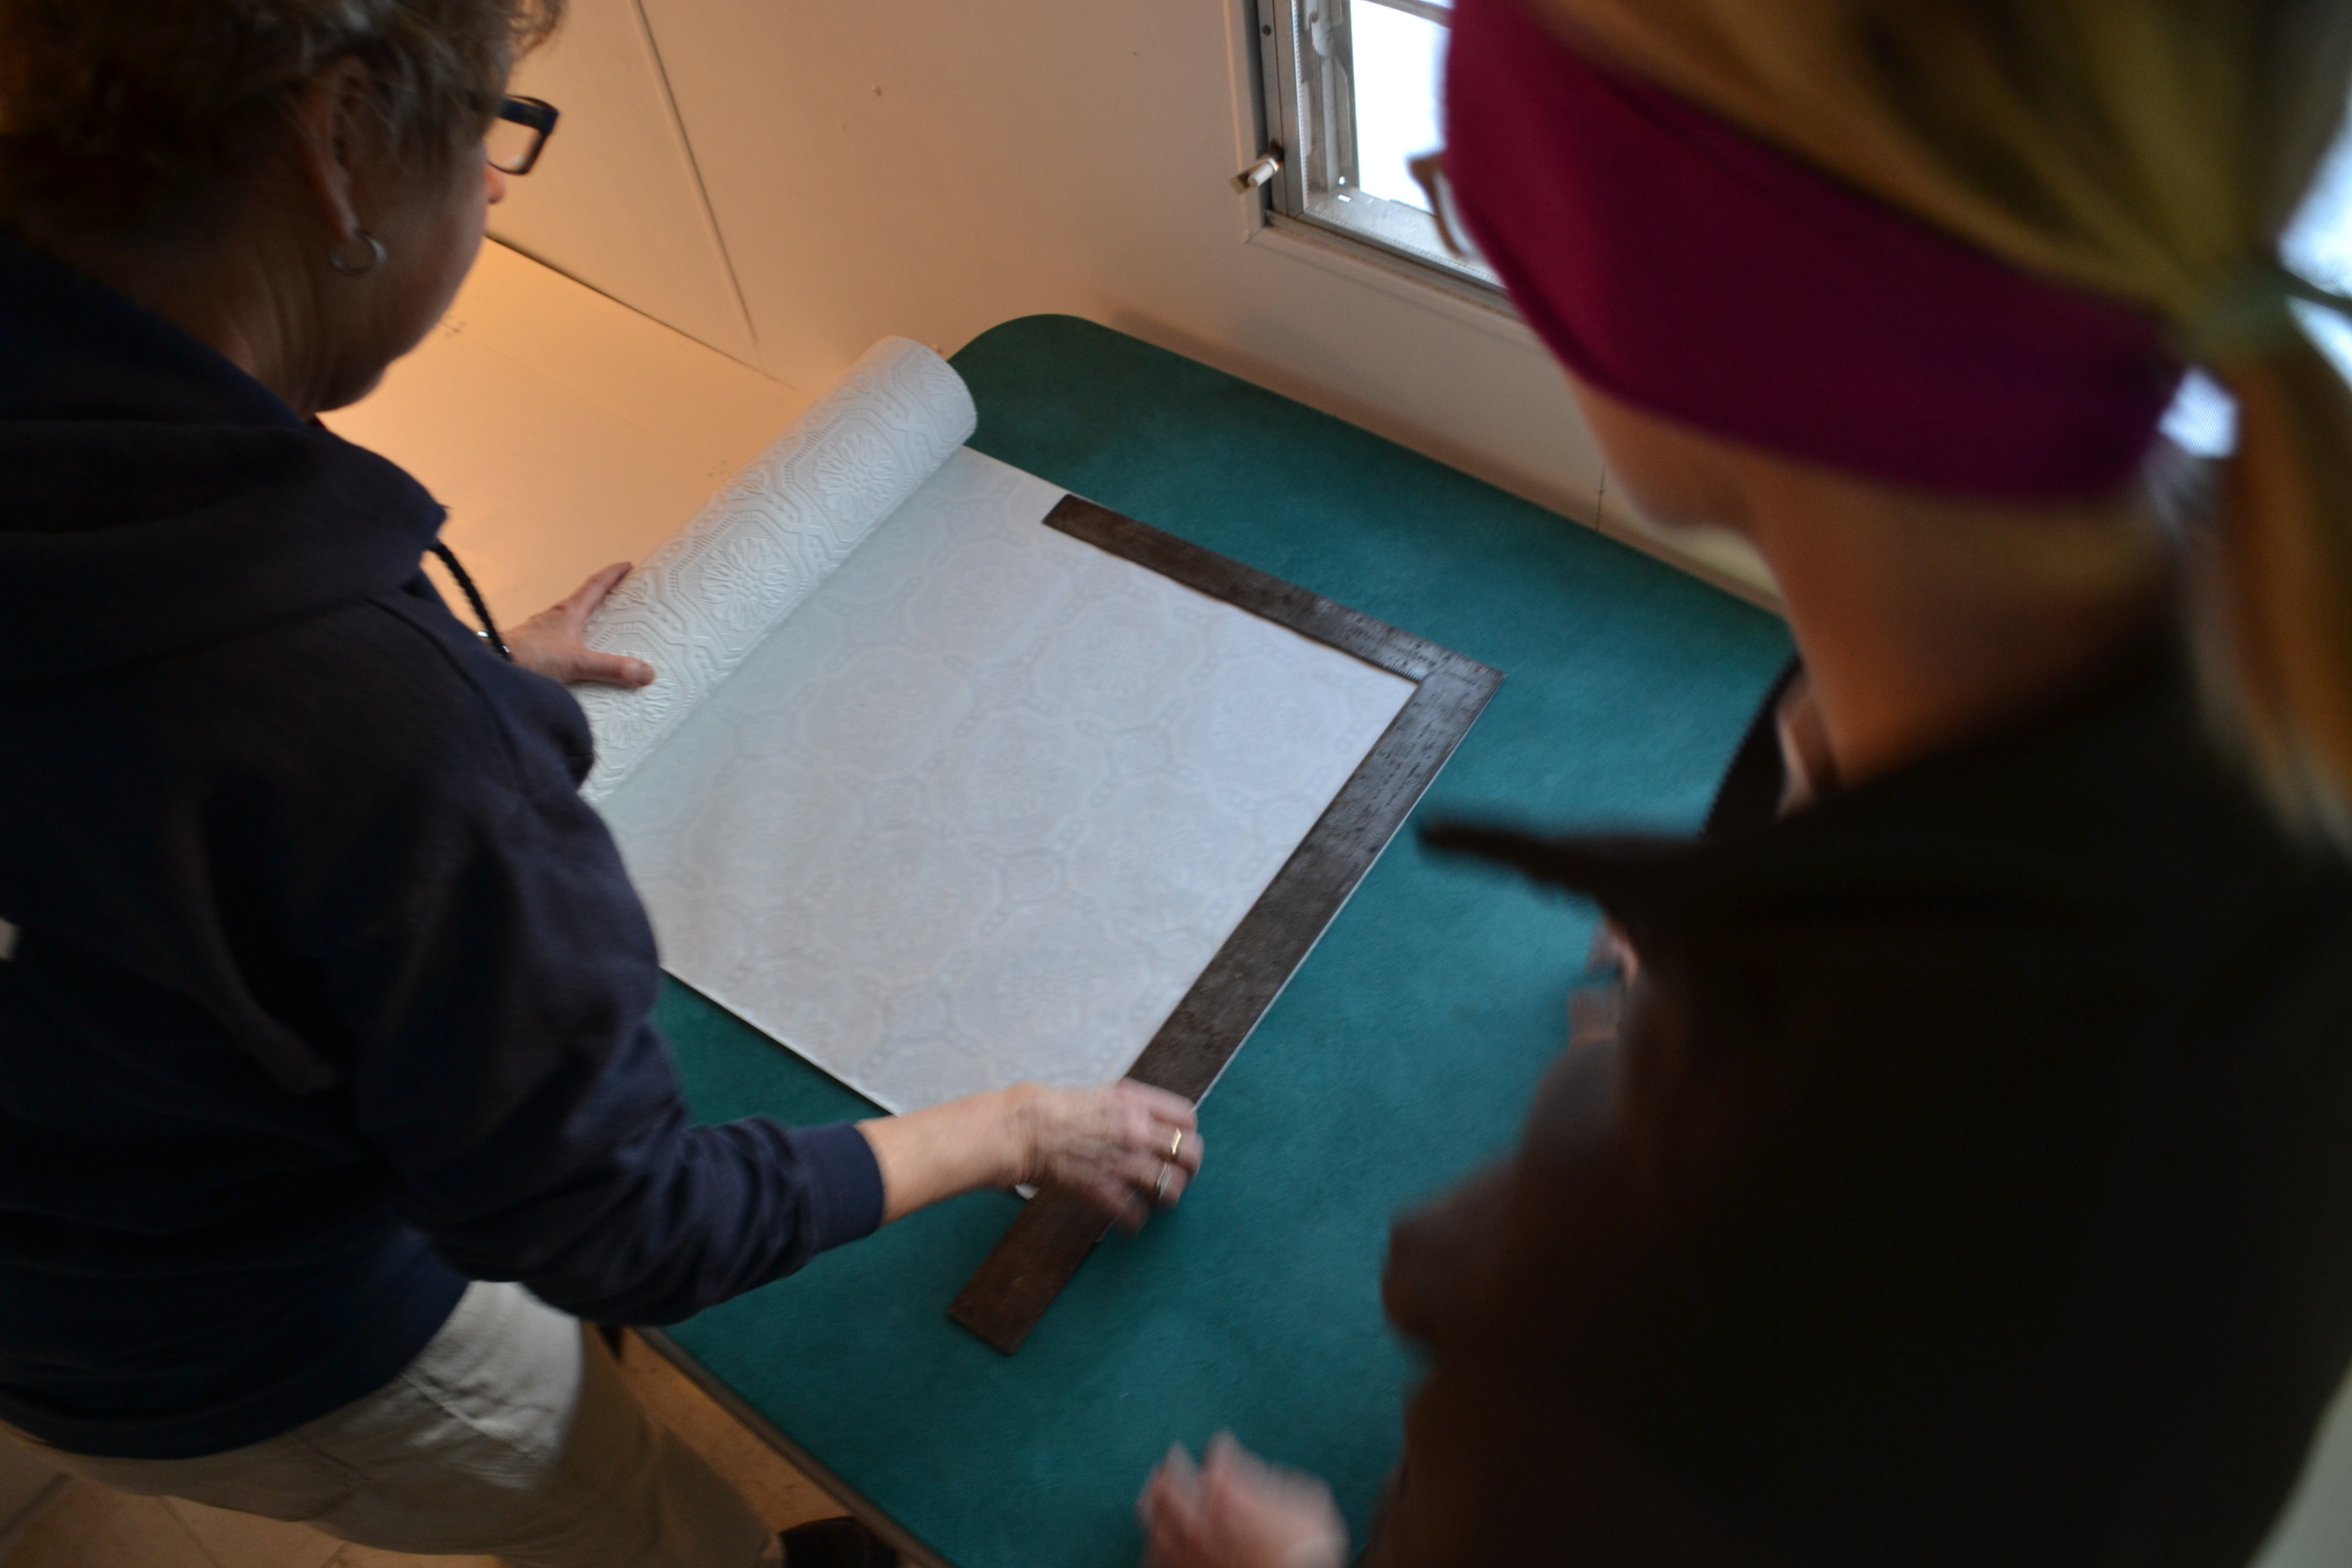
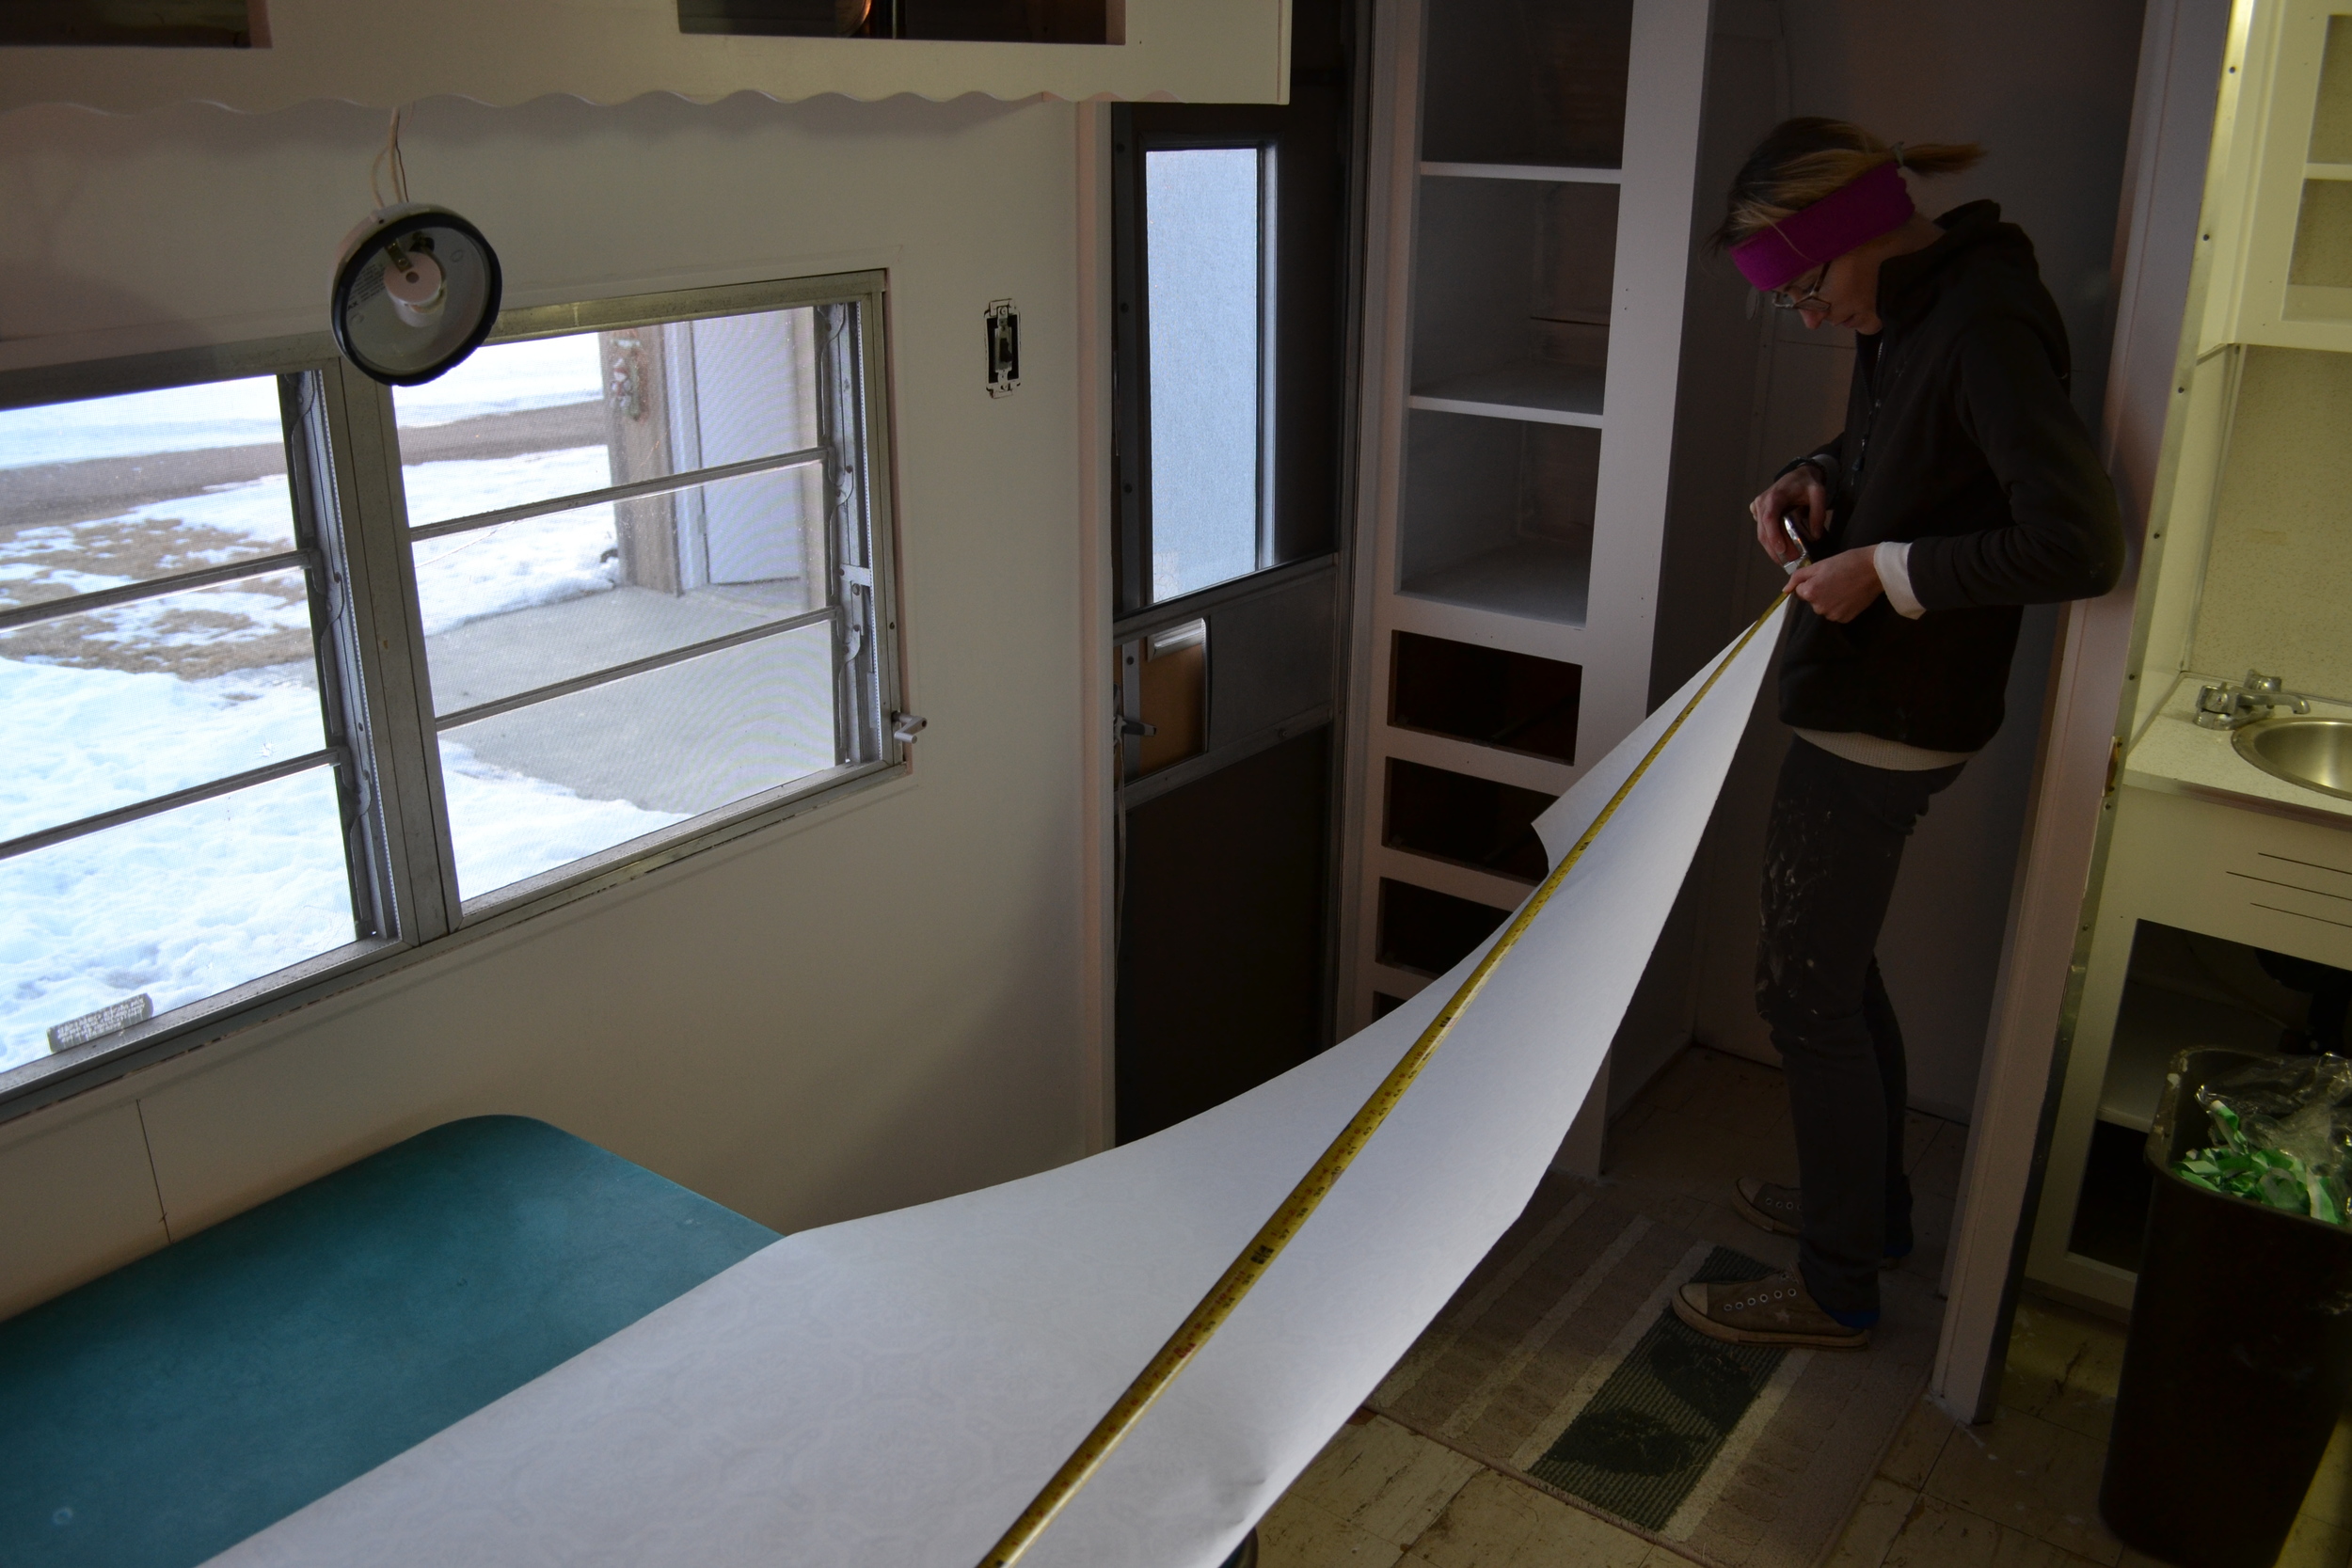
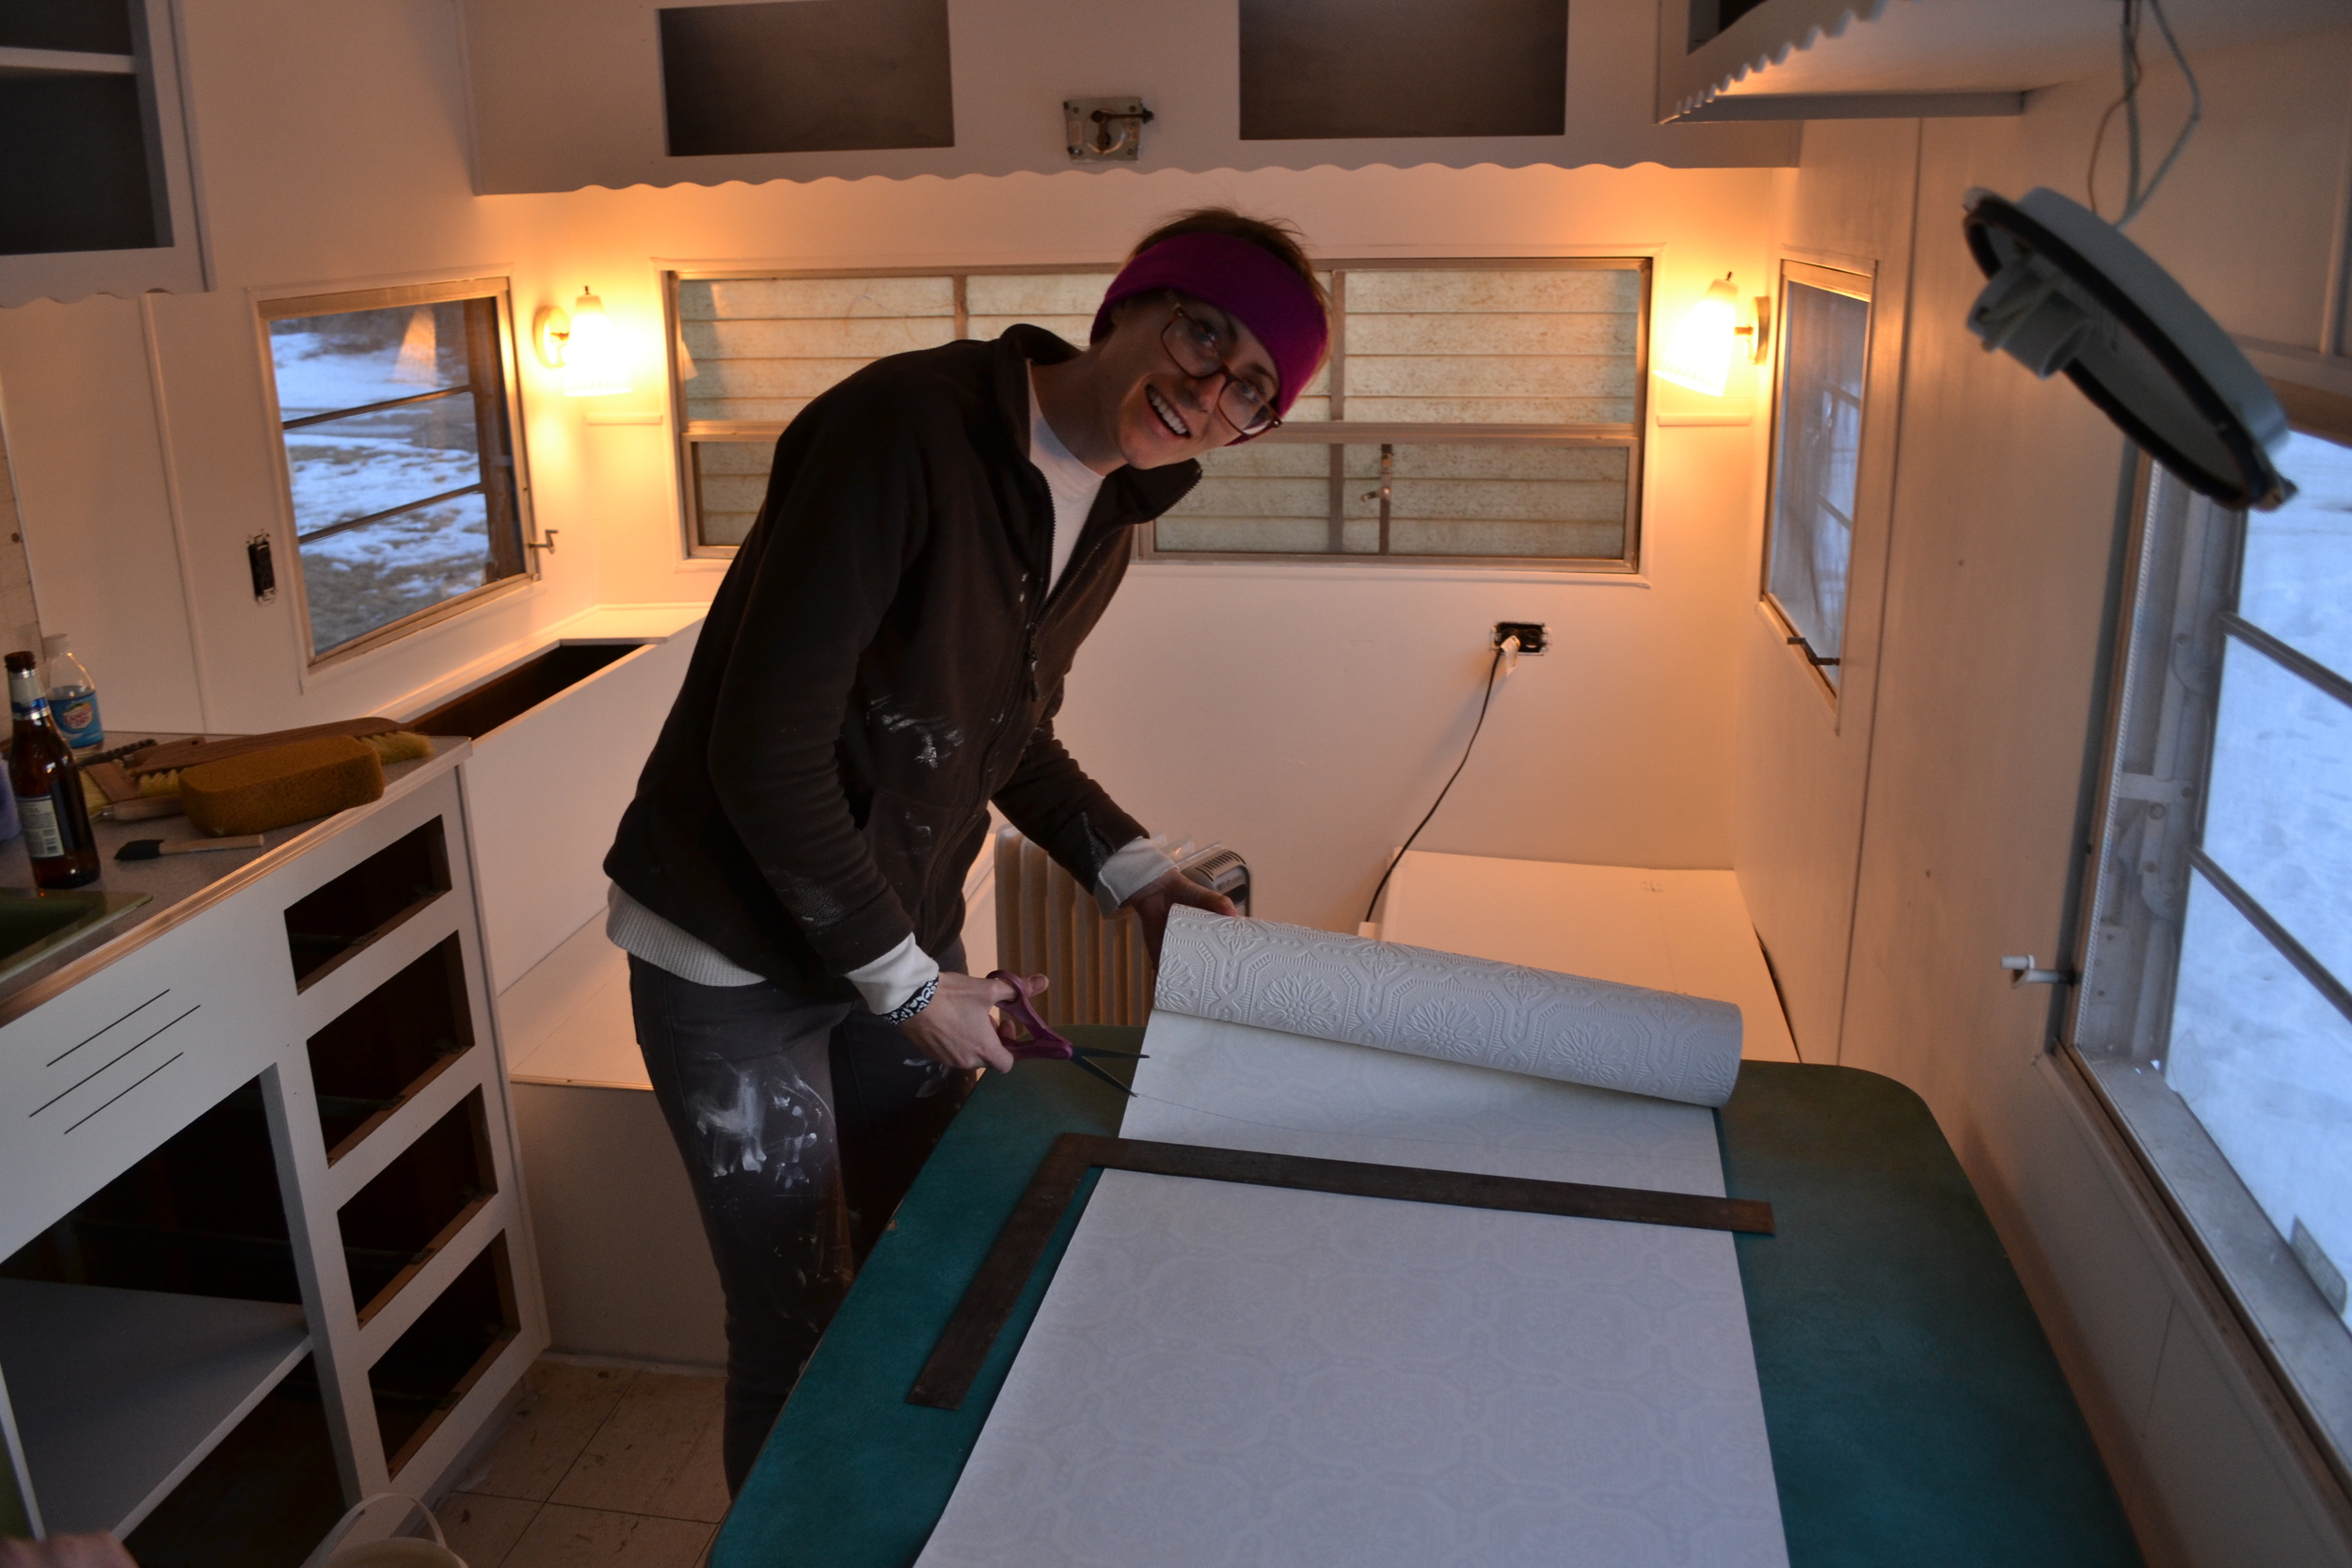
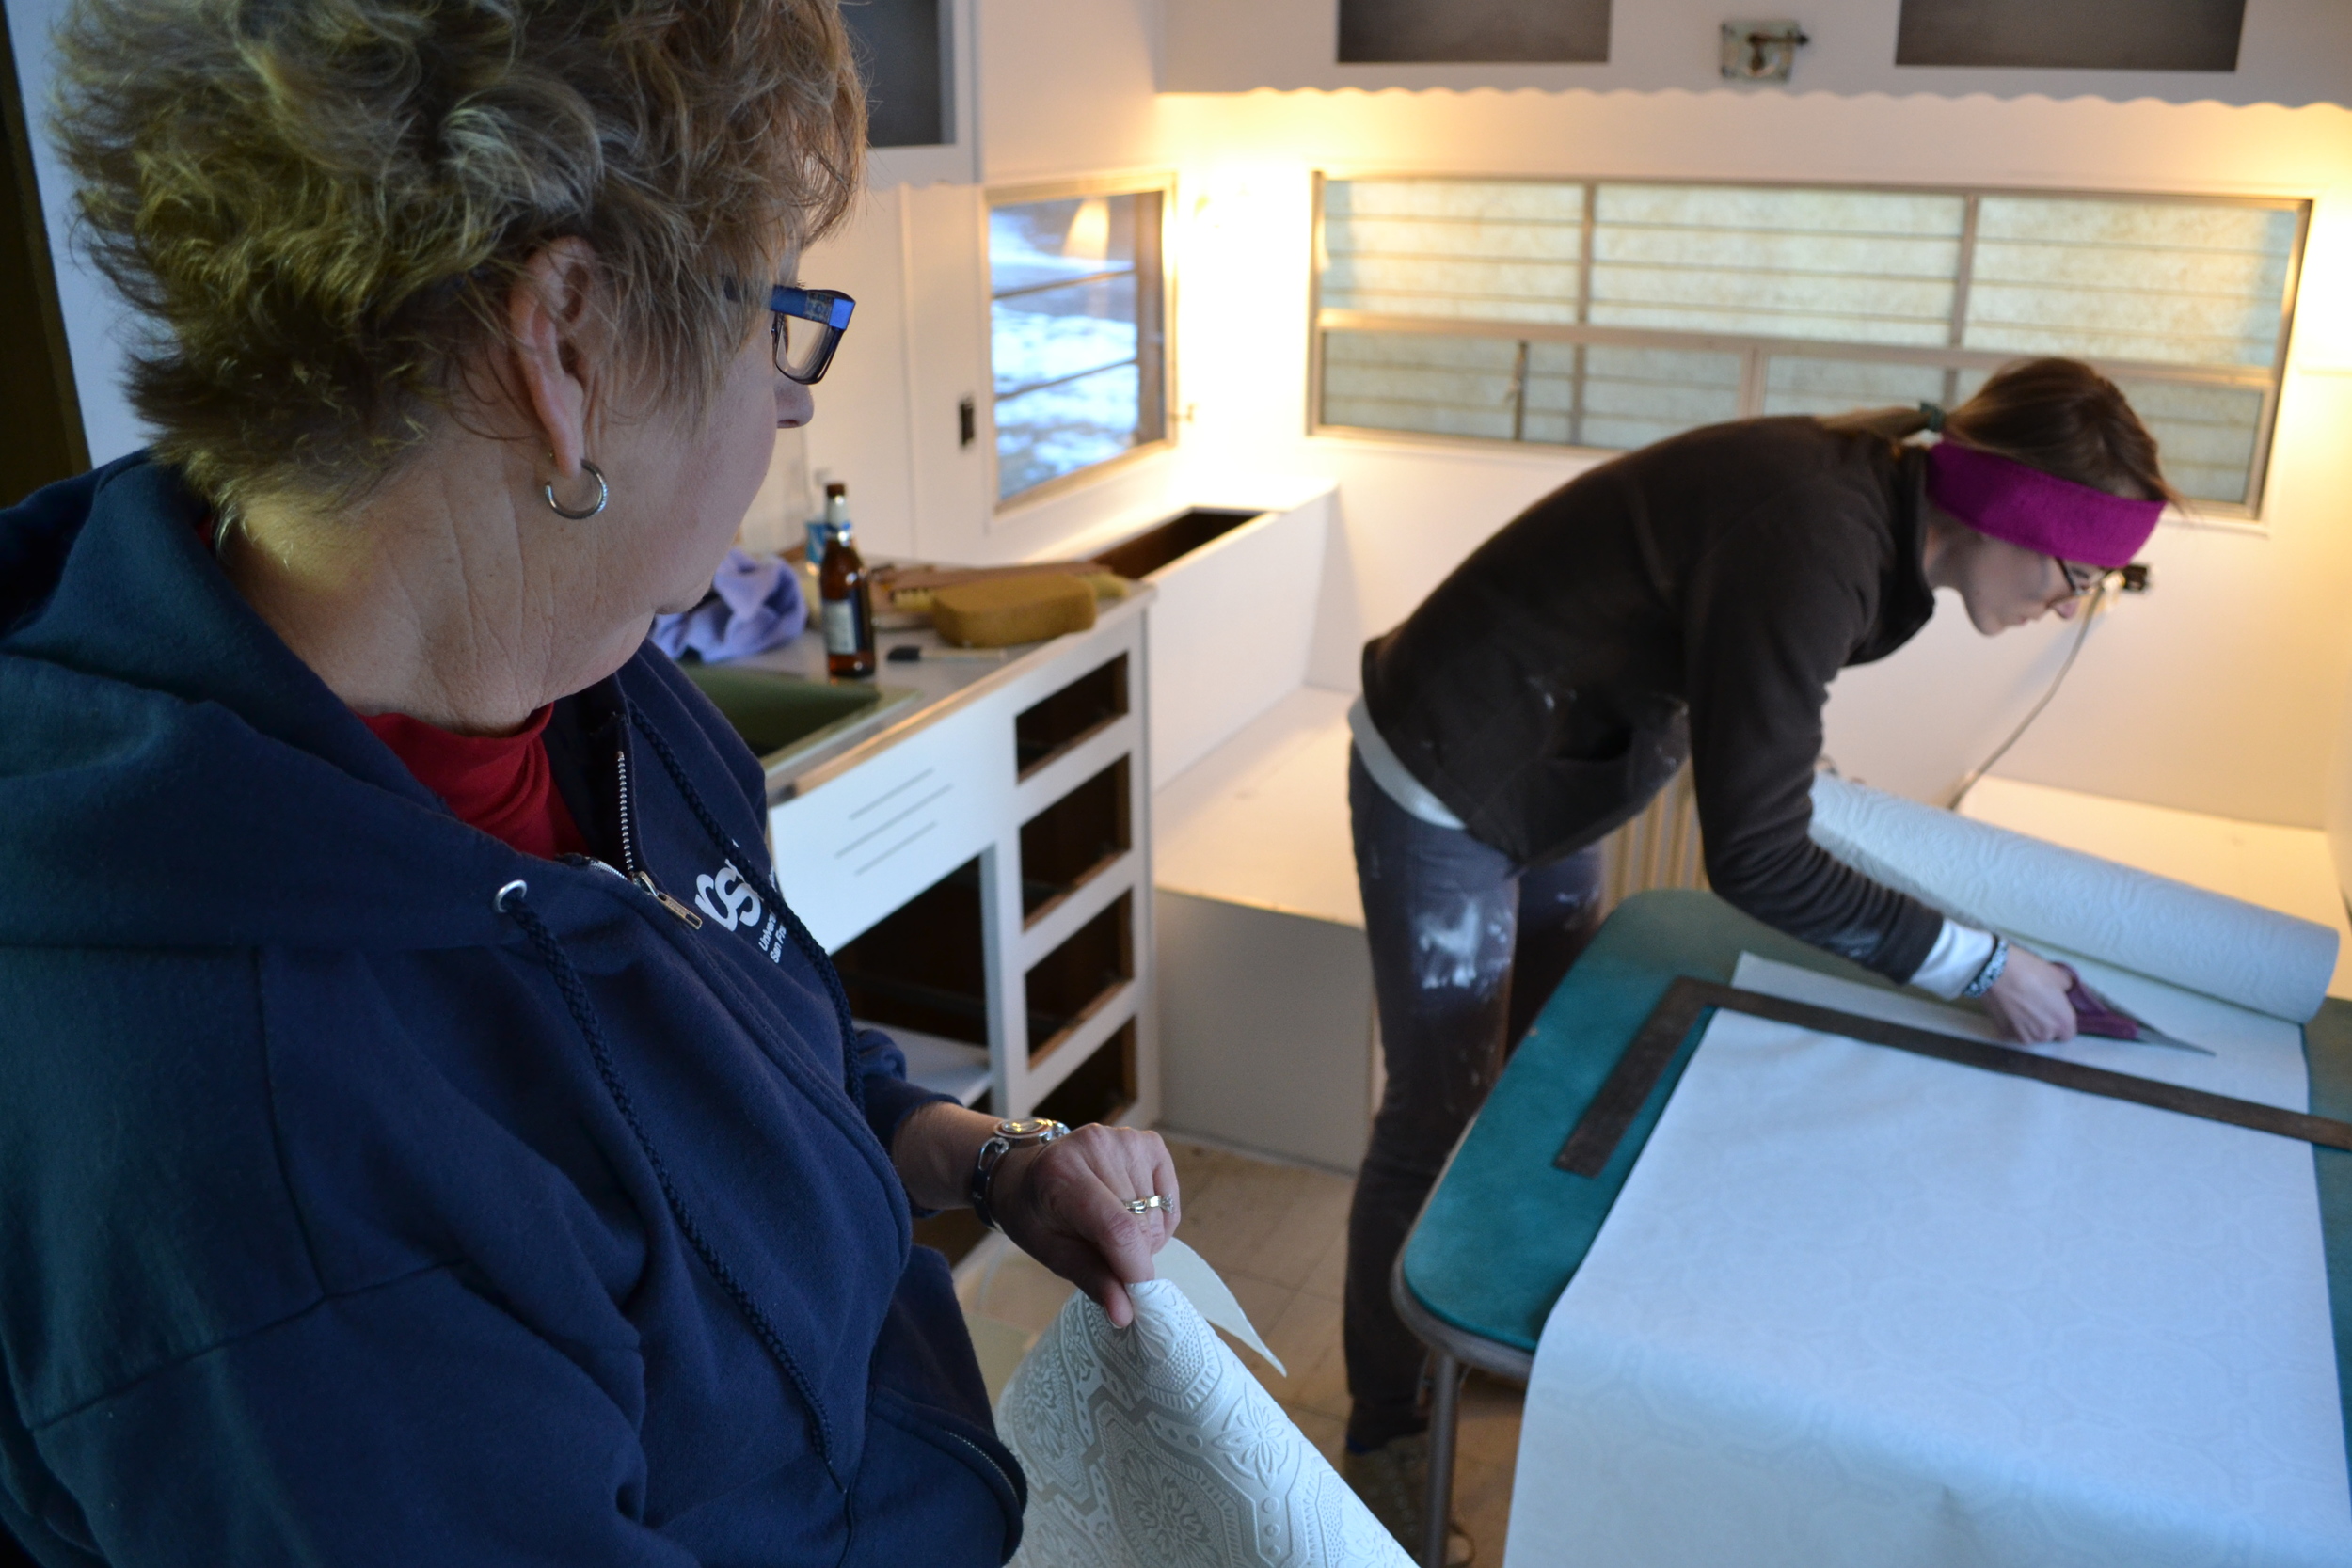
2. Measure and cut. Great news is you don’t have to do a lot of measuring or be precise because you can cut off the excess paper once it’s up. We would usually hold the roll up, roll it out, make a crease about where we’d want to stop/cut, and then add a few inches. Tip: Go long. You can’t add paper, but you can always cut the excess off.
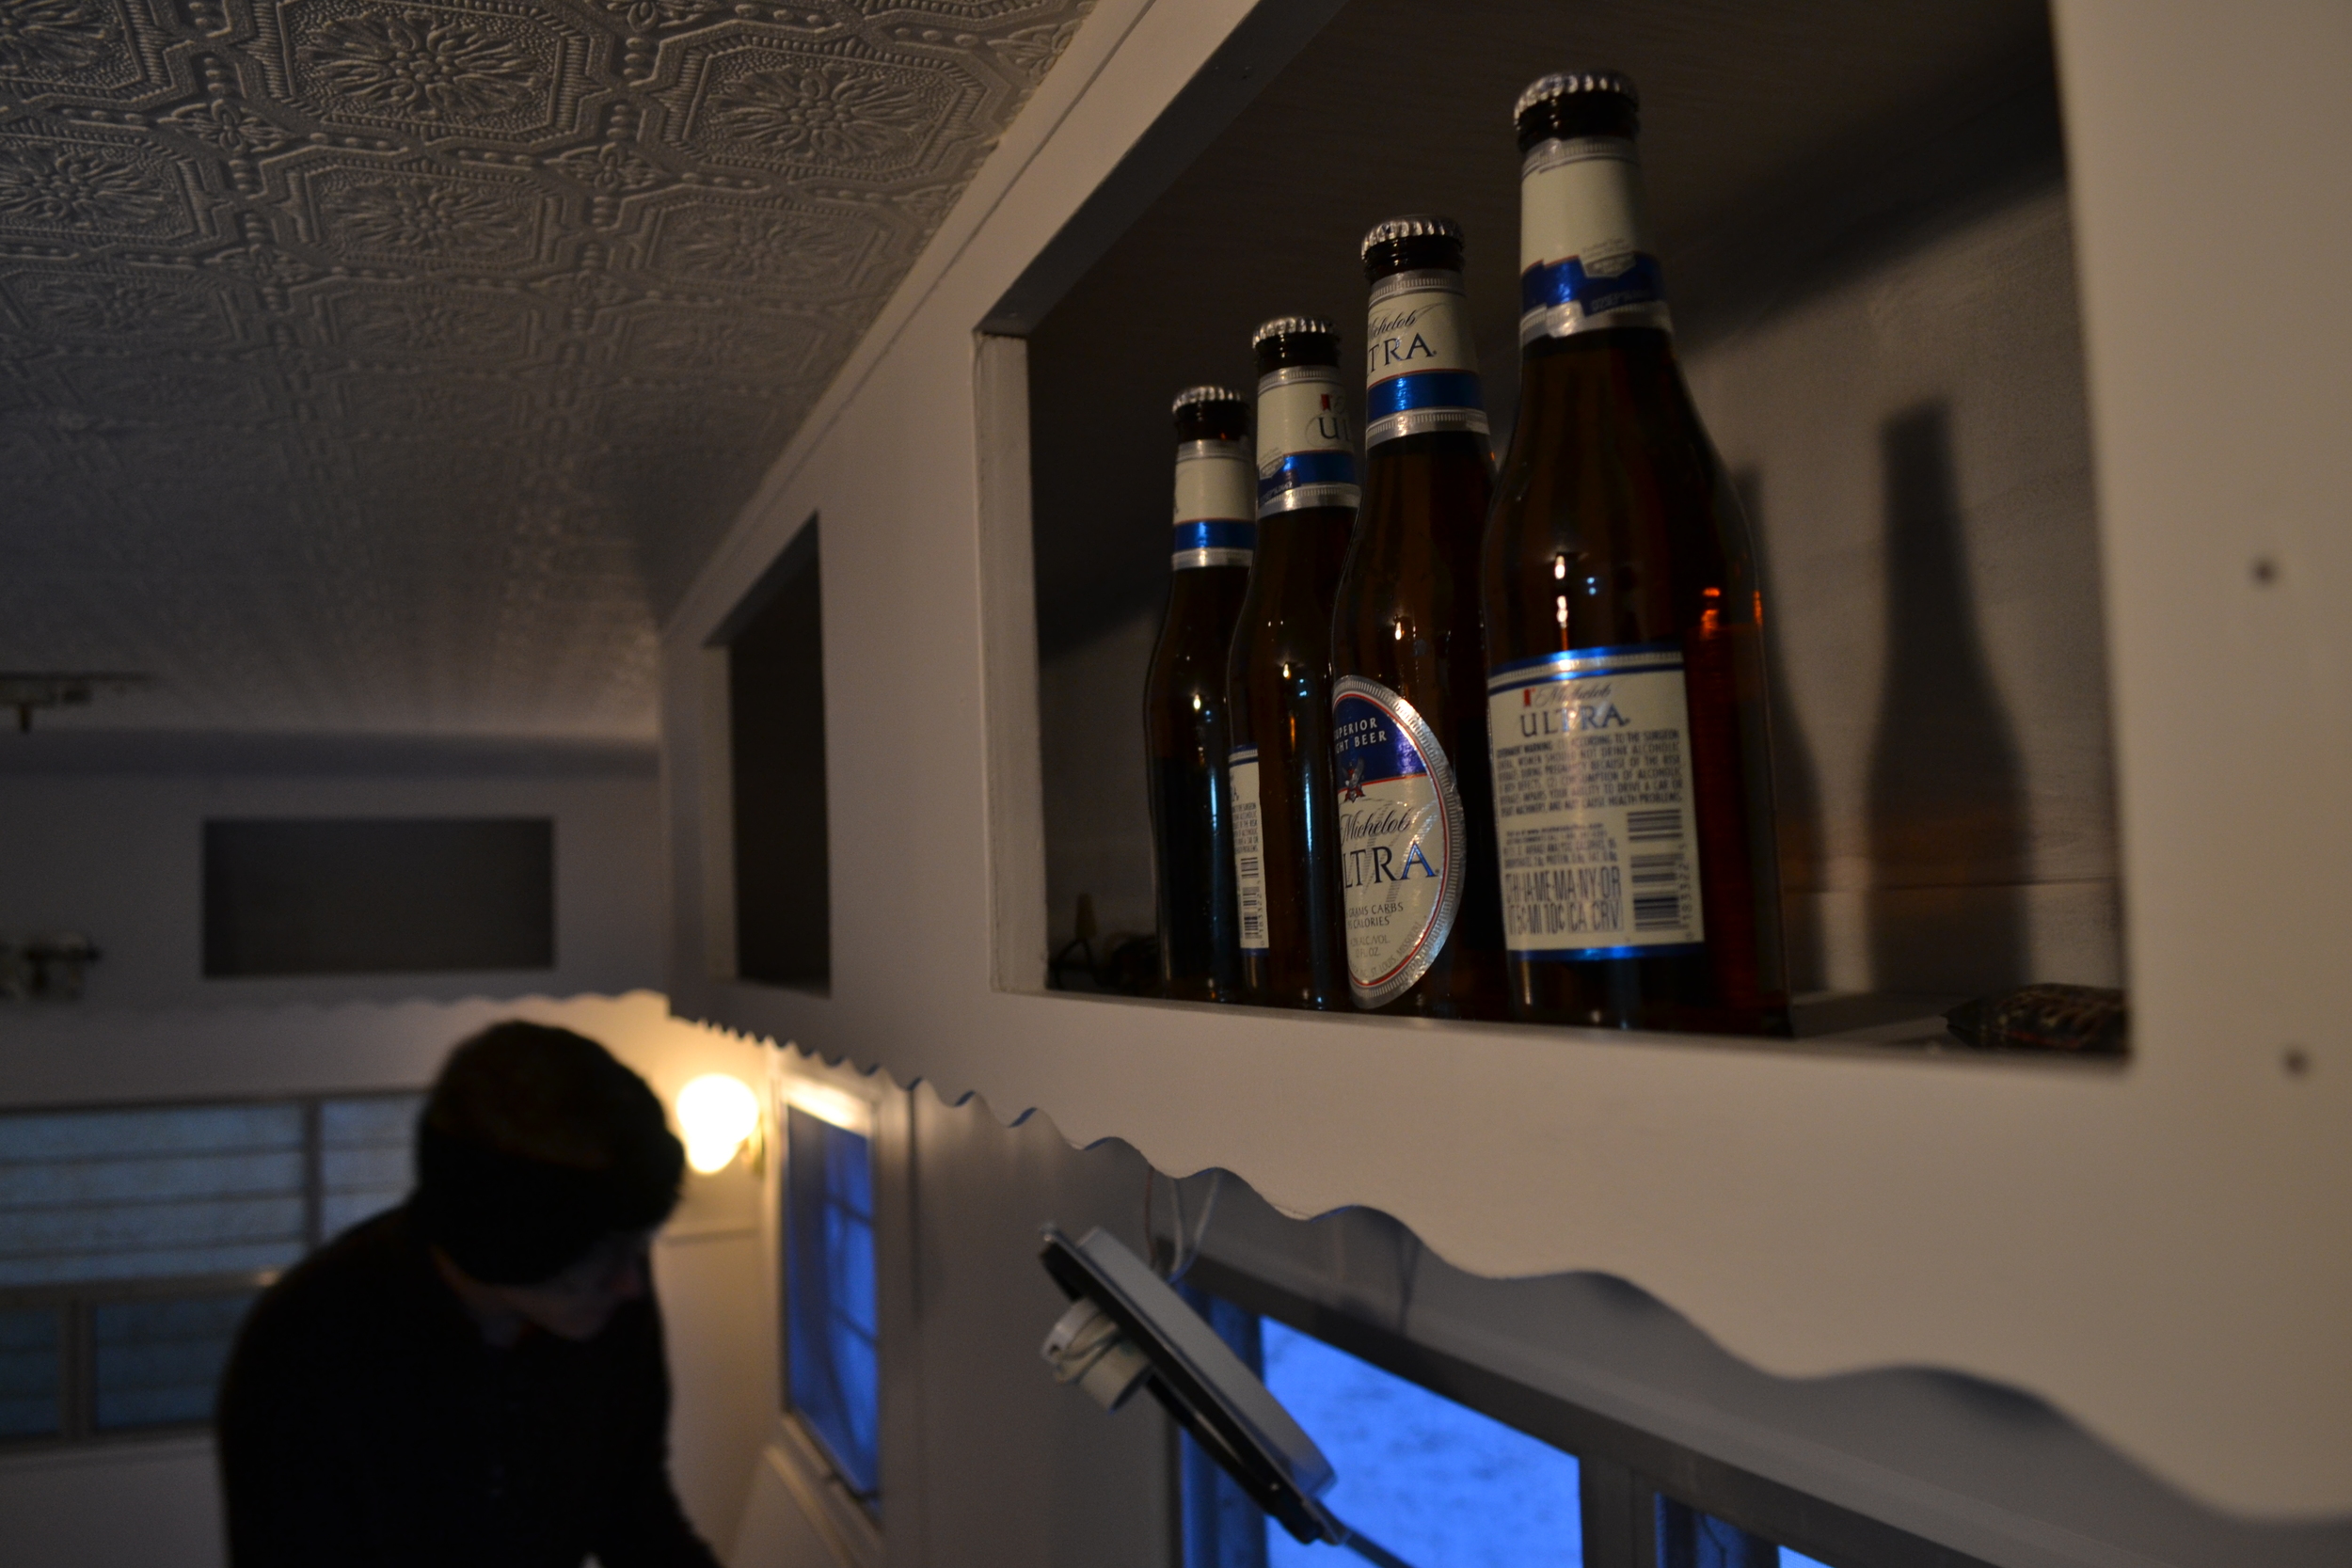
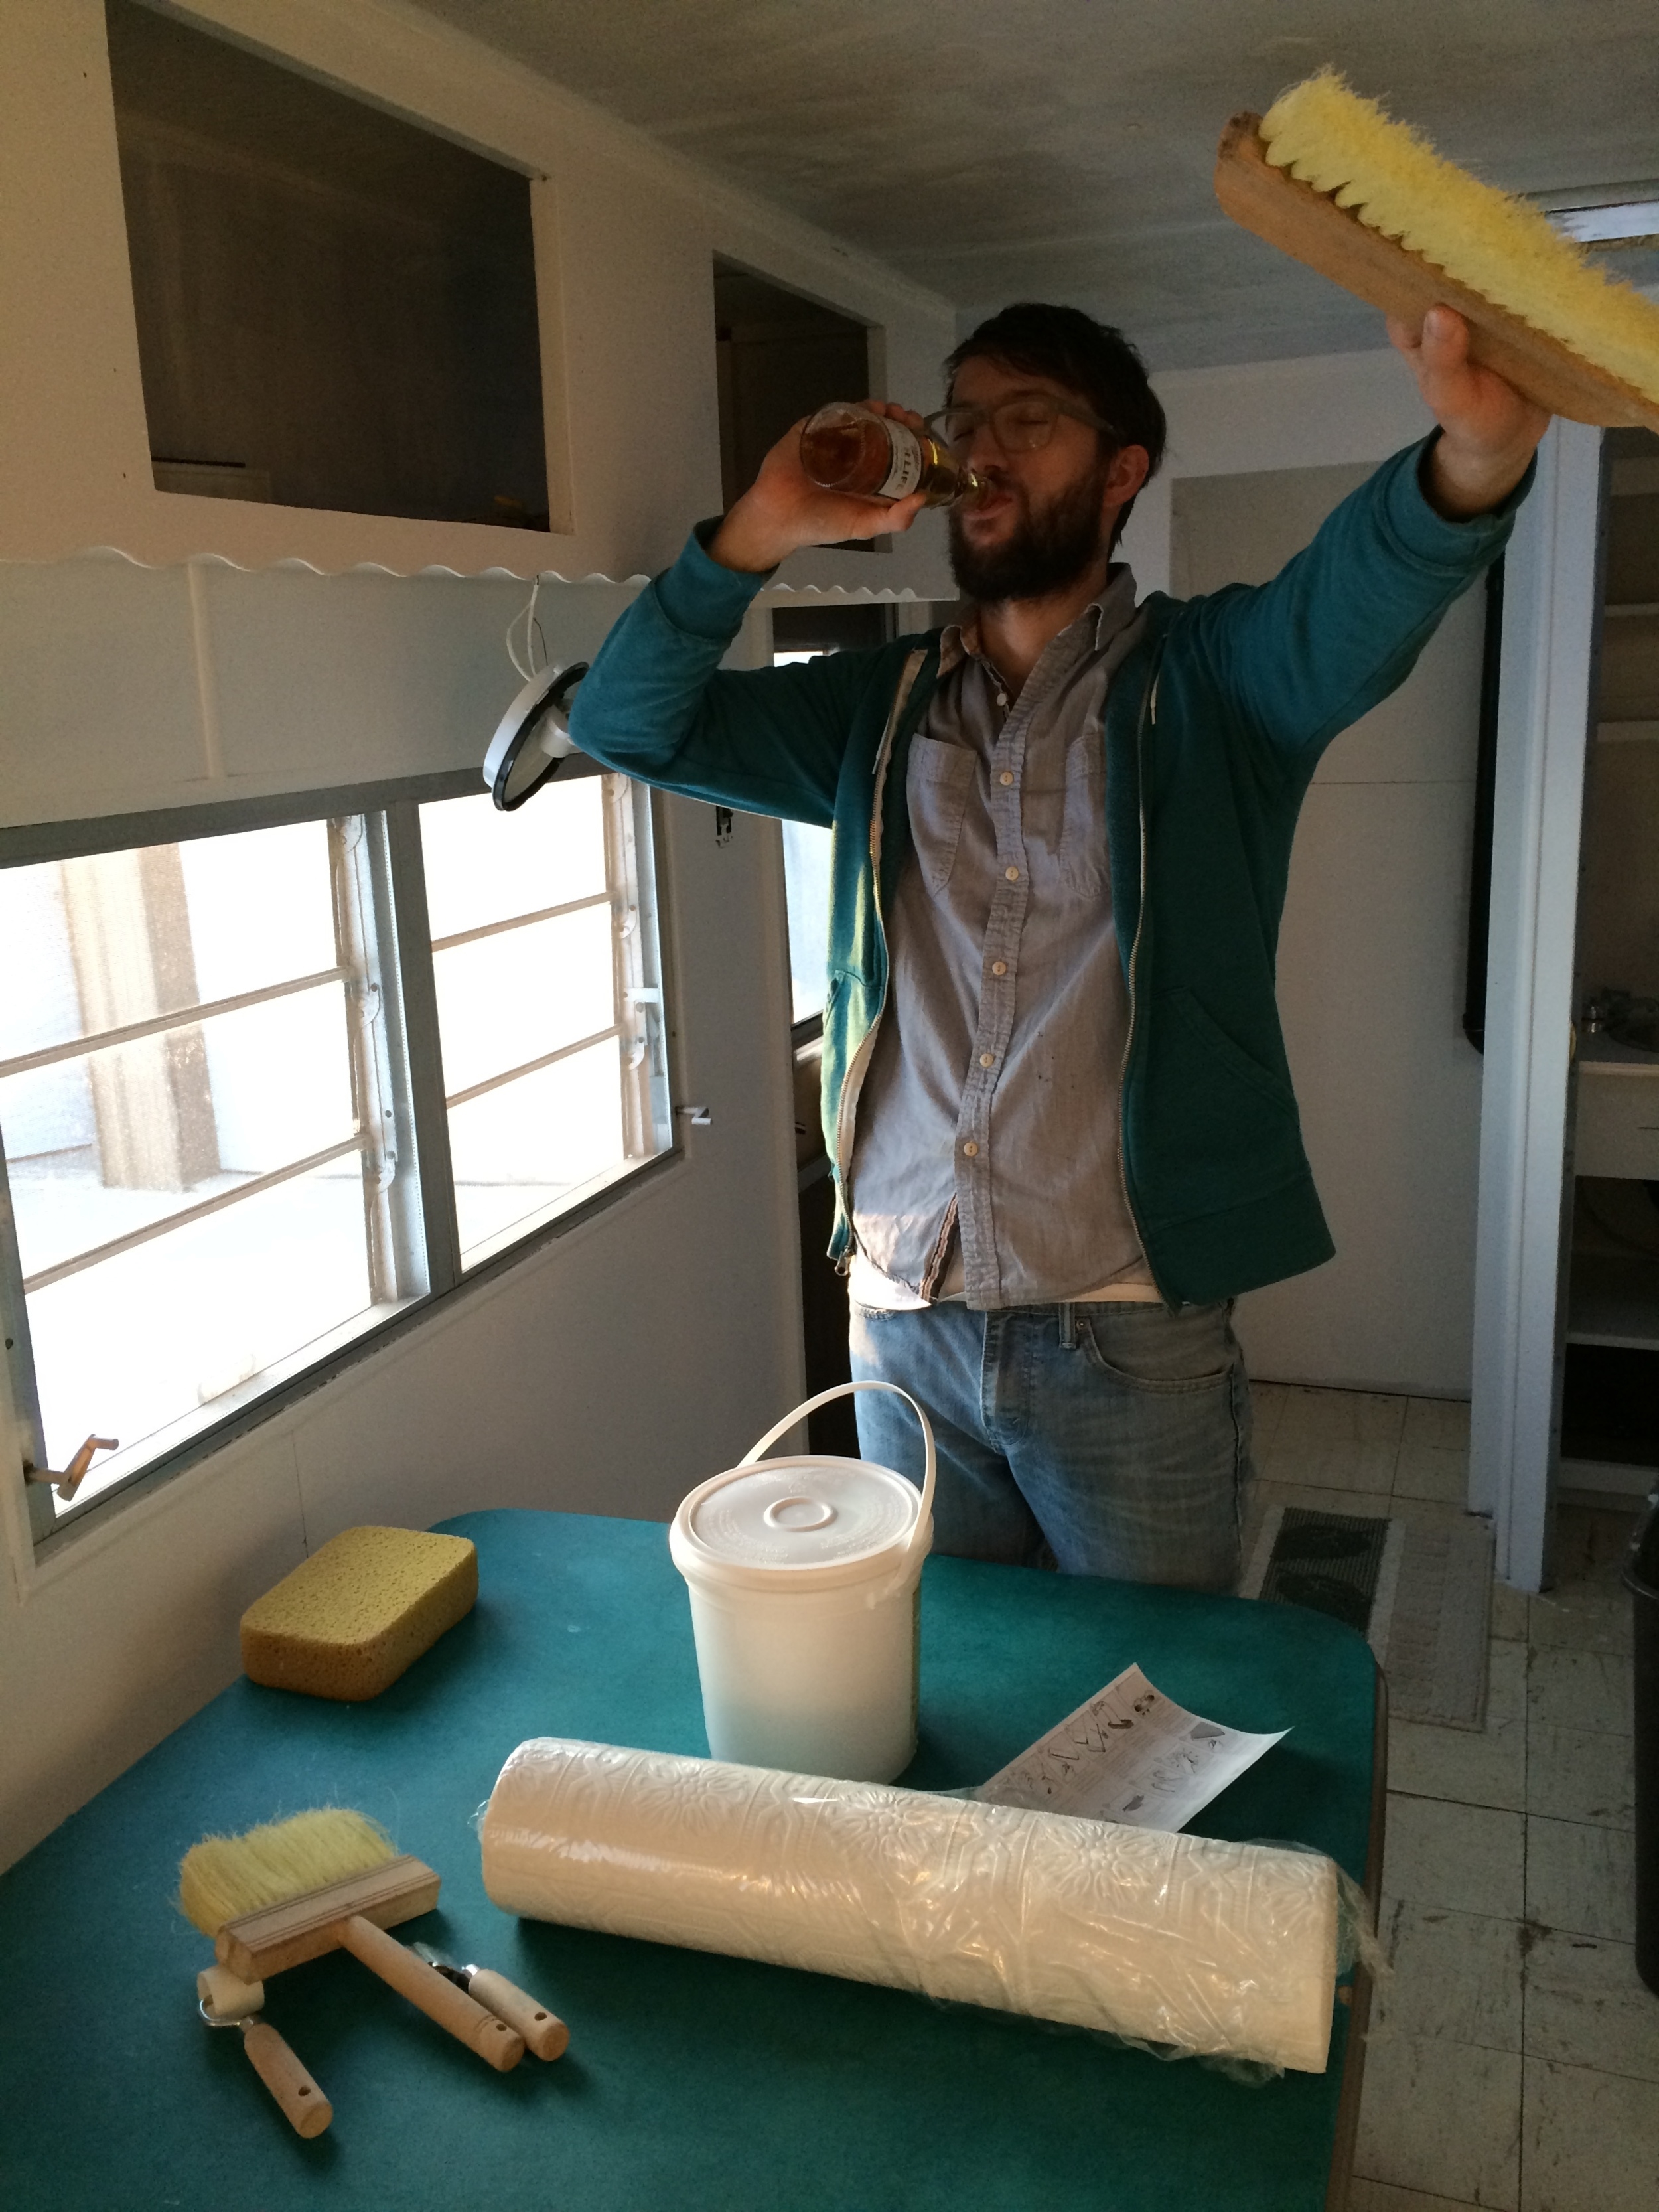
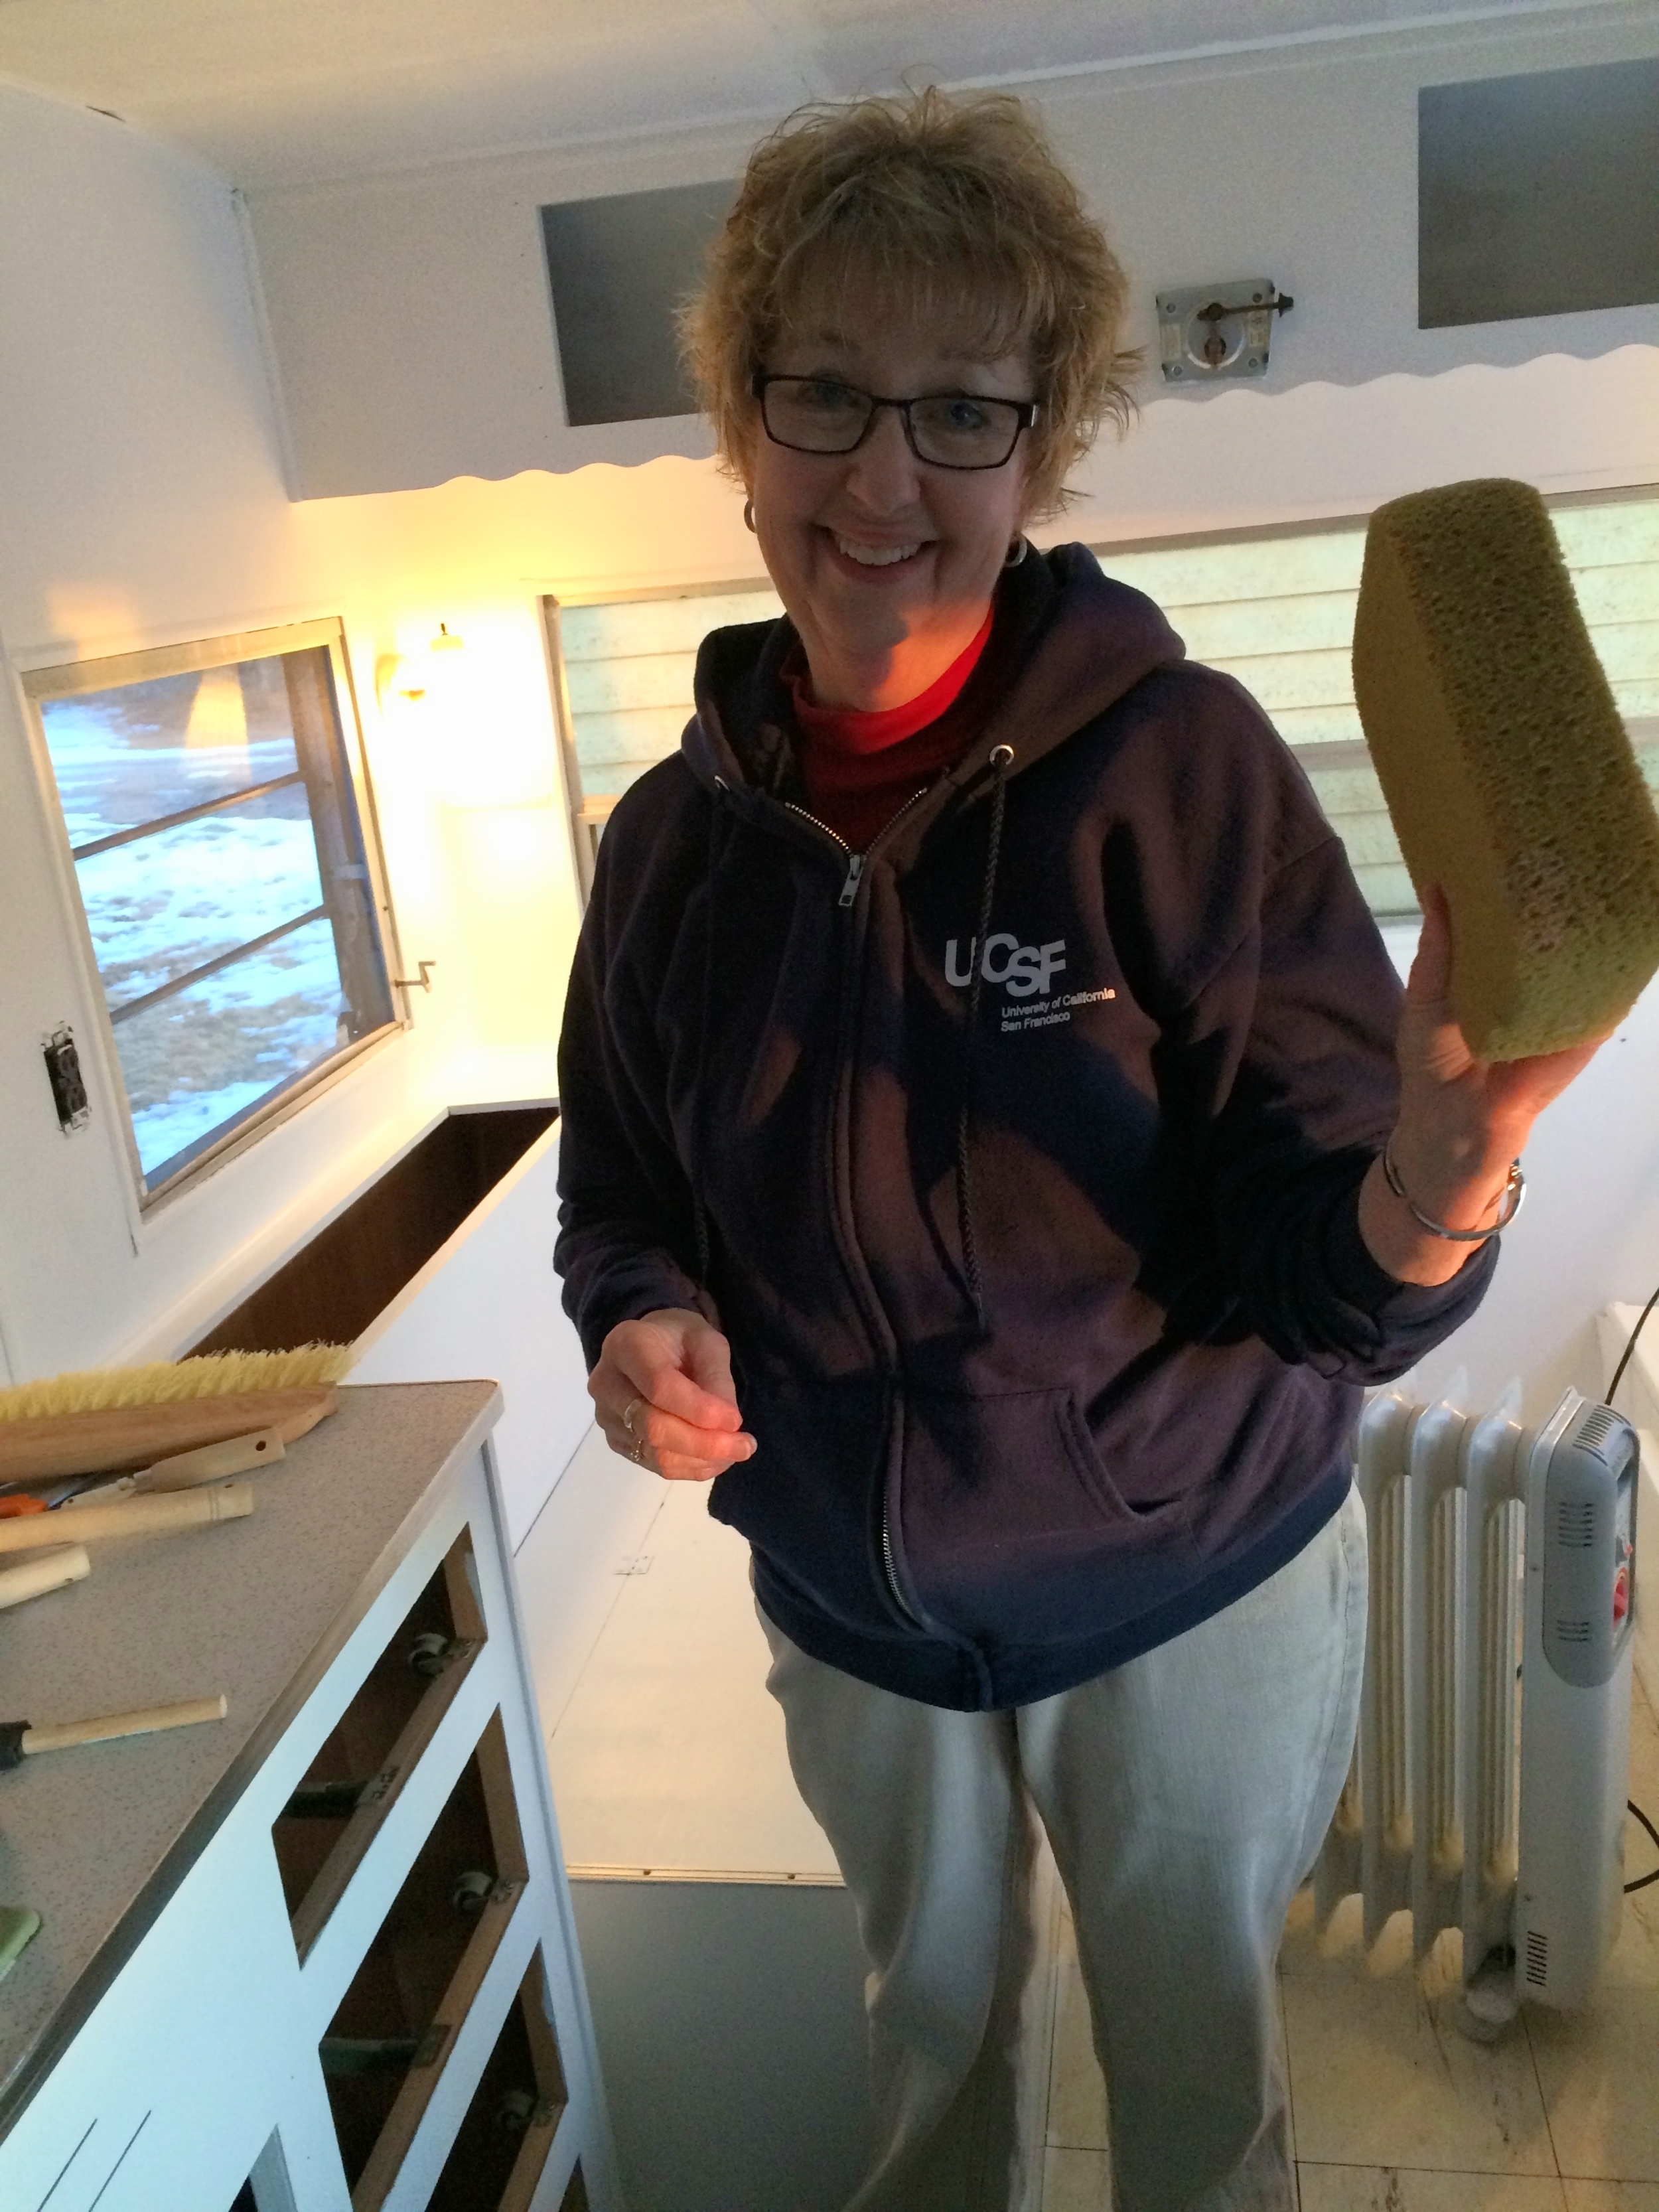
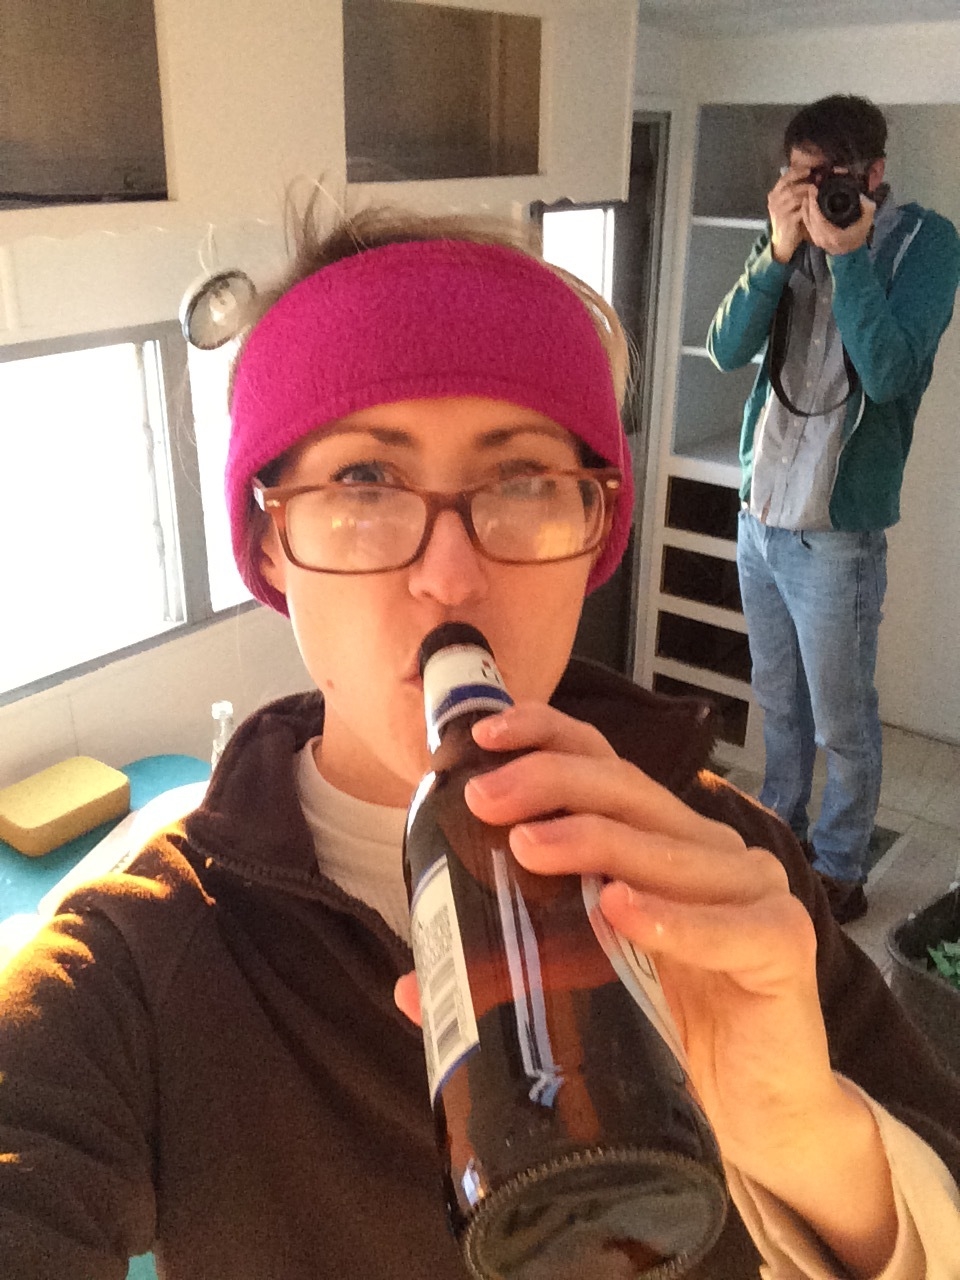
3. Put the paste on the paper. Our wallpaper instructions suggested we did not need paste, but could simply add water to the pre-pasted backing. Note: YOU ALWAYS NEED PASTE. Paste is your friend. Don’t skip the paste. And don’t skimp on paste. And let the paste activate a little bit. Our advice: dab a whole bunch on your paste brush, spread it evenly and thickly across the back of the paper, let it sit a little bit and keep it “wet” by folding in half/thirds. Then take a few sips of Michelob Ultra while you wait for the “activation.”
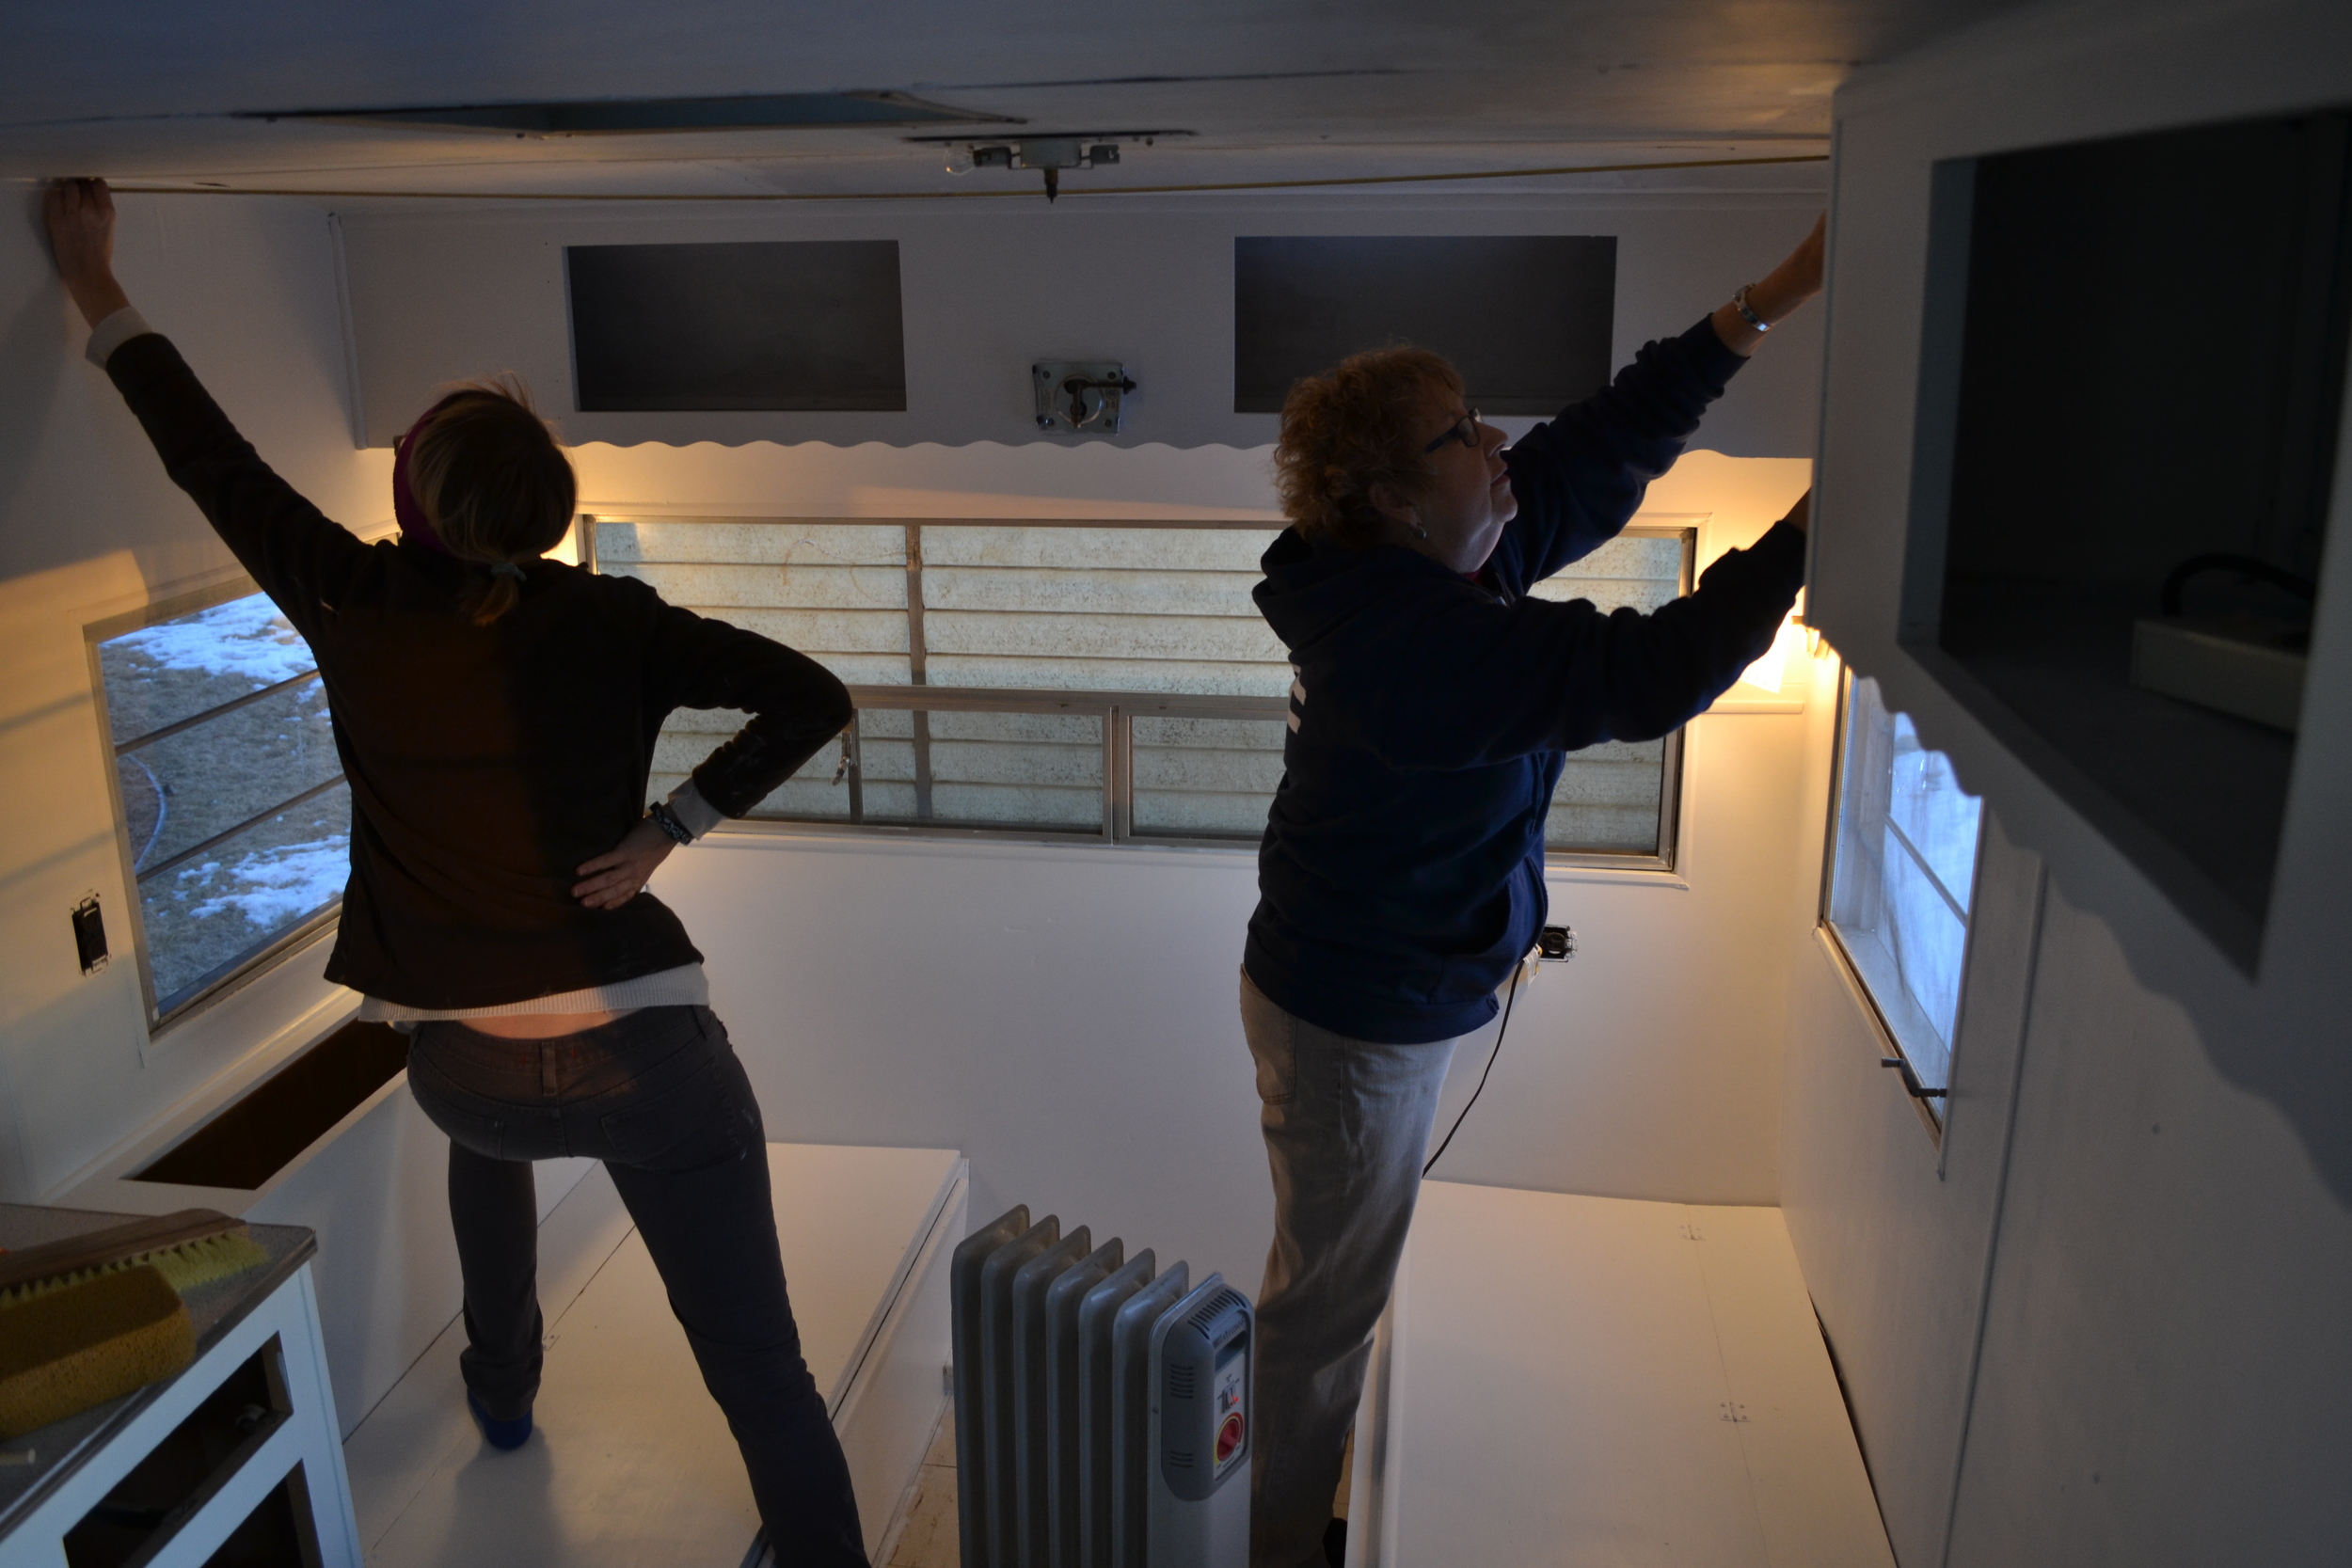
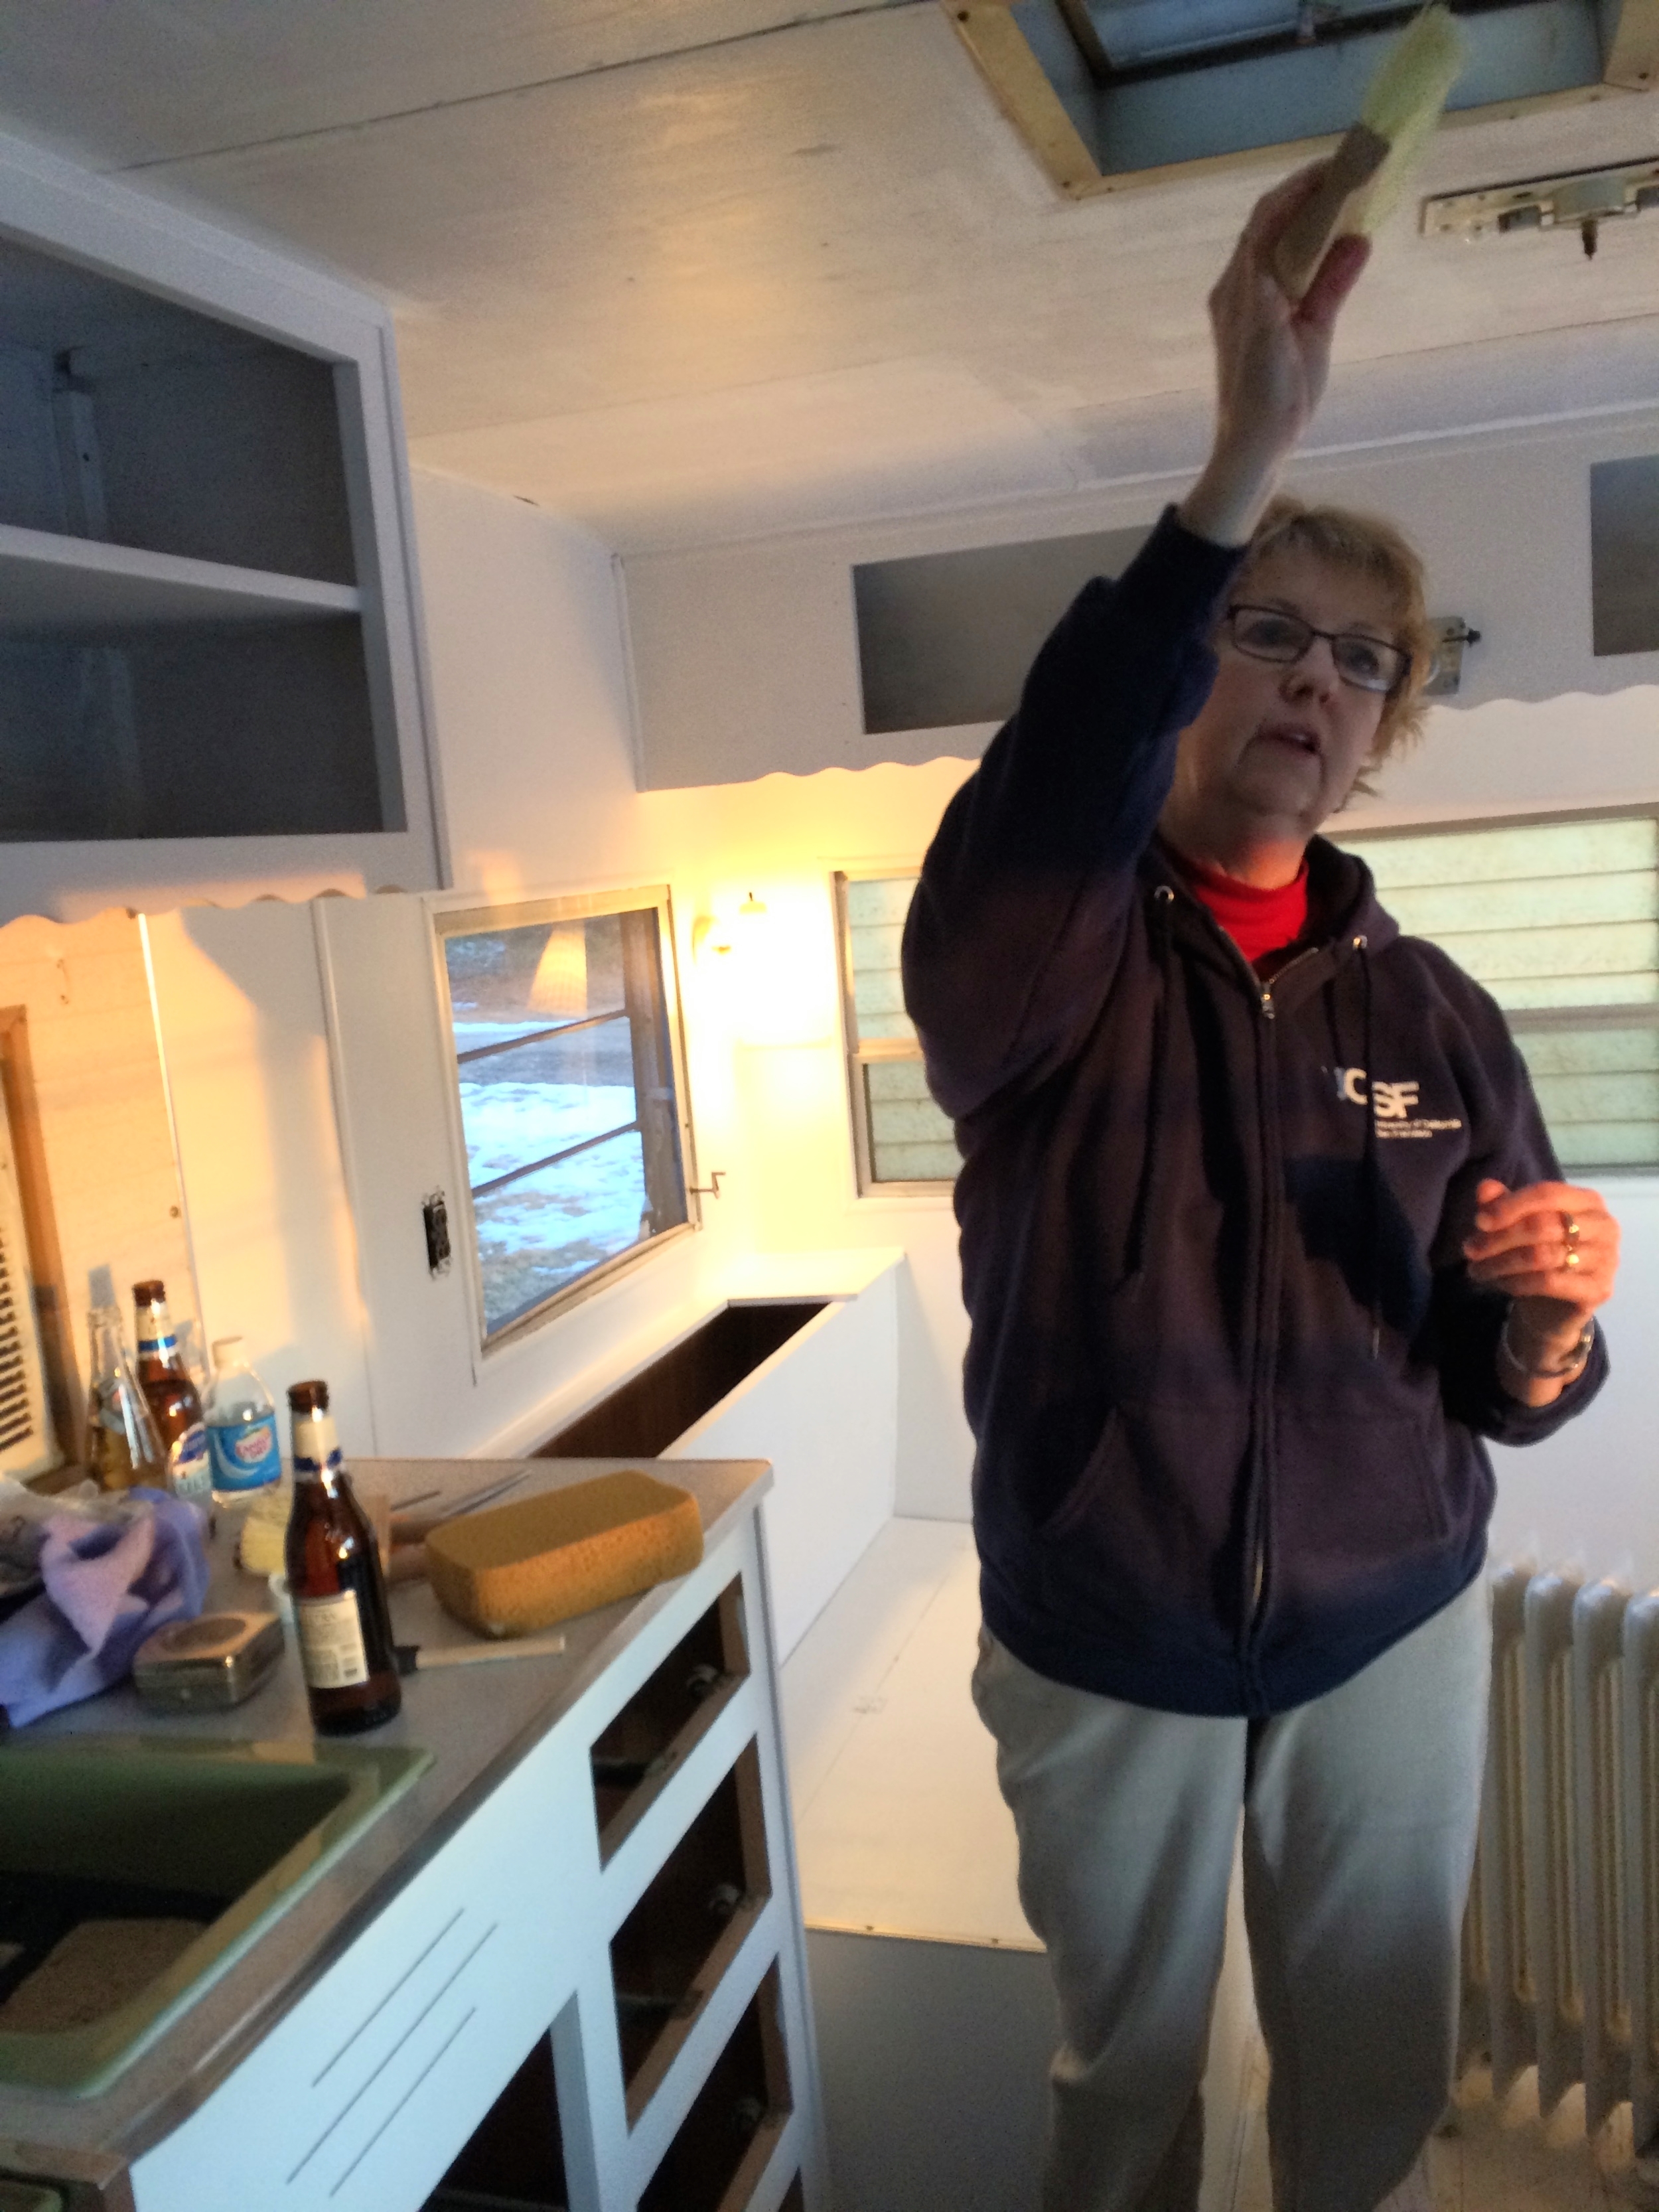
4. Position & Brush. This takes teamwork, but after the glue is activated (aka two sips in on your Michelob Ultra) you’ve got to line the glued paper up, flatten it out working your way from one side to the other, and brush. This may take a few tries and some realigning, but you want to avoid repositioning it too much because you’ll actually stretch the paper out. If you’re doing a ceiling, like us, I suggest using at least three people: One to line the paper up. Another to stand in the middle and support the paper while you line up it up. And another at the opposite end ready to match everything up as the first two work toward you. Then brush, brush, brush. Bubbles = amateur.
5. Find your match. Once you’ve got a perfectly placed strip up, you have to start over by taking the roll to your starting point and finding your “match.” I.e. you’ve got to to make the pattern line up side by side, which means you are likely going to waste some wallpaper making that happen. Sometimes you get lucky and where you cut is close to your match. Other times you’ll end up wasting a whole lot to find it. This is precisely why we didn’t originally (or ever, really) purchase enough paper to get the job done in one shot. We always needed more than we thought.
One last pro-tip: if you’re going to wallpaper in sub 30-degree weather, drink something stronger than Michelob Ultra. We wallpapered in the dead of January, and even though we plugged in the old space heater and Wallhugger to keep us warm, it was freezing. I’d recommend a Hot Toddy. Or Fireball shots. Other strong, cold-weather appropriate drink ideas are welcome. I have a feeling we’ll need it again someday.